I decided that I wanted another hobby other than Ham Radio when I retired. I got the chance to do some metalworking on a Myford Super 7 lathe when I worked at Brunel University in the 70s and early 80s, and had hankered after a decent lathe ever since.
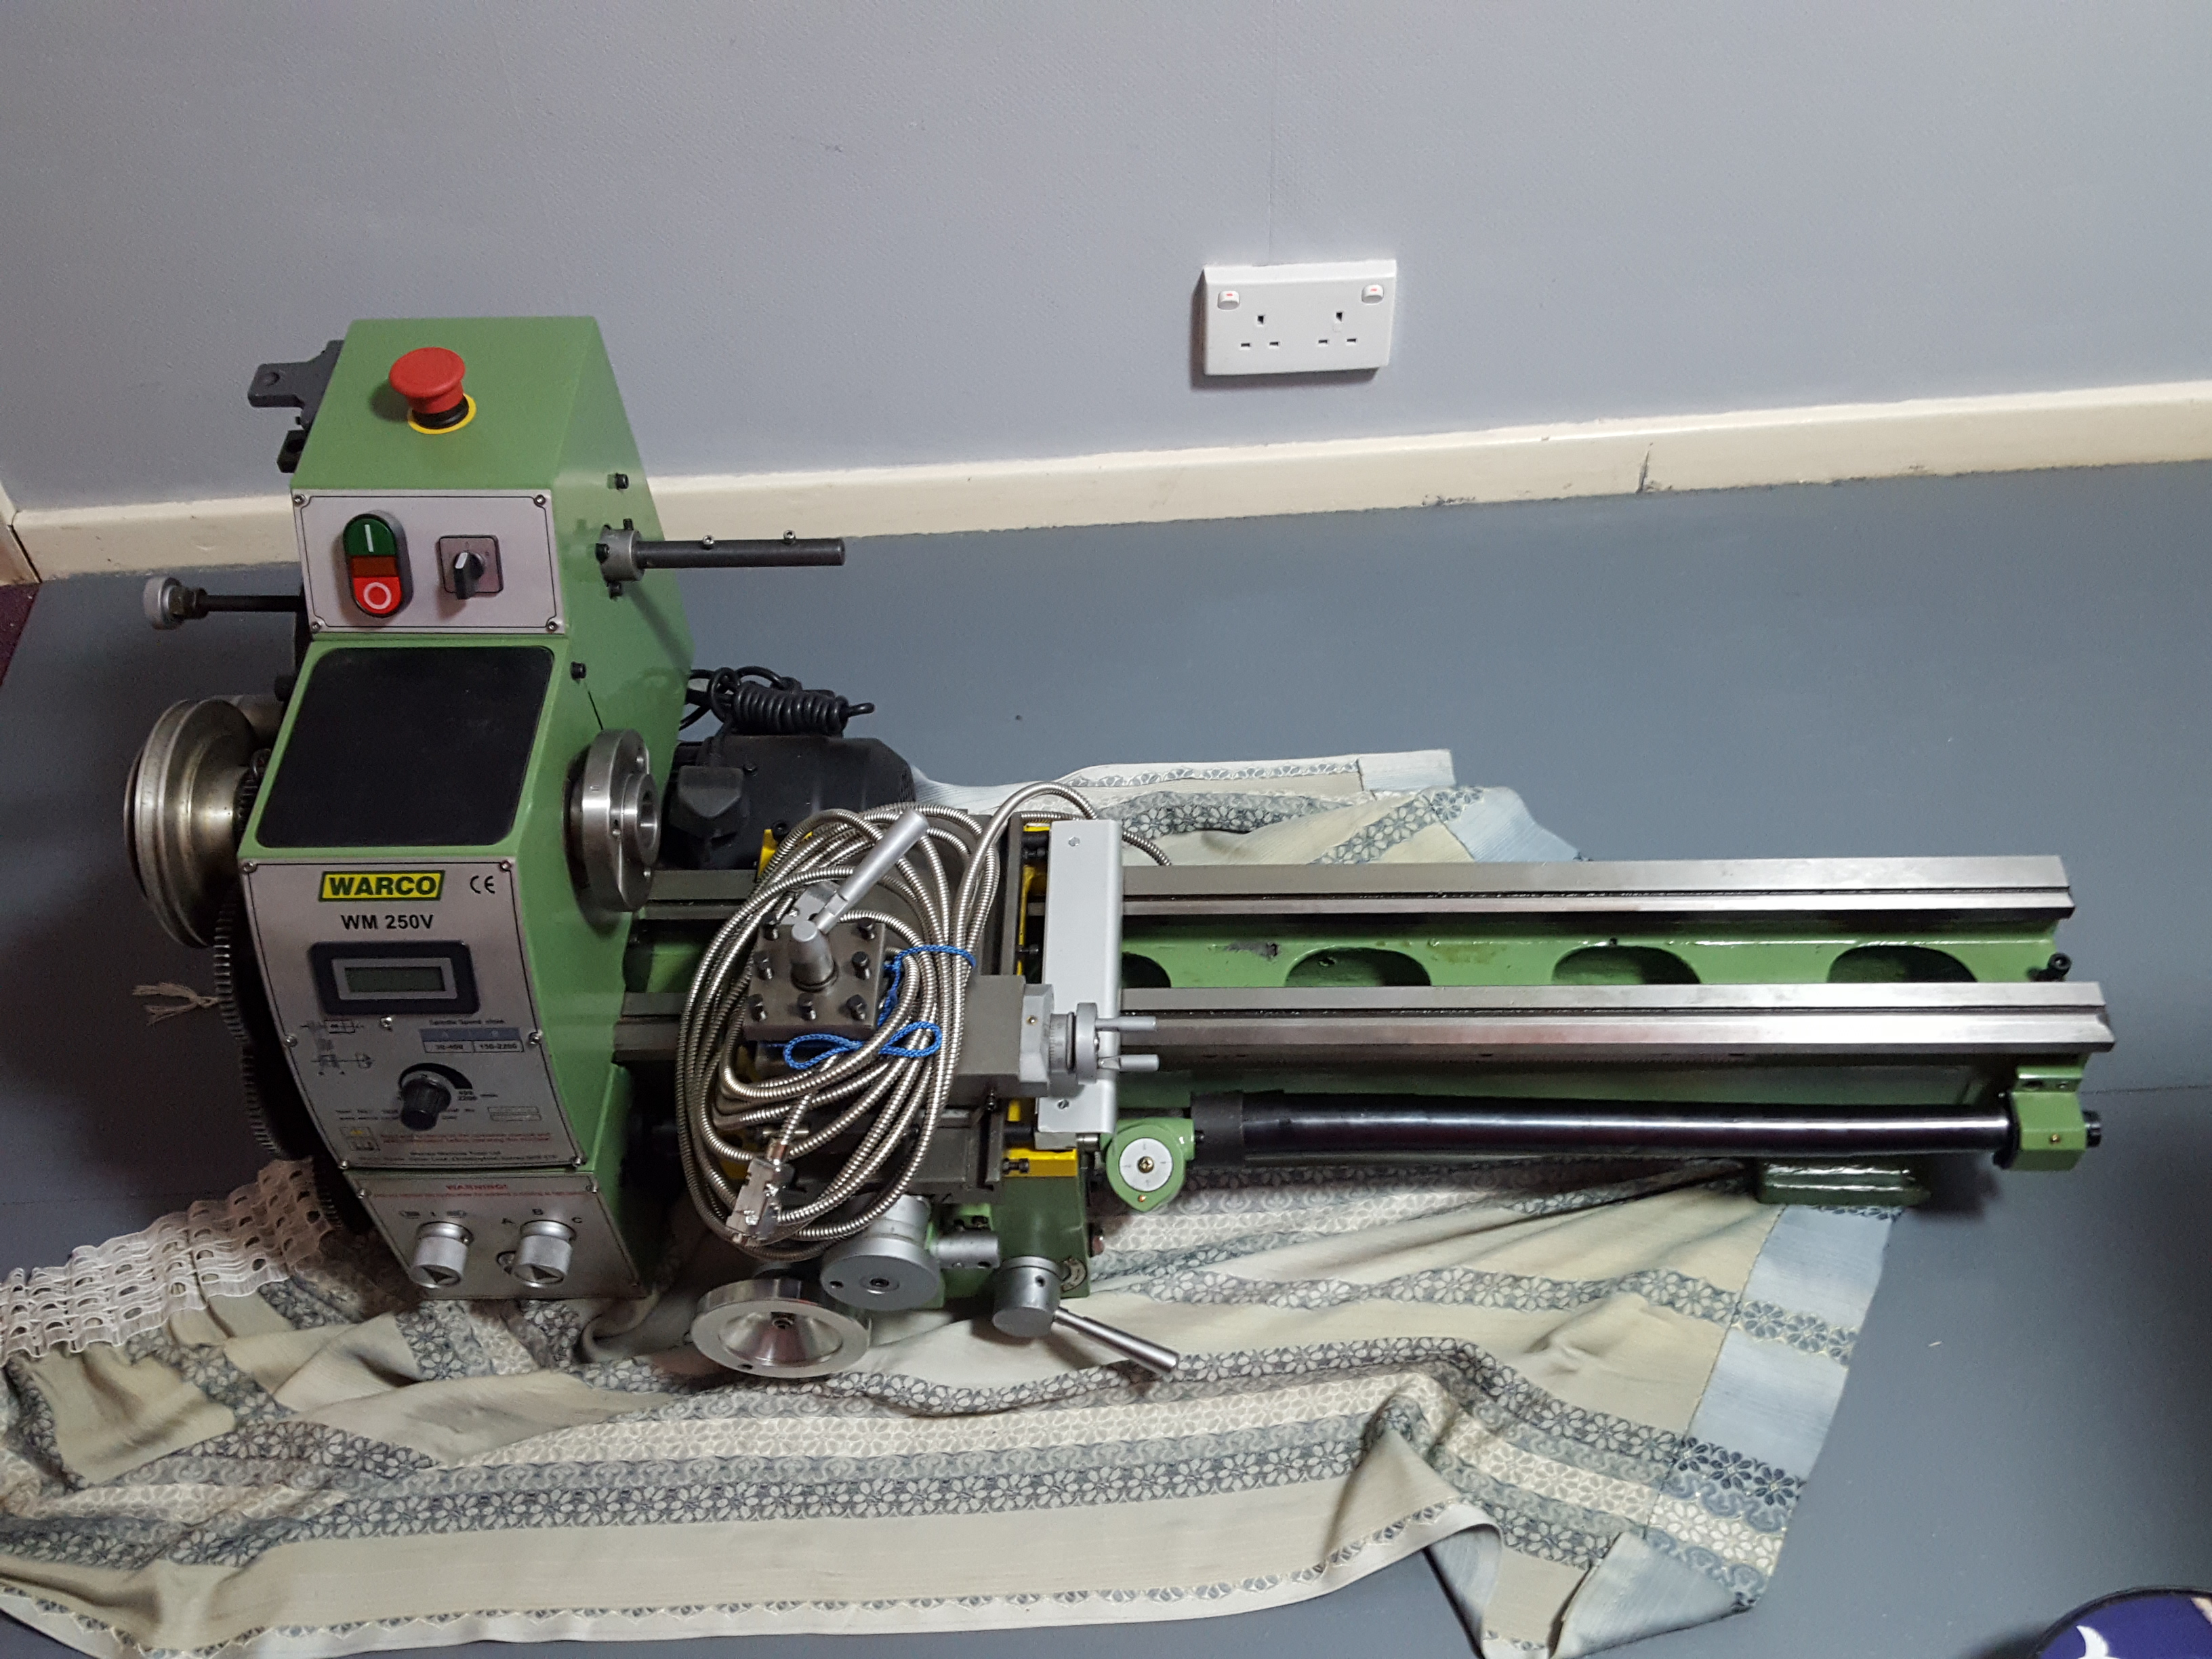
I bought a cheap(ish) 2nd-hand Chinese Junk mini-lathe back in 2014, and soon found its limitations, and when it let me down again on a very simple job at the end of 2018, I decided to splash out on a new lathe - and get a milling machine while I was at it! After a lot of research over the Christmas 2018/19 period, I decided that rather than plump for a reconditioned Myford Super 7, I would get a new, up-to-date spec. lathe and milling machine from my local supplier, Warco, in Chiddingfold, Surrey. I settled for a WM250V lathe and a WM14 Milling Machine, along with a host of accessories/tooling for them both. As I had learnt on an imperial lathe and understood what a 'thou' was, I got the imperial version of the lathe, together with a DRO (Digital Read Out) display unit which could change between imperial and metric at the press of a button. I thought I ought to get into the 21st century though, so ordered the metric version of the milling machine, thinking that as I had never touched a milling machine in my life and would be on a very steep learning curve, I might as well go the whole hog and go metric, too!
As I'm in the very fortunate position of being divorced, I decided to use my 3rd bedroom as a workshop (the 2nd bedroom is my radio shack/computer room), which would enable me to use the new machinery whenever I liked without having to go outside in all weathers to go to the garage or garden shed. The problem was always going to be that the bedrooms are at the top of the stairs, and getting a 150kg lathe up them was not going to be an easy task. Much planning went into the logistics of having the workshop upstairs, but I felt it was do-able - with a bit of help from my son (whose bedroom it was until he moved out in 2014).
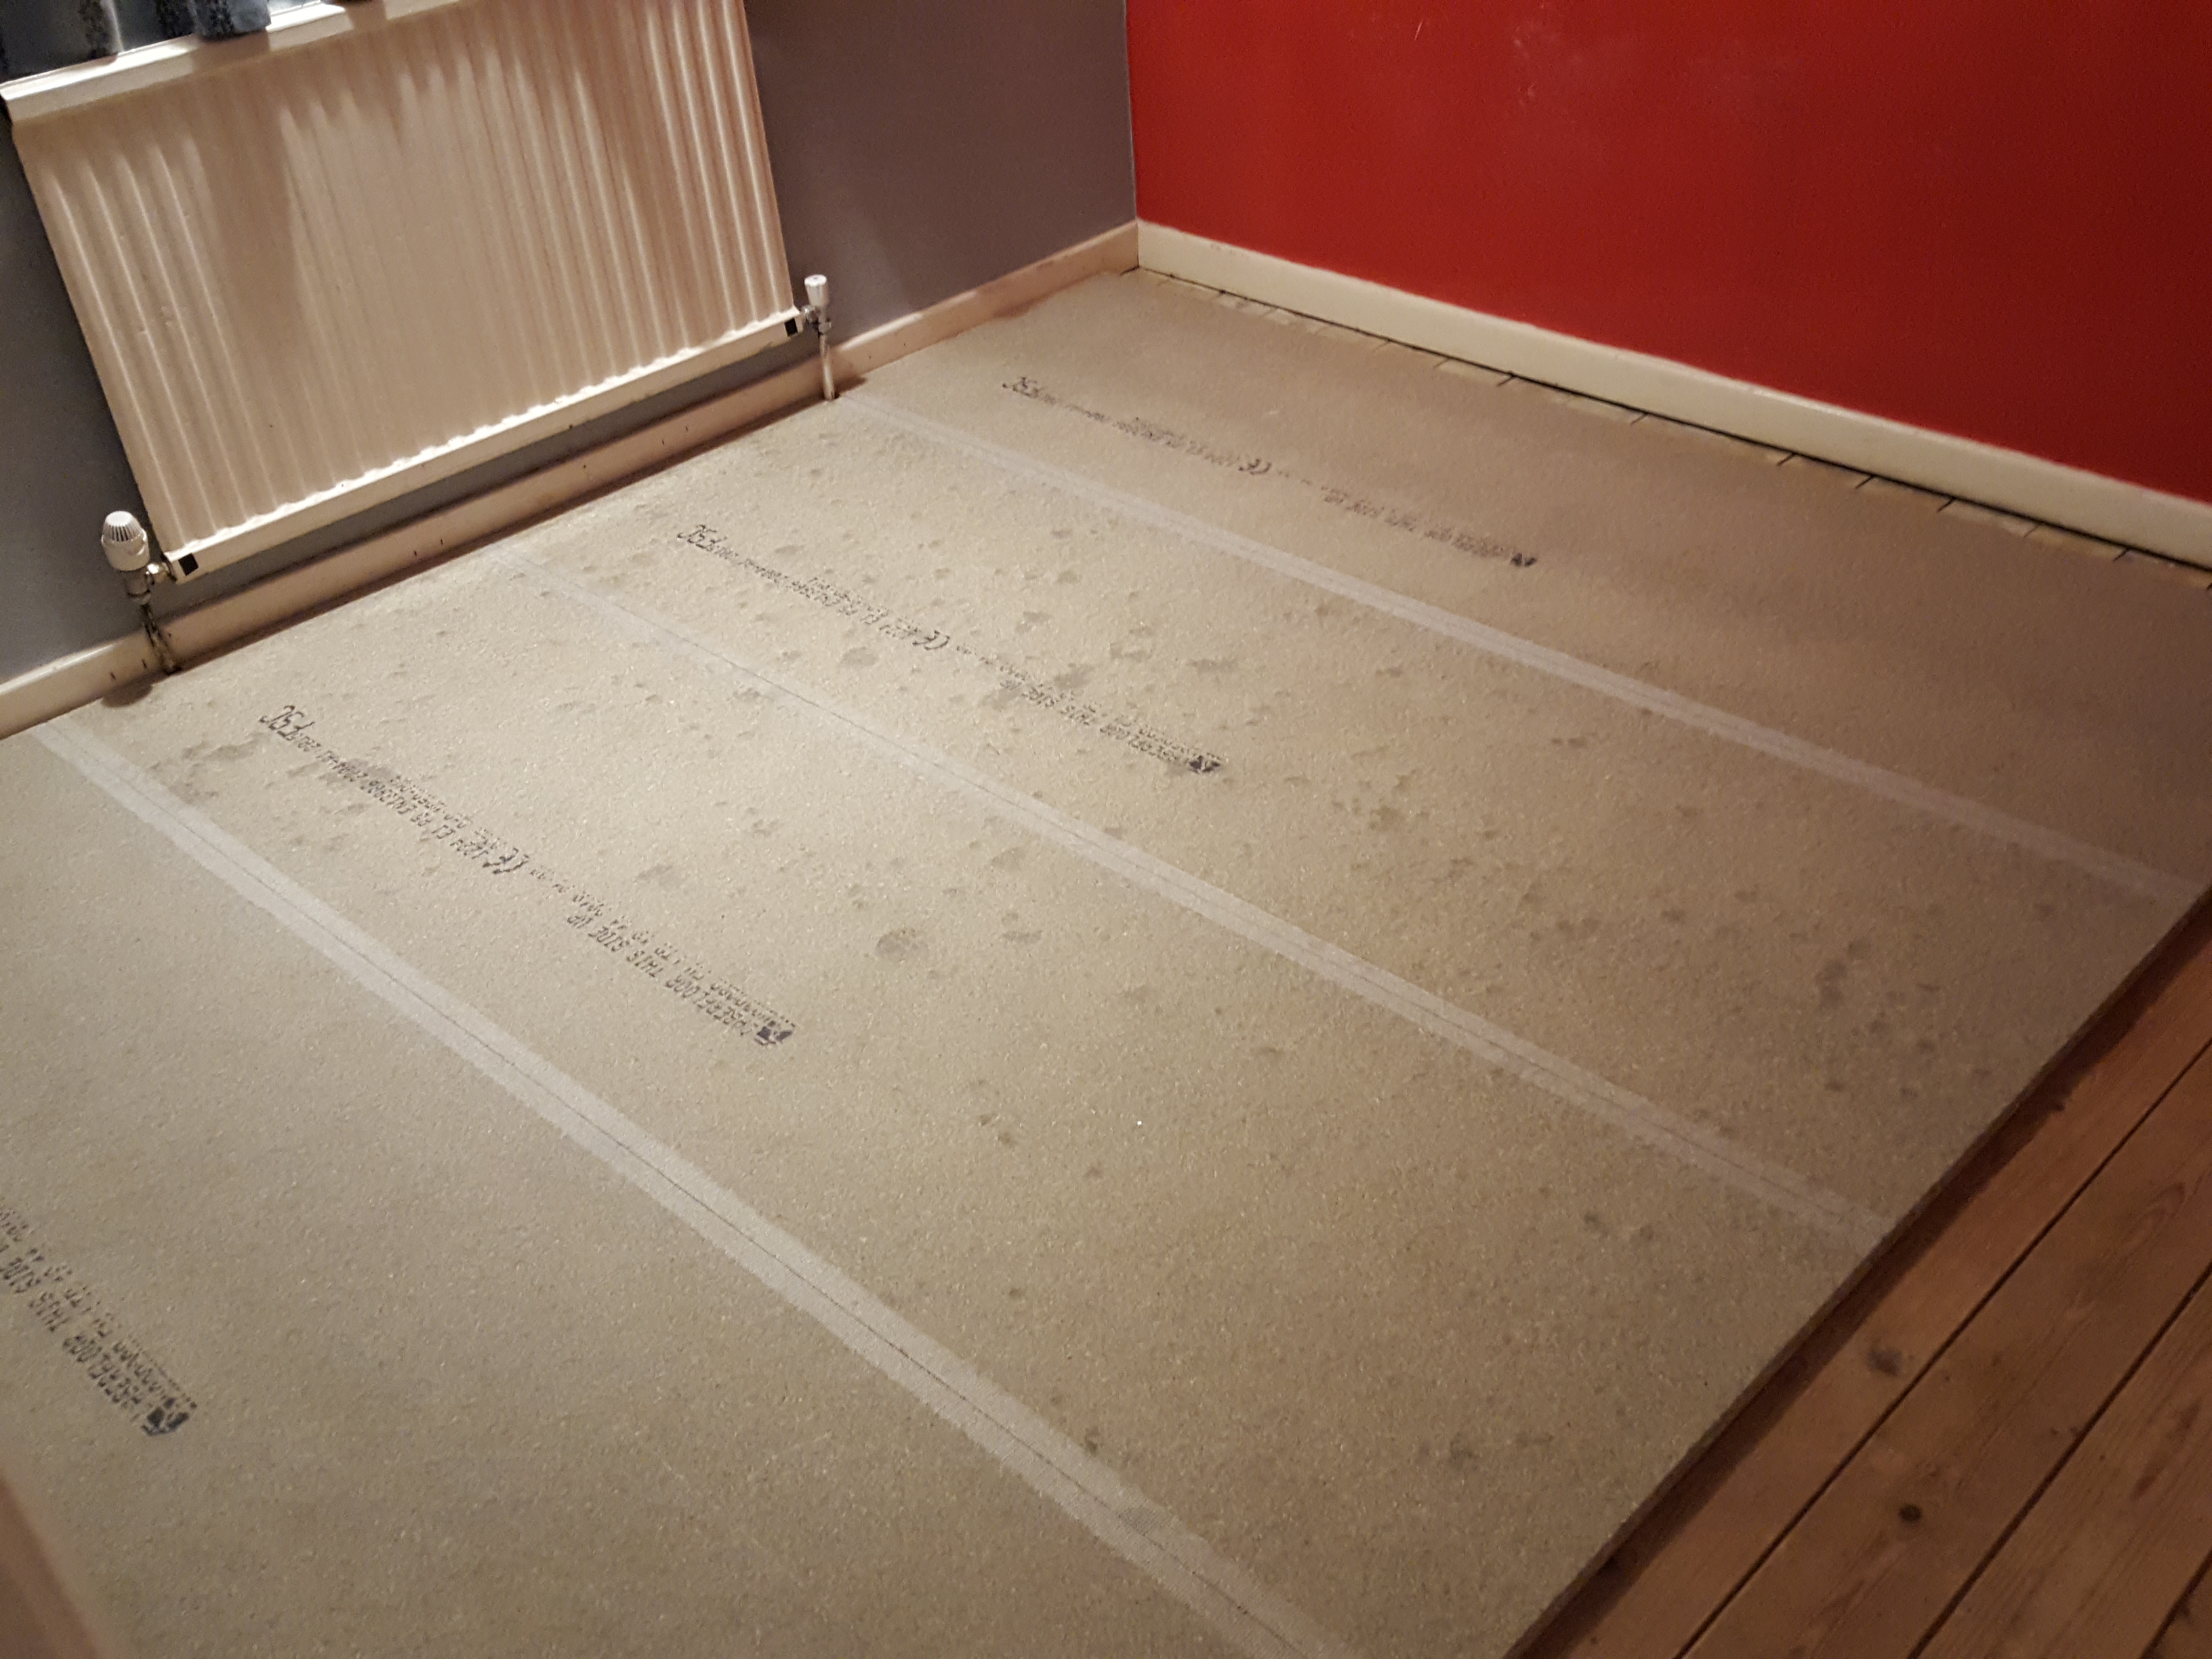
The first job was to reinforce the 1950s floorboards, so I put a 22mm layer of flooring-grade chipboard over the intended working area. The lathe is to go immediately on the left, with the mill going along the opposite wall. Some spare carpet tiles from my shack were used to cover the other old flooring. The floor was painted with two coats of flooring-grade grey paint.
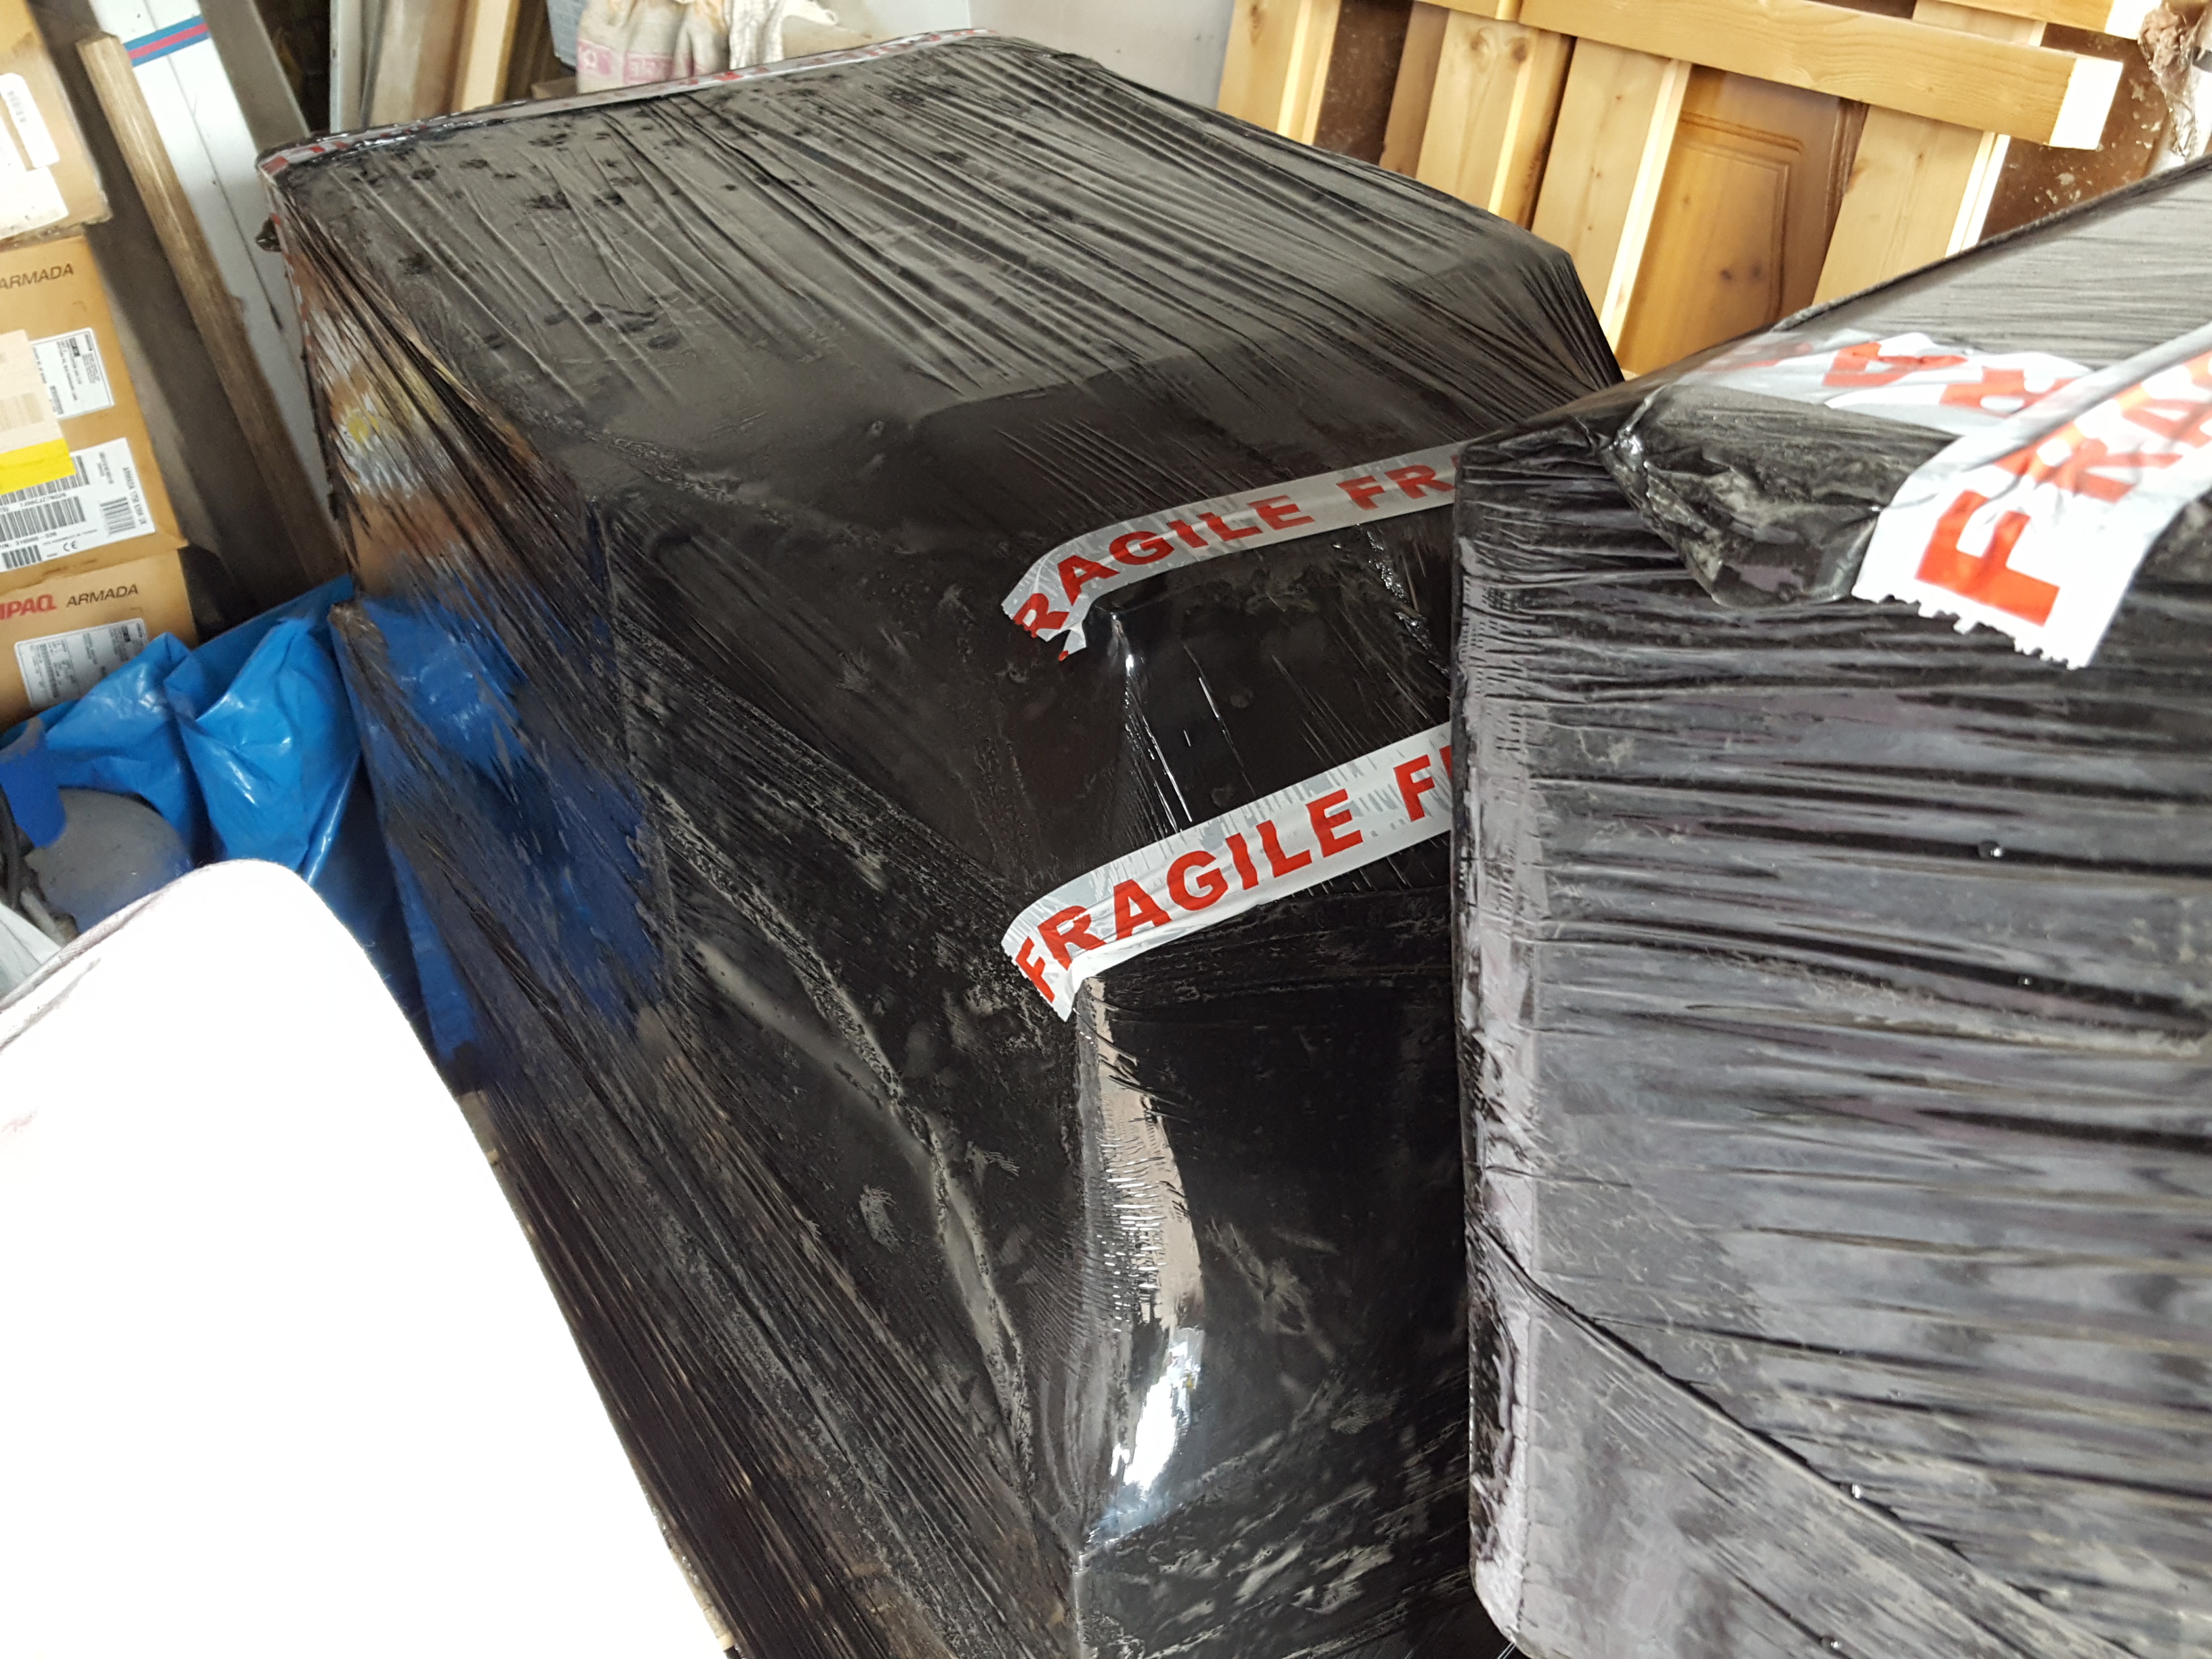
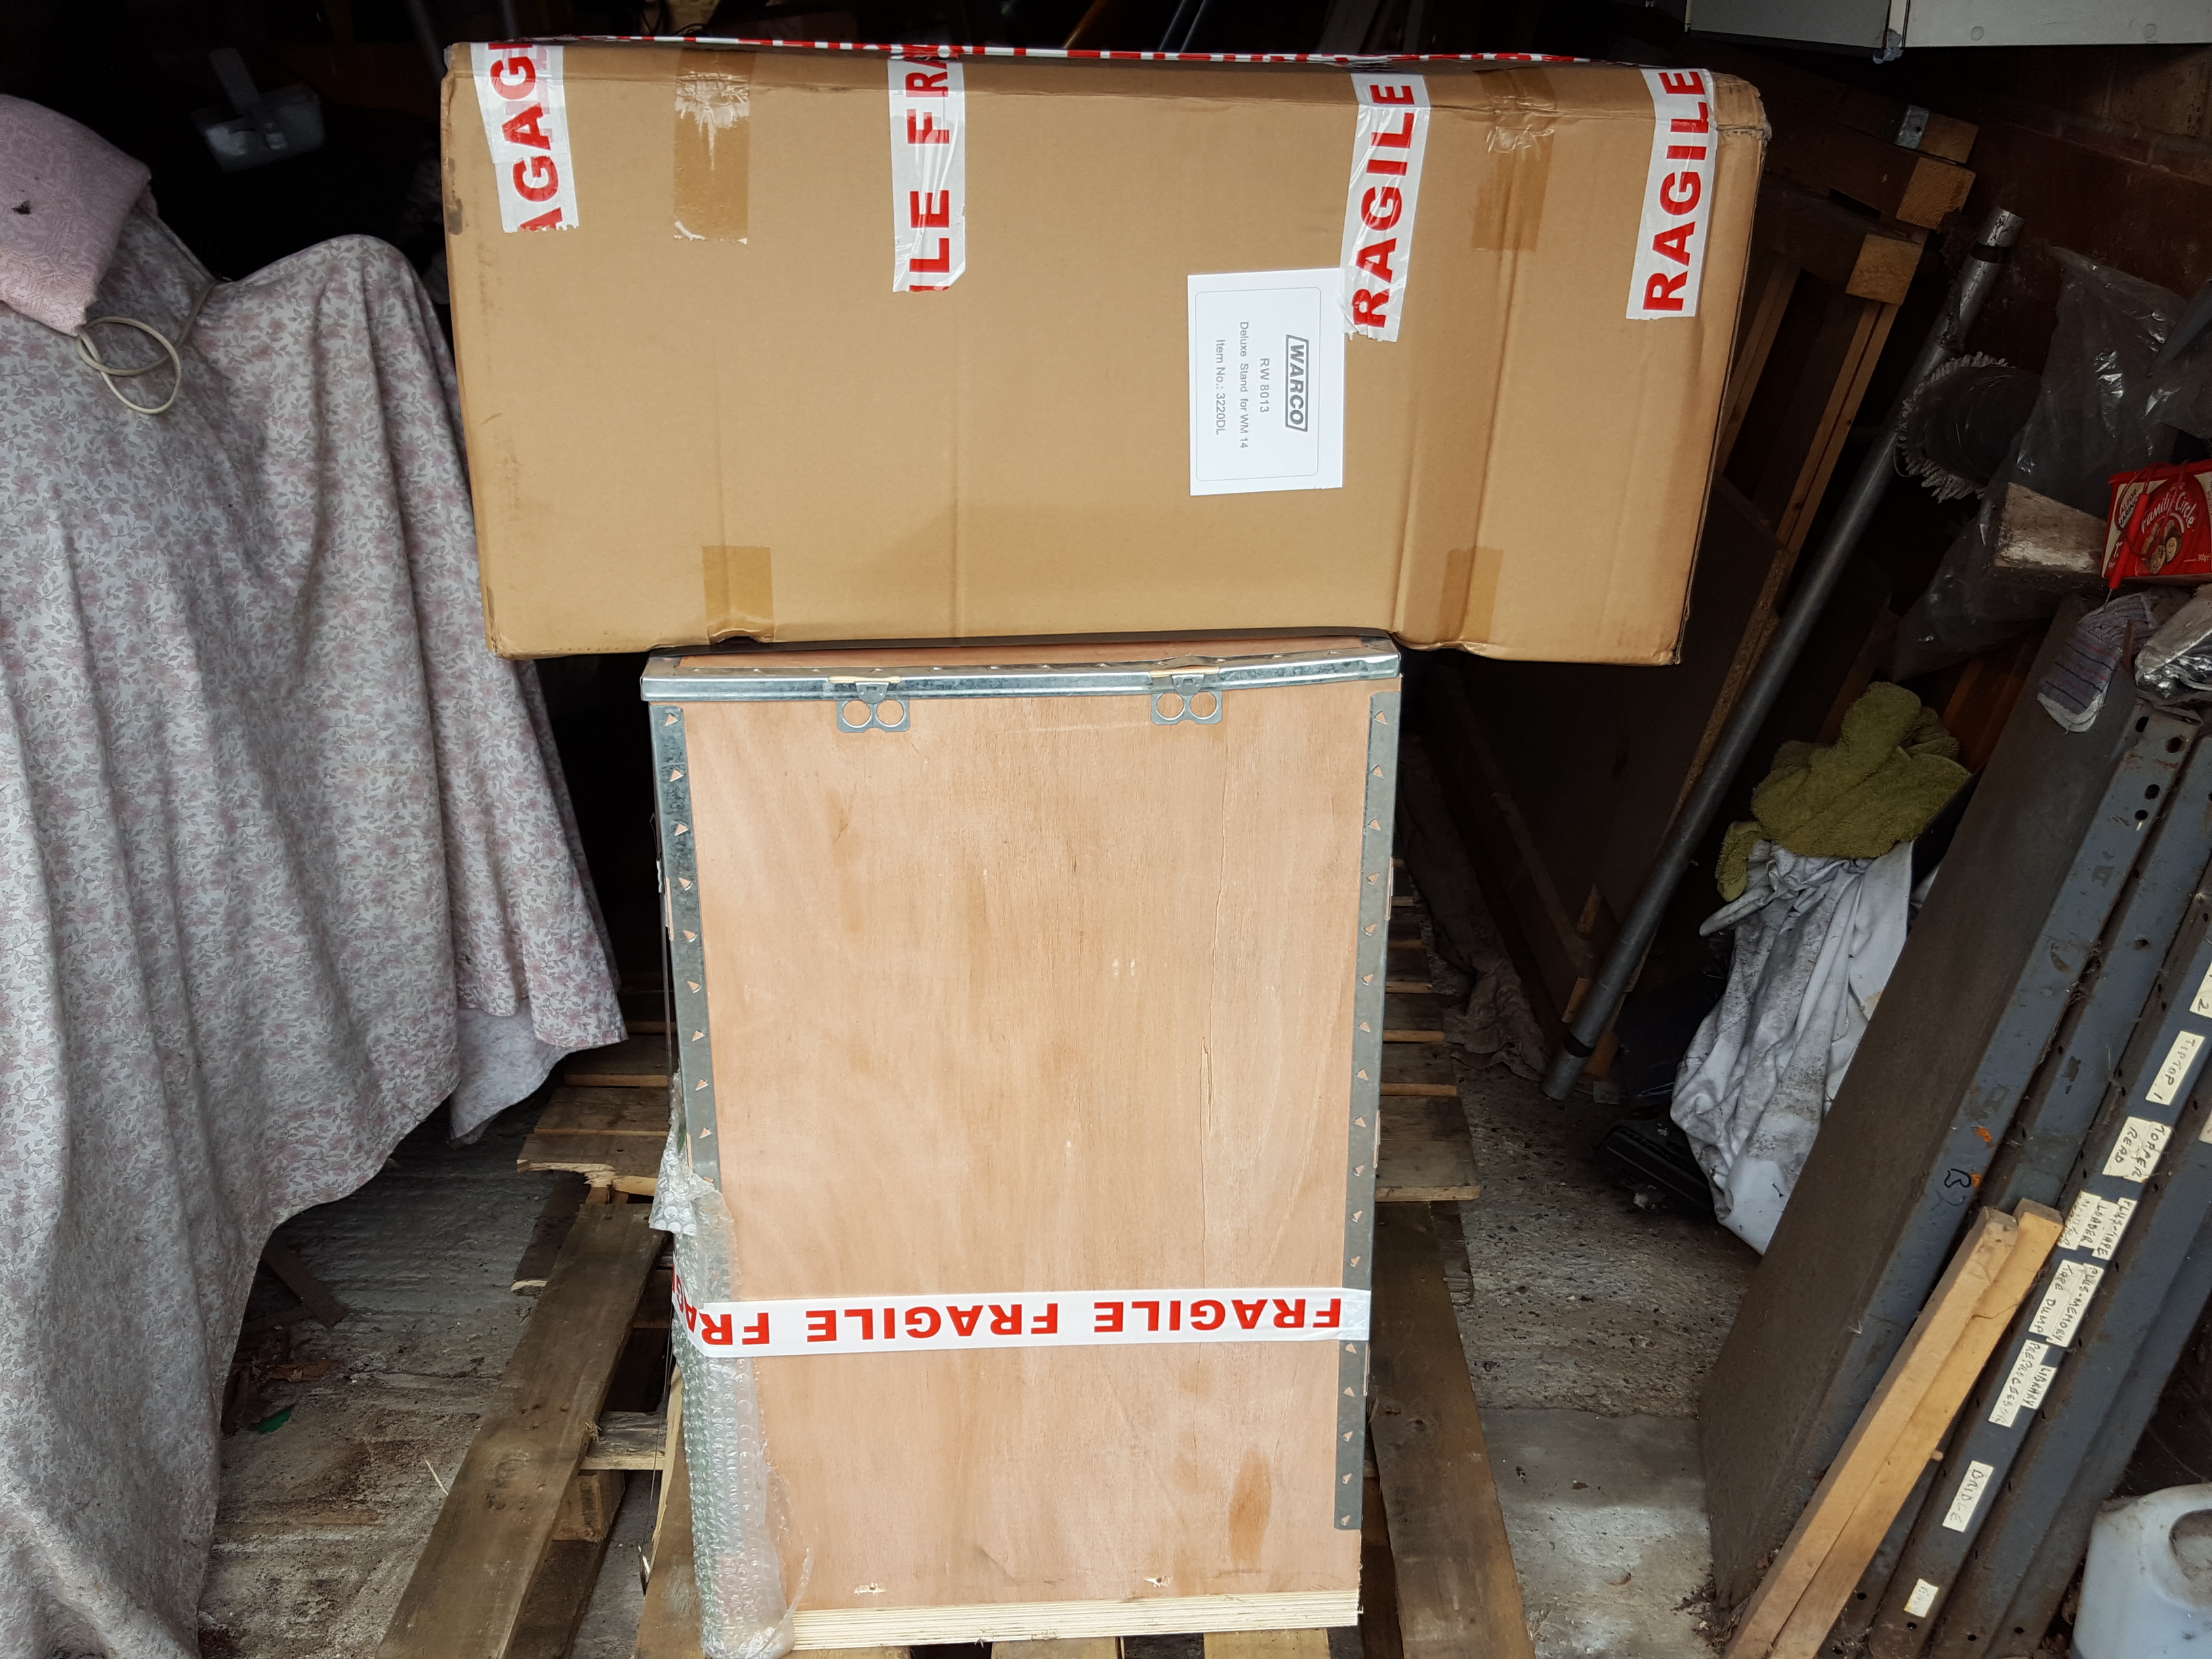
The lathe and mill were delivered, along with many of the accessories, at the end of January 2019. Somehow, I had managed to make some room in my garage for the pallets, as the weather forecast for the following few days was variable.
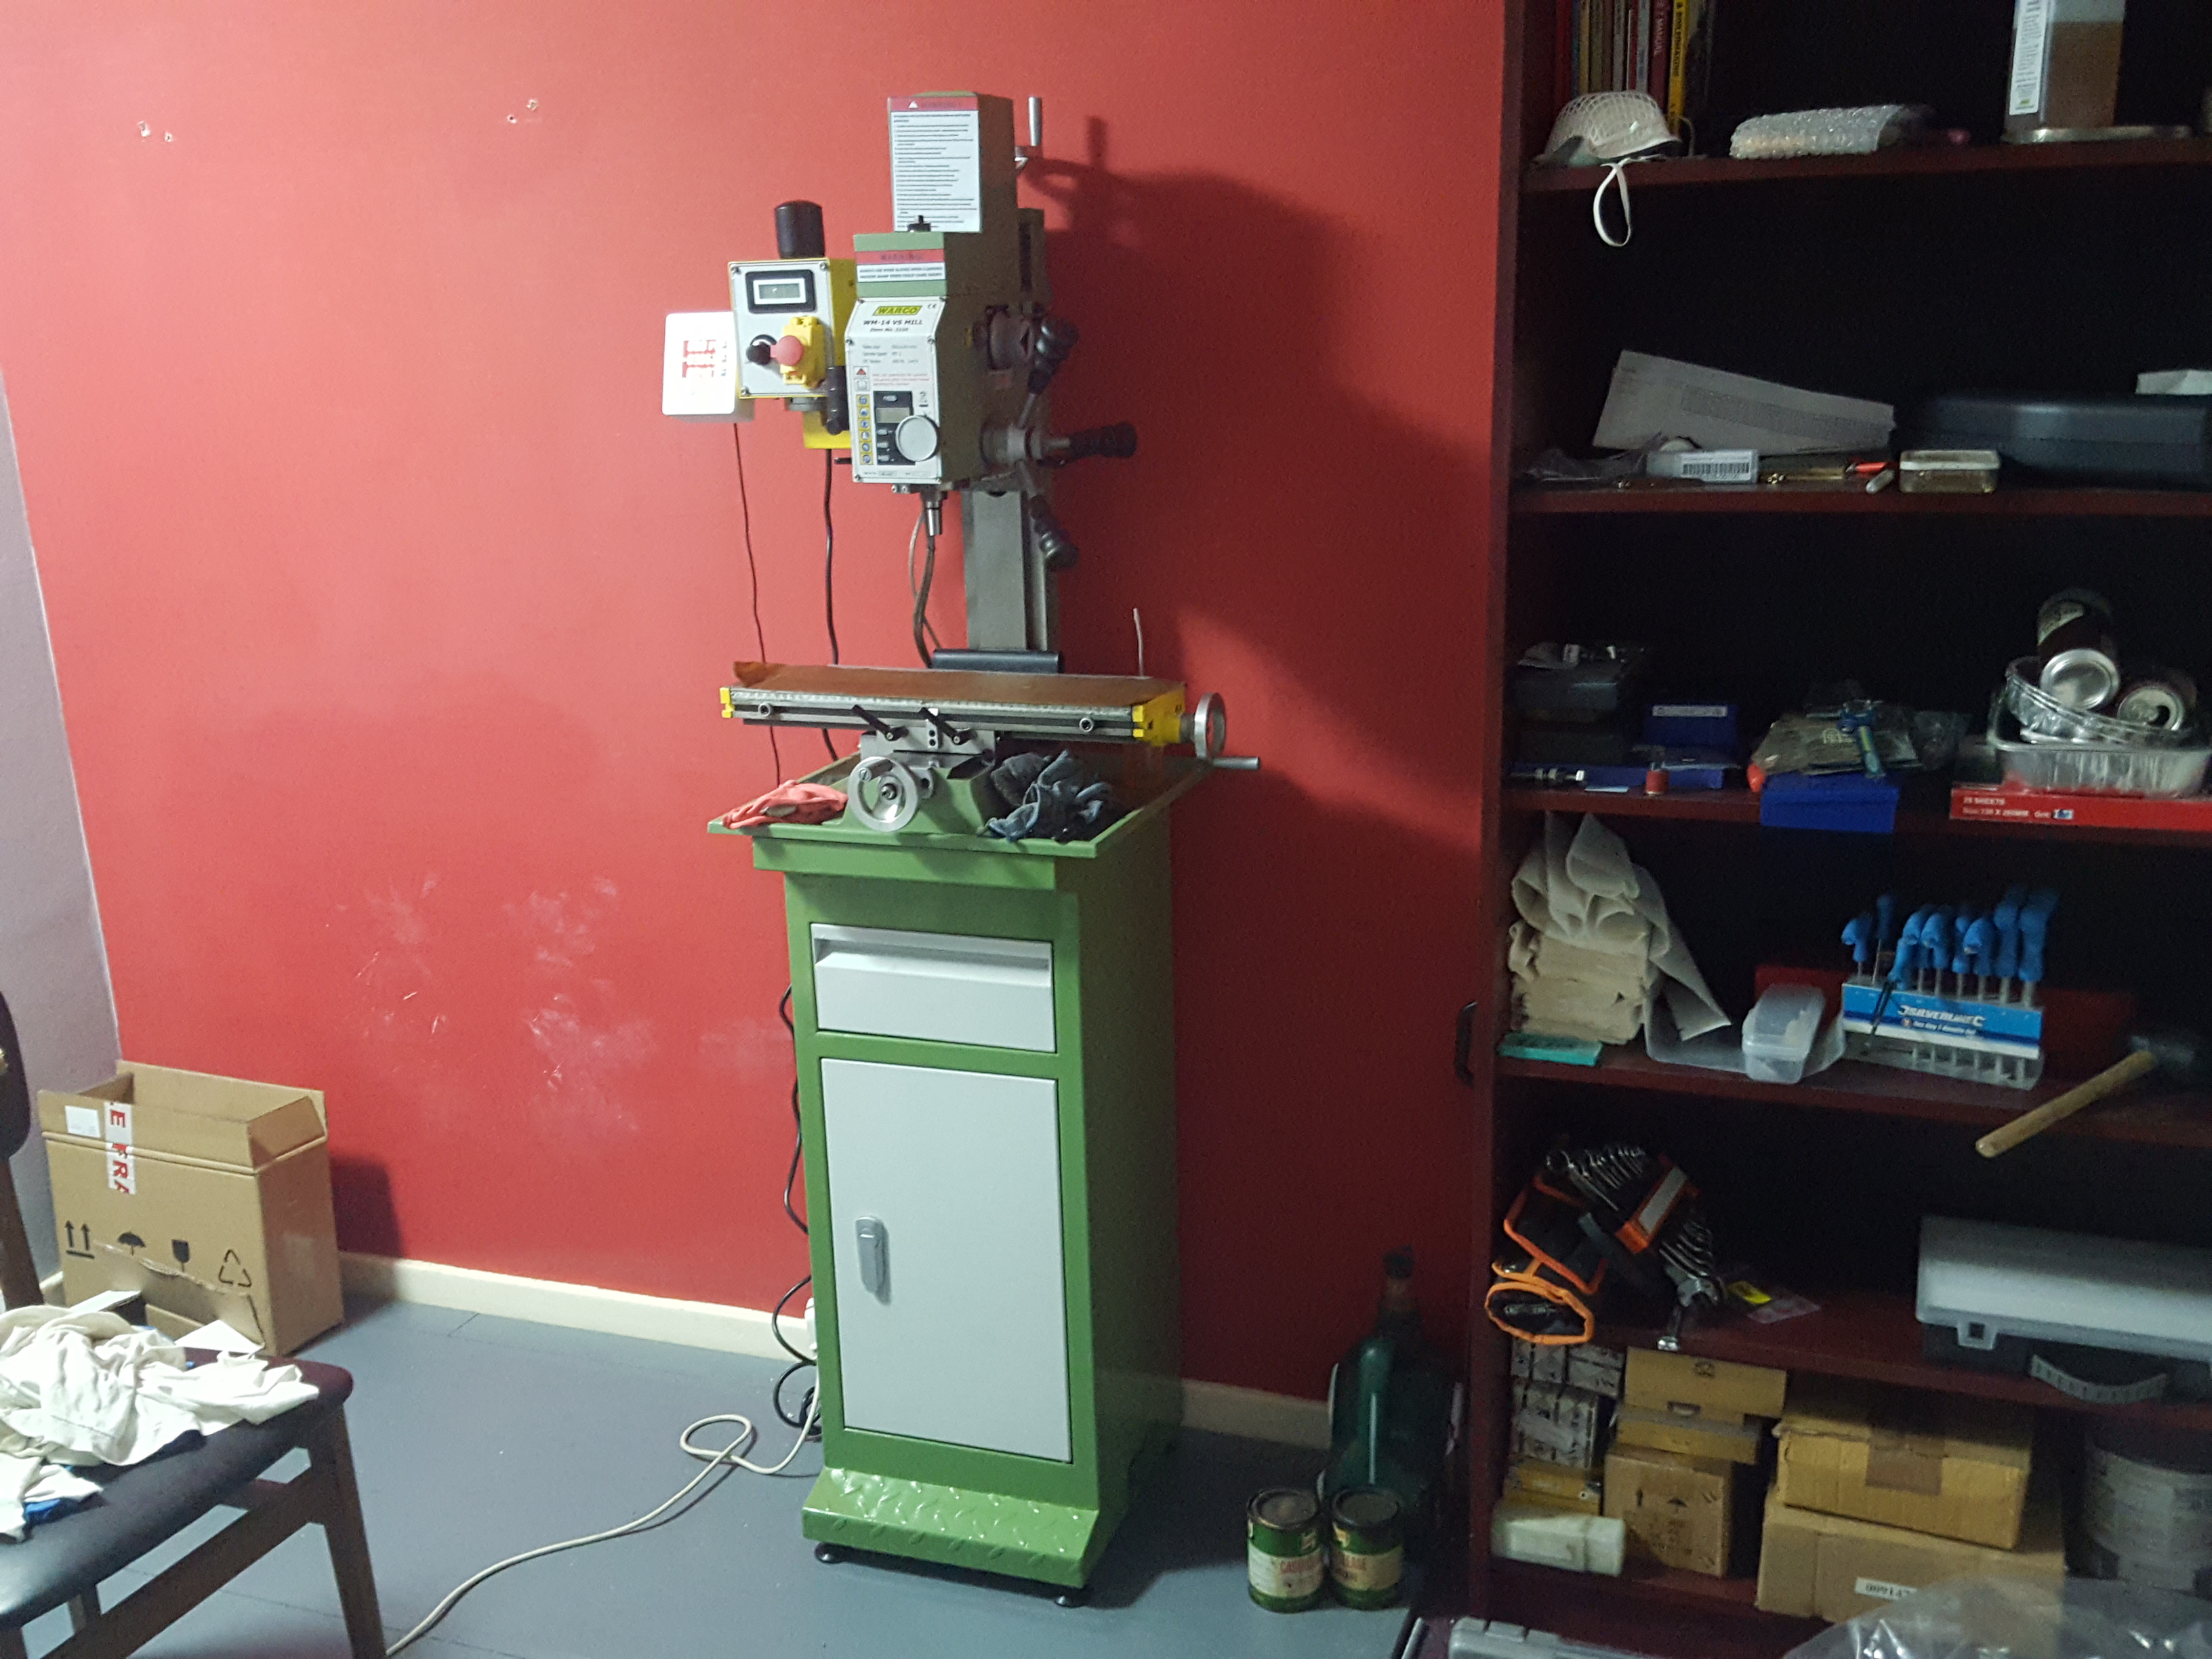
I unwrapped the mill first, and took its cabinet stand upstairs, using the stair-climbing sack barrow I'd bought especially for the job.
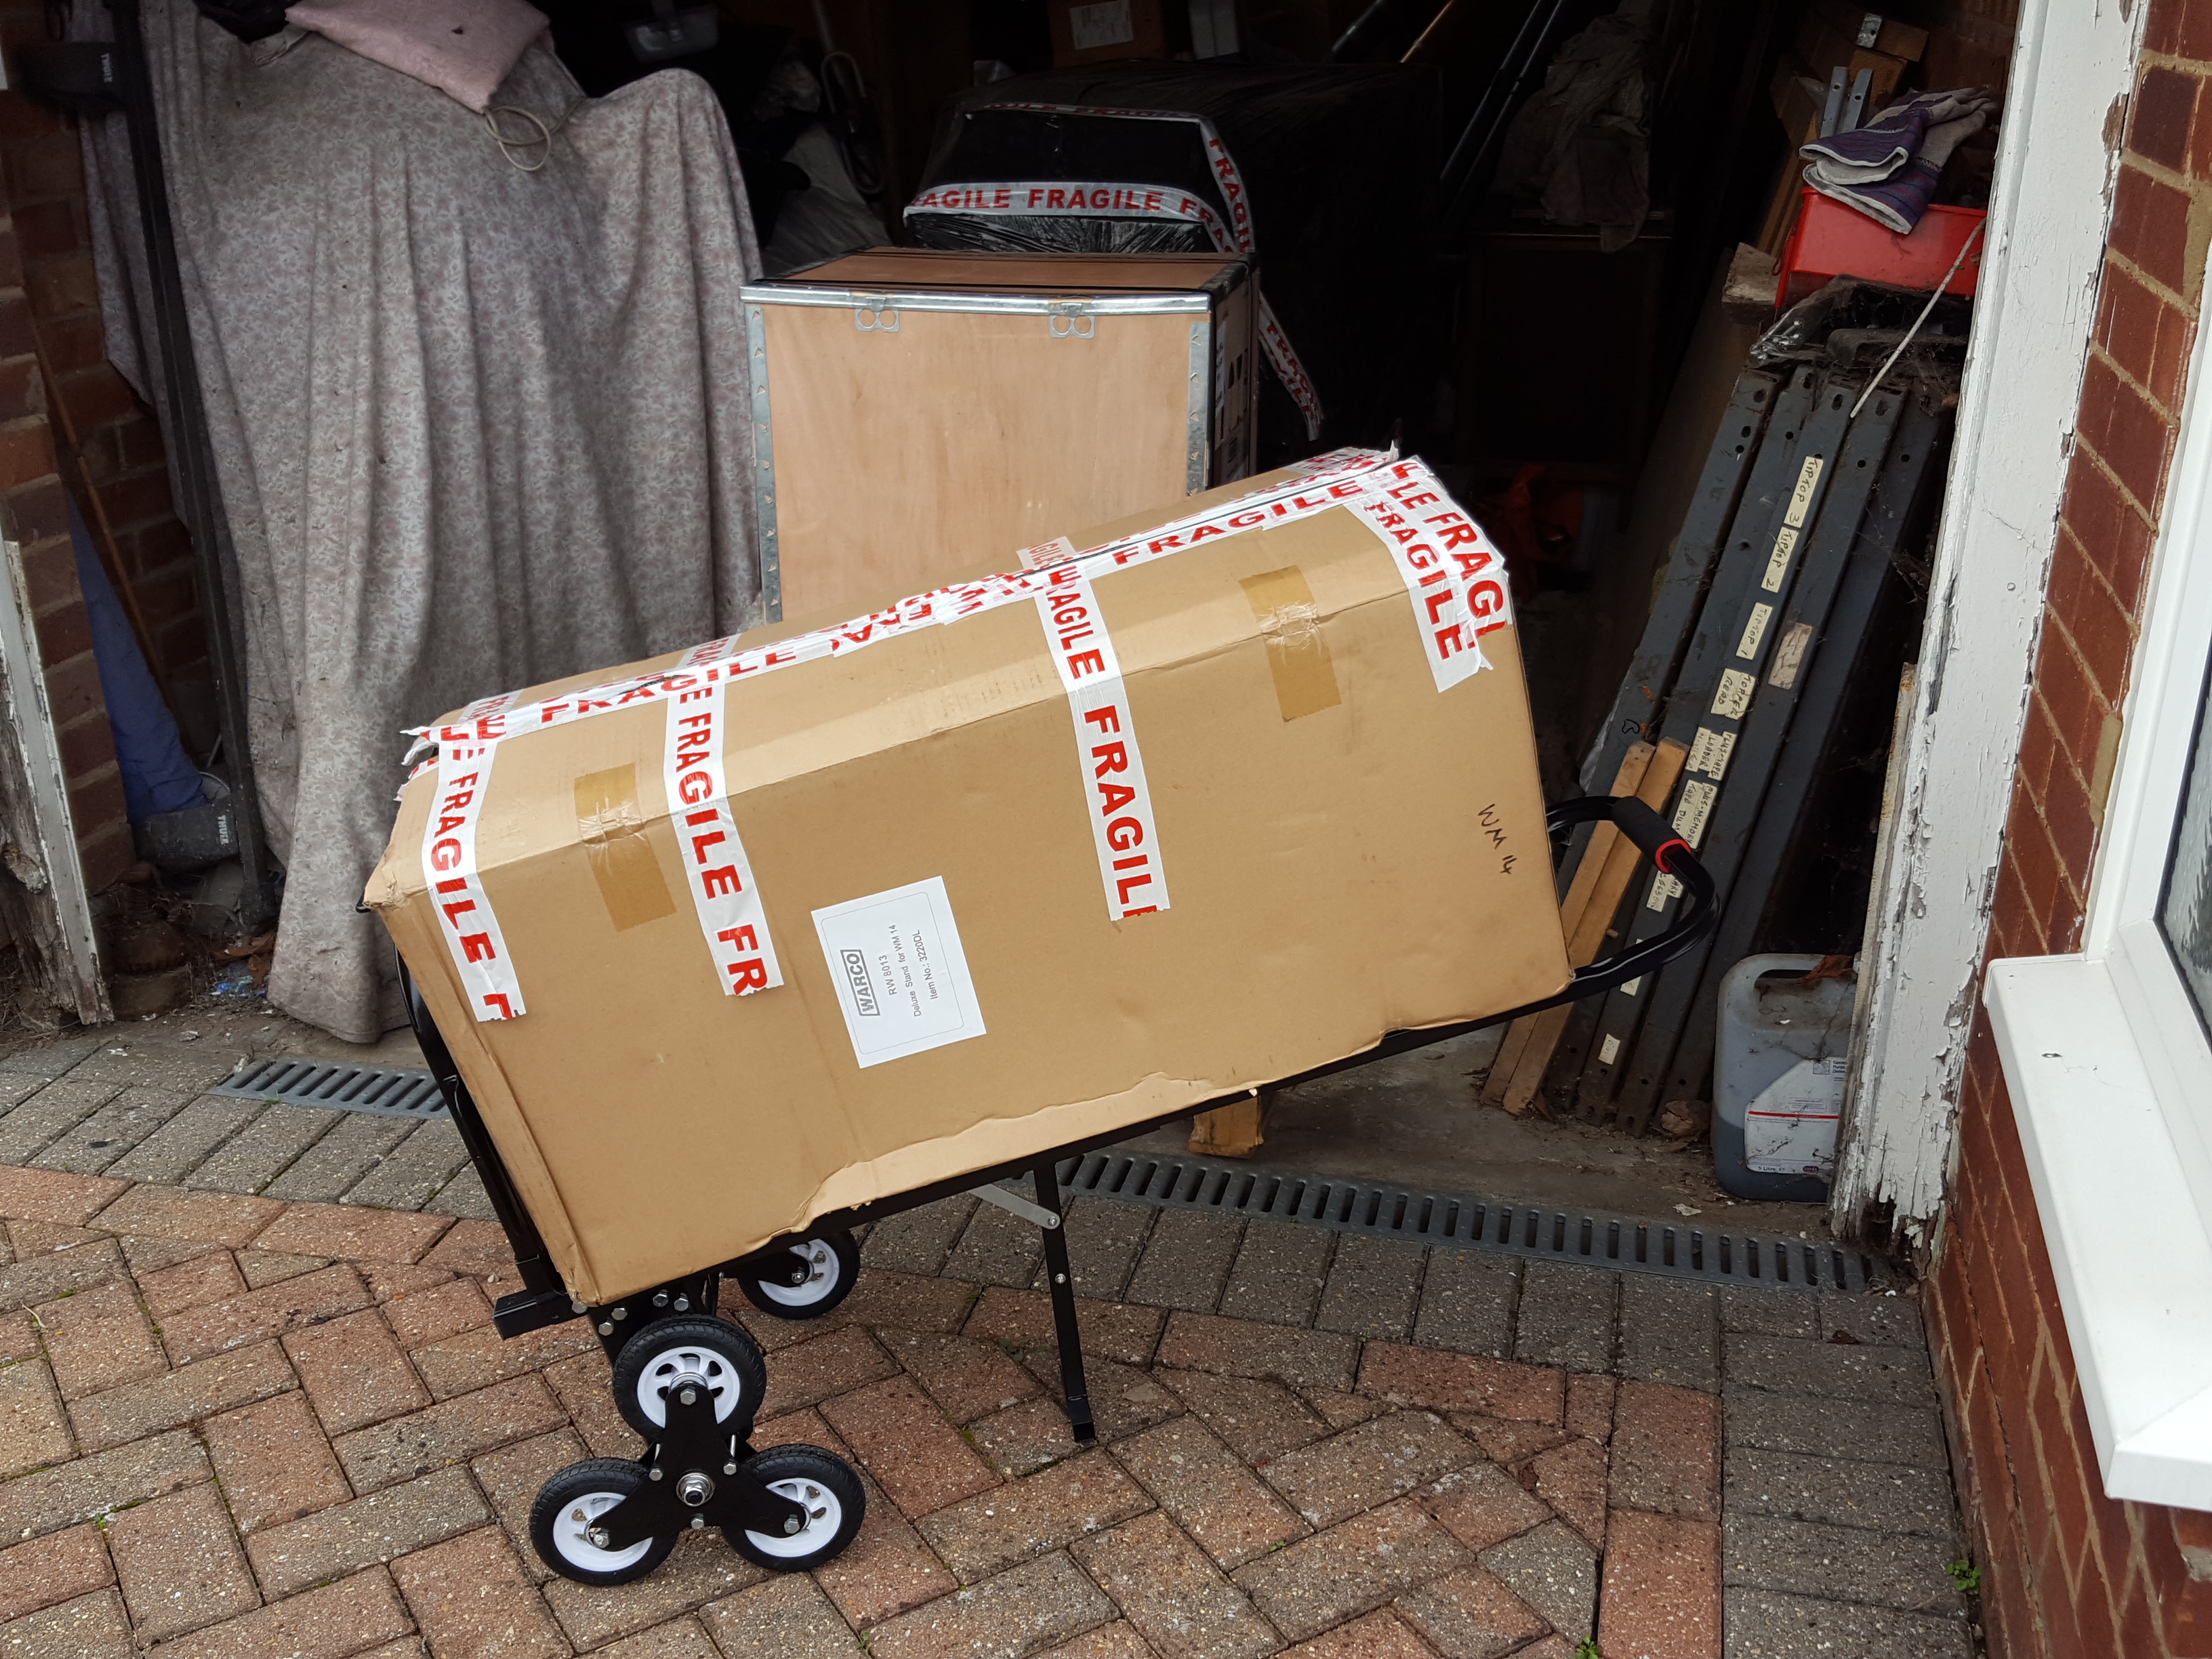
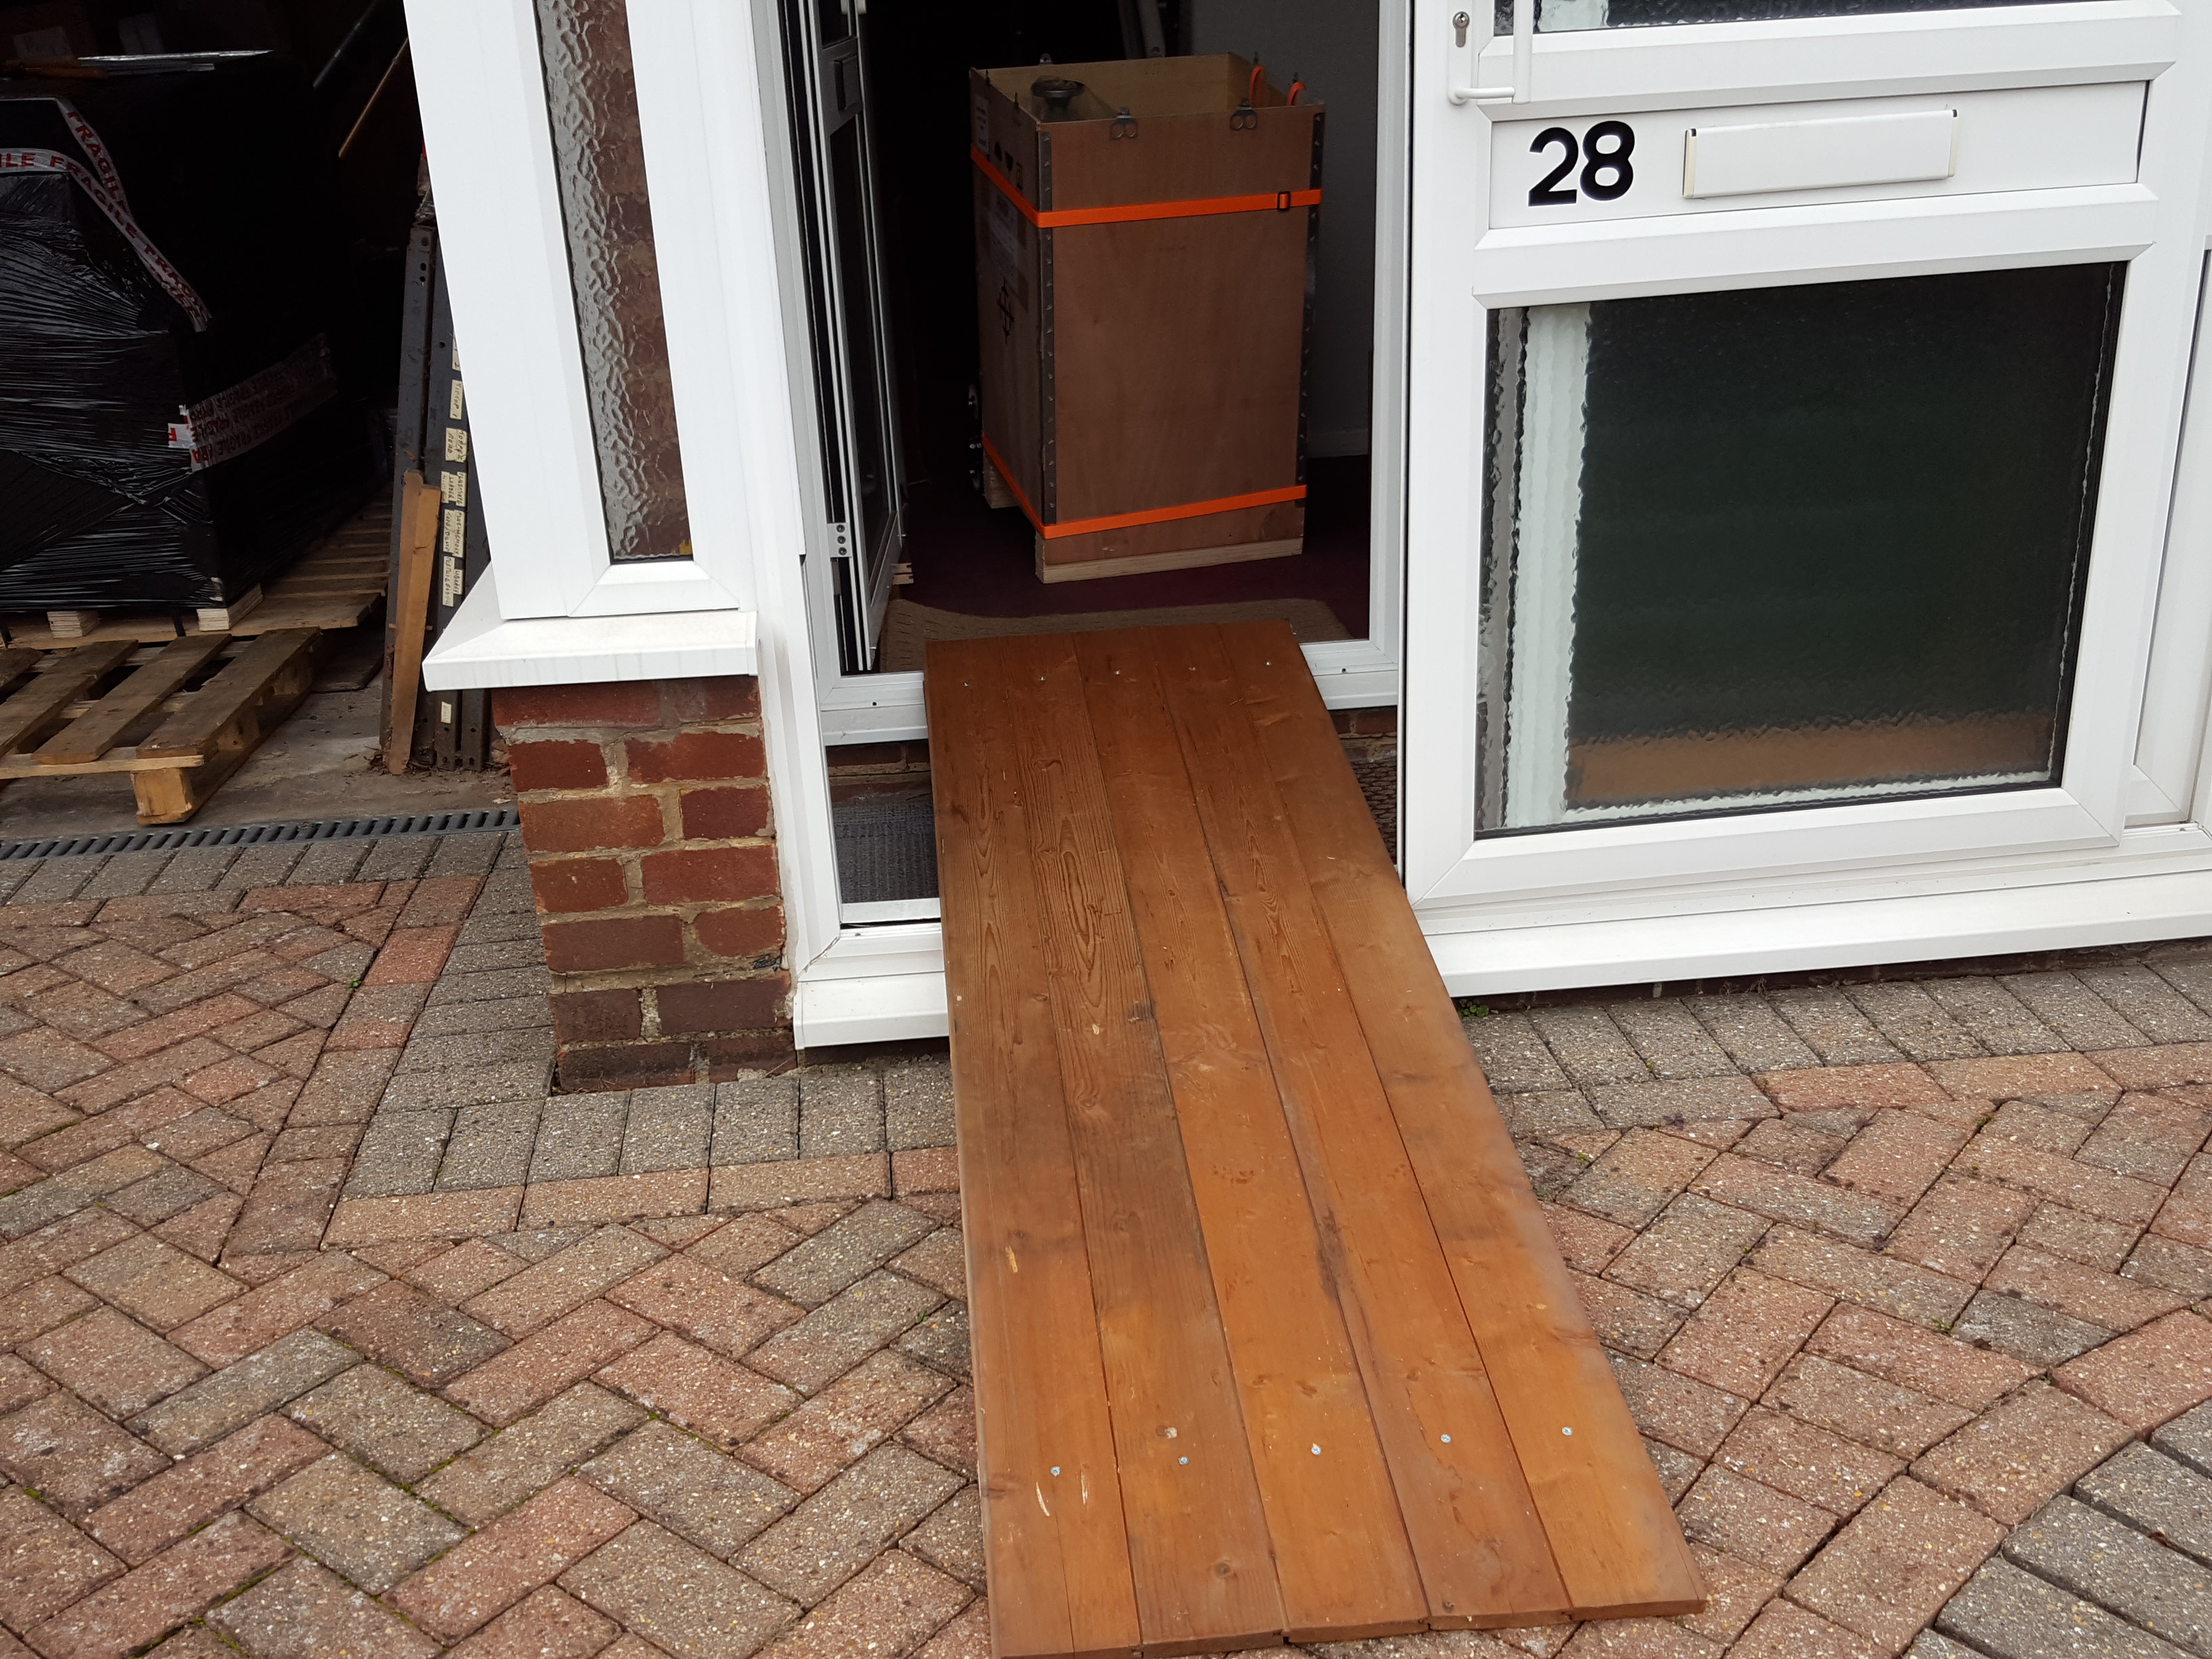
Will the mill weighing a 'mere' 75 kg, I thought I'd be able to get it up the stairs on my own. I built a wooden ramp to help smooth the way over the door-steps for the barrow, and managed eventually to get the mill into the hallway. Luckily, my stairs go straight up from the front door, so I thought it would be an easy task to take the mill straight up to the room.
I had purchased a cheapo 6:1 block & tackle system on eBay, and had anchored it to a Rawlbolt in the wall at the top of the stairs, but as I took the strain, the eyebolt bent and came very loose, so I abandoned that lifting attempt and waited until the following day when Andi was available to help me. With me up the stairs pulling, and Andi below lifting and guiding the barrow, we managed to get the mill upstairs in a few, uneventful minutes.
Now for the lathe!
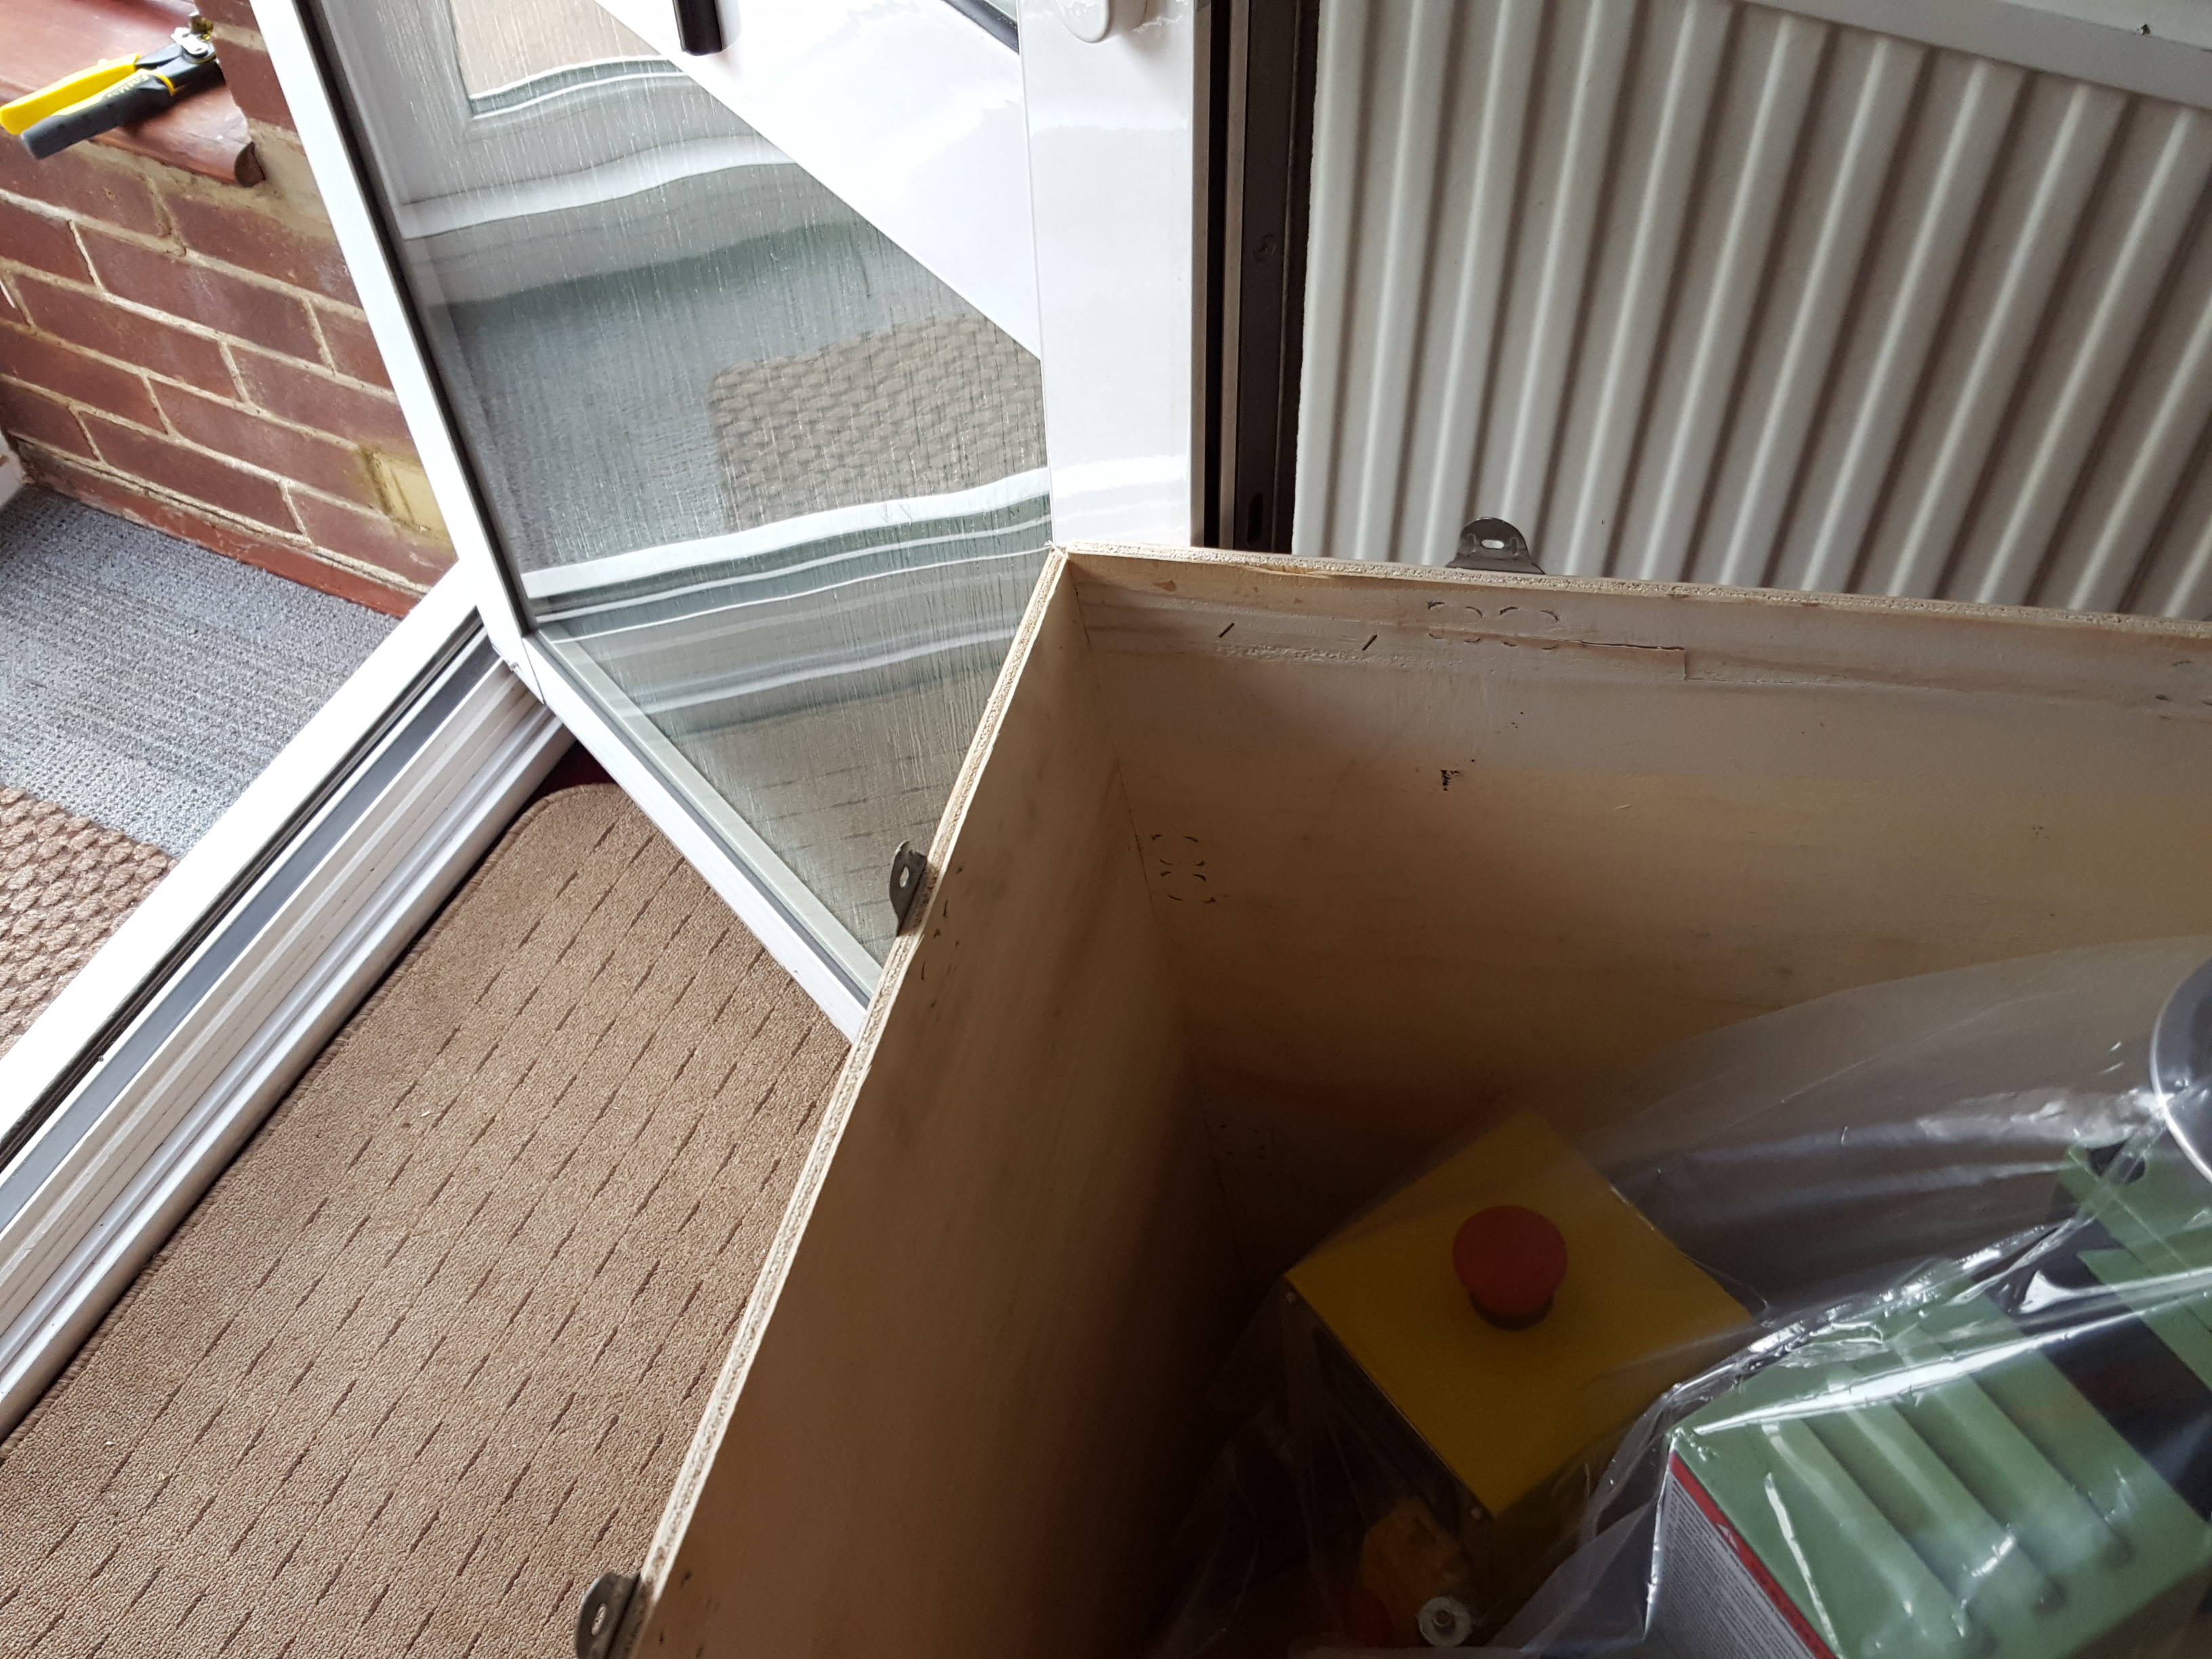
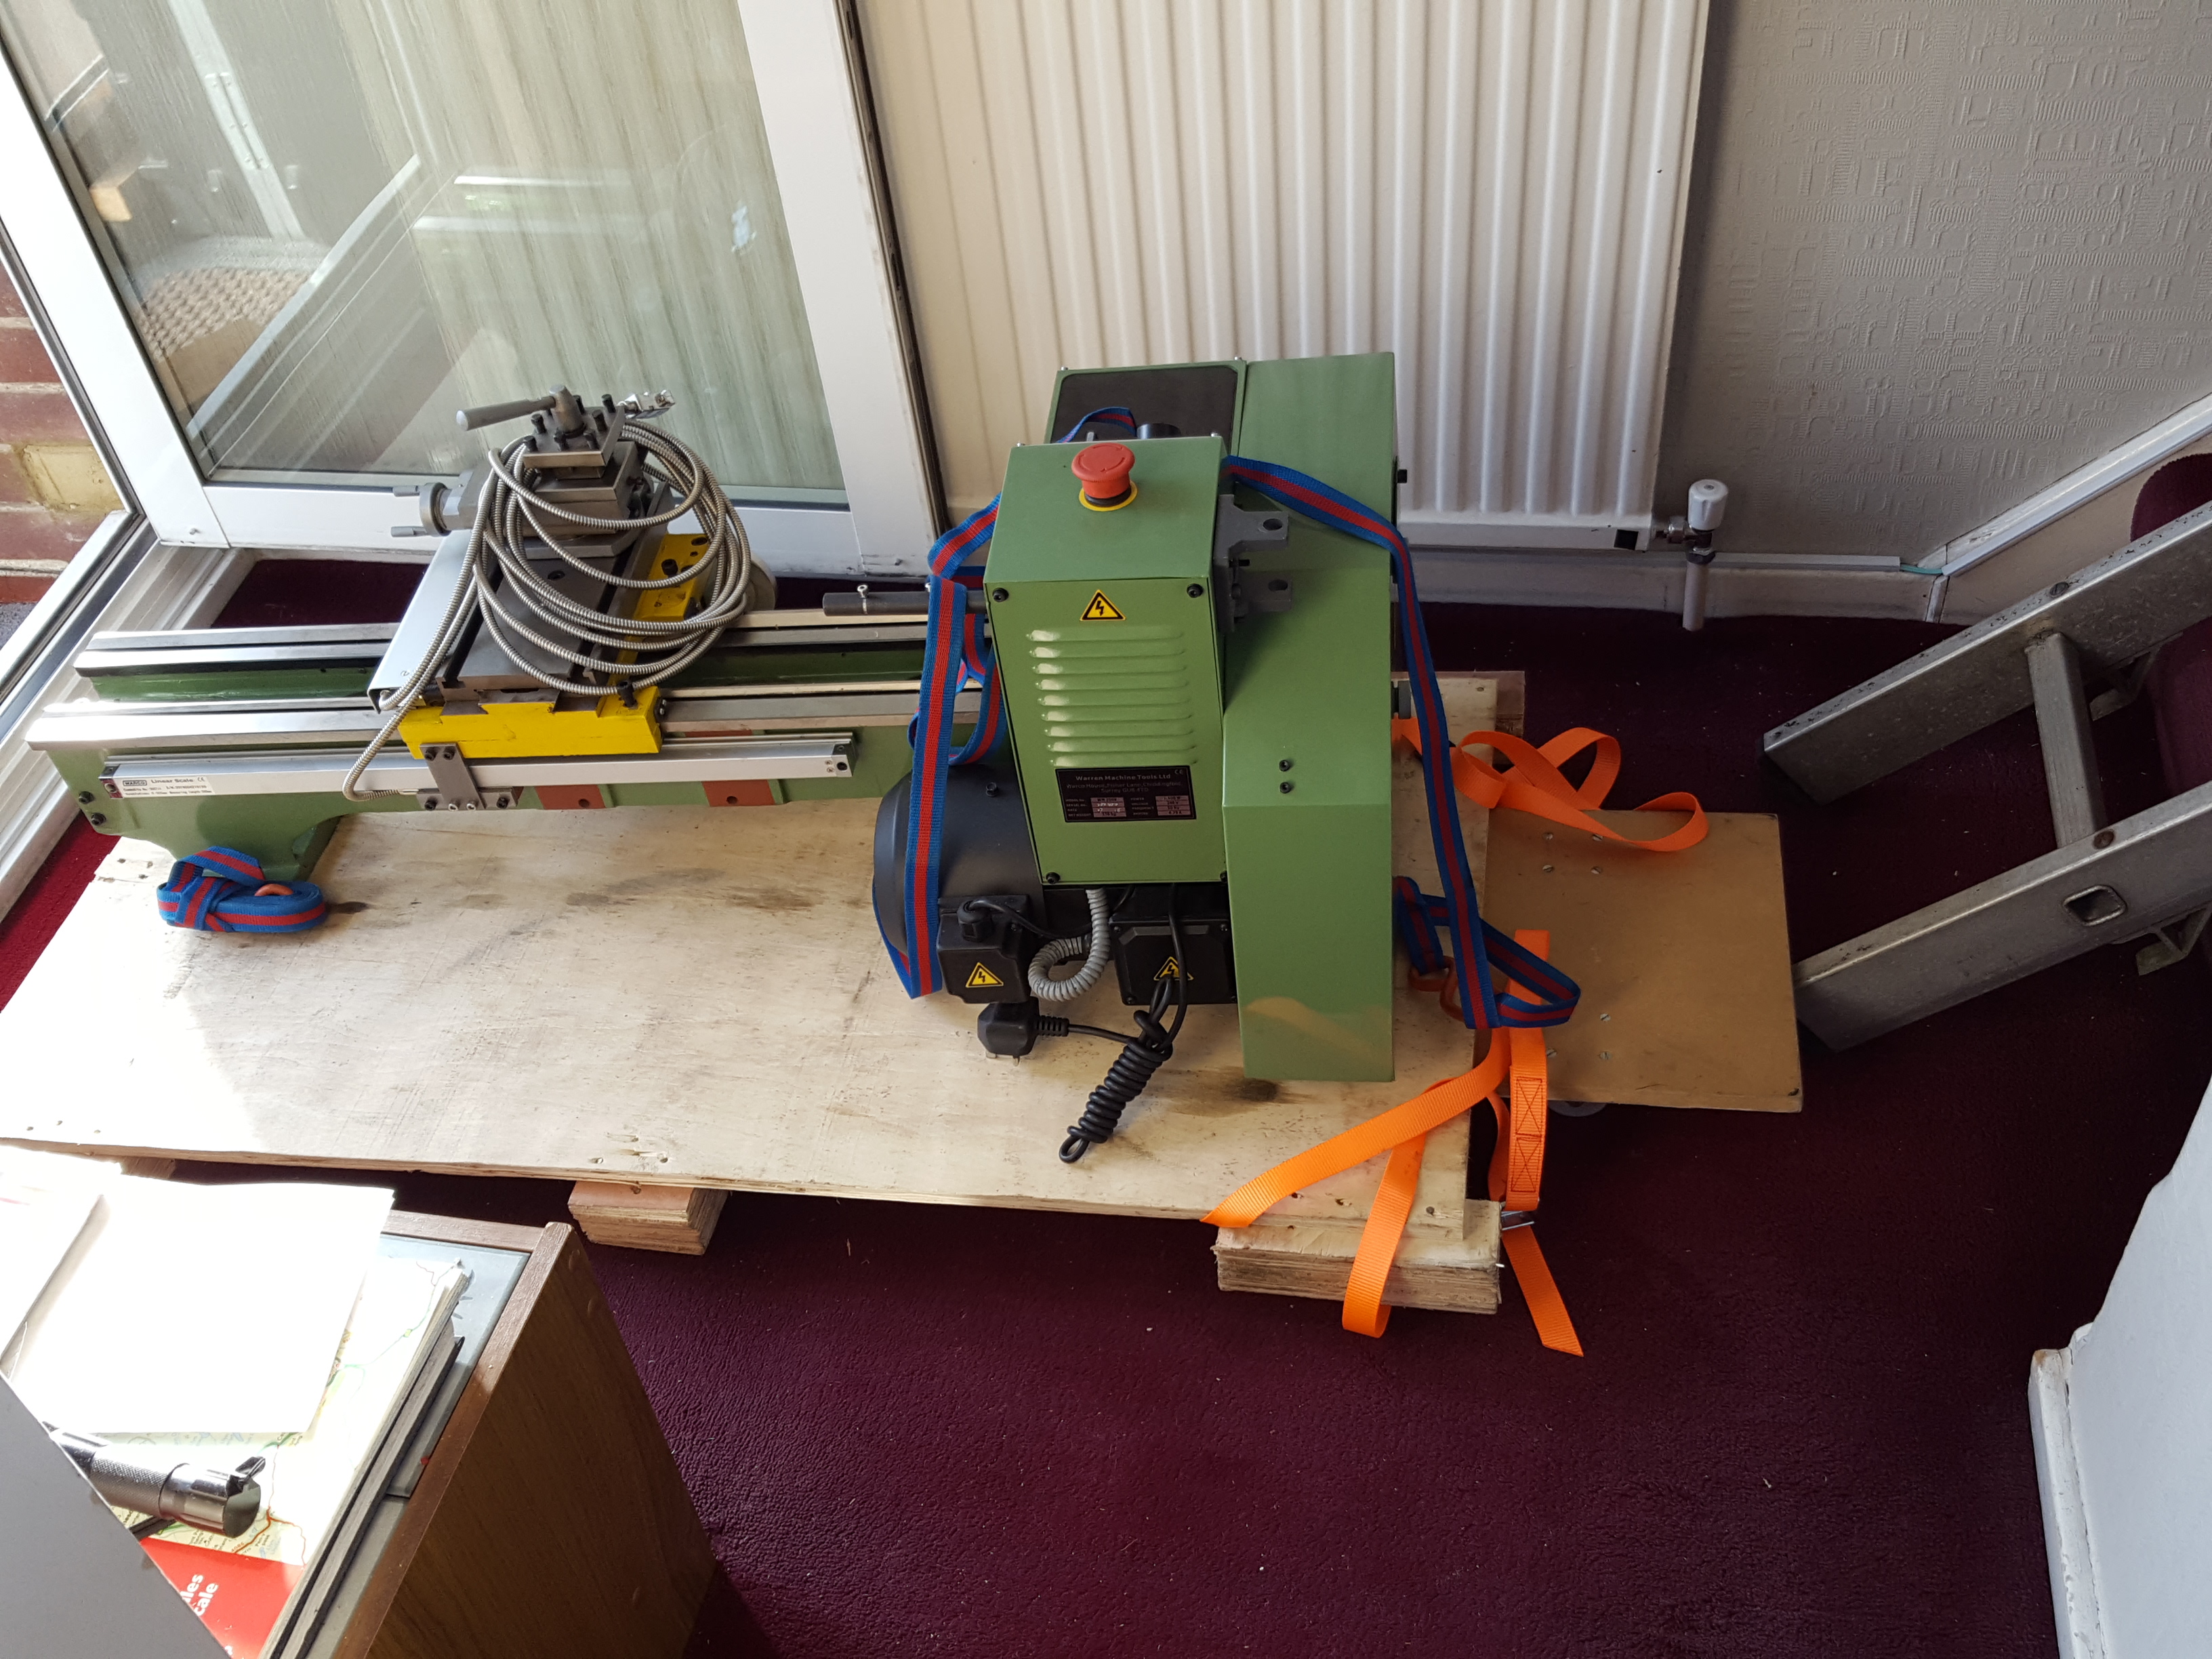
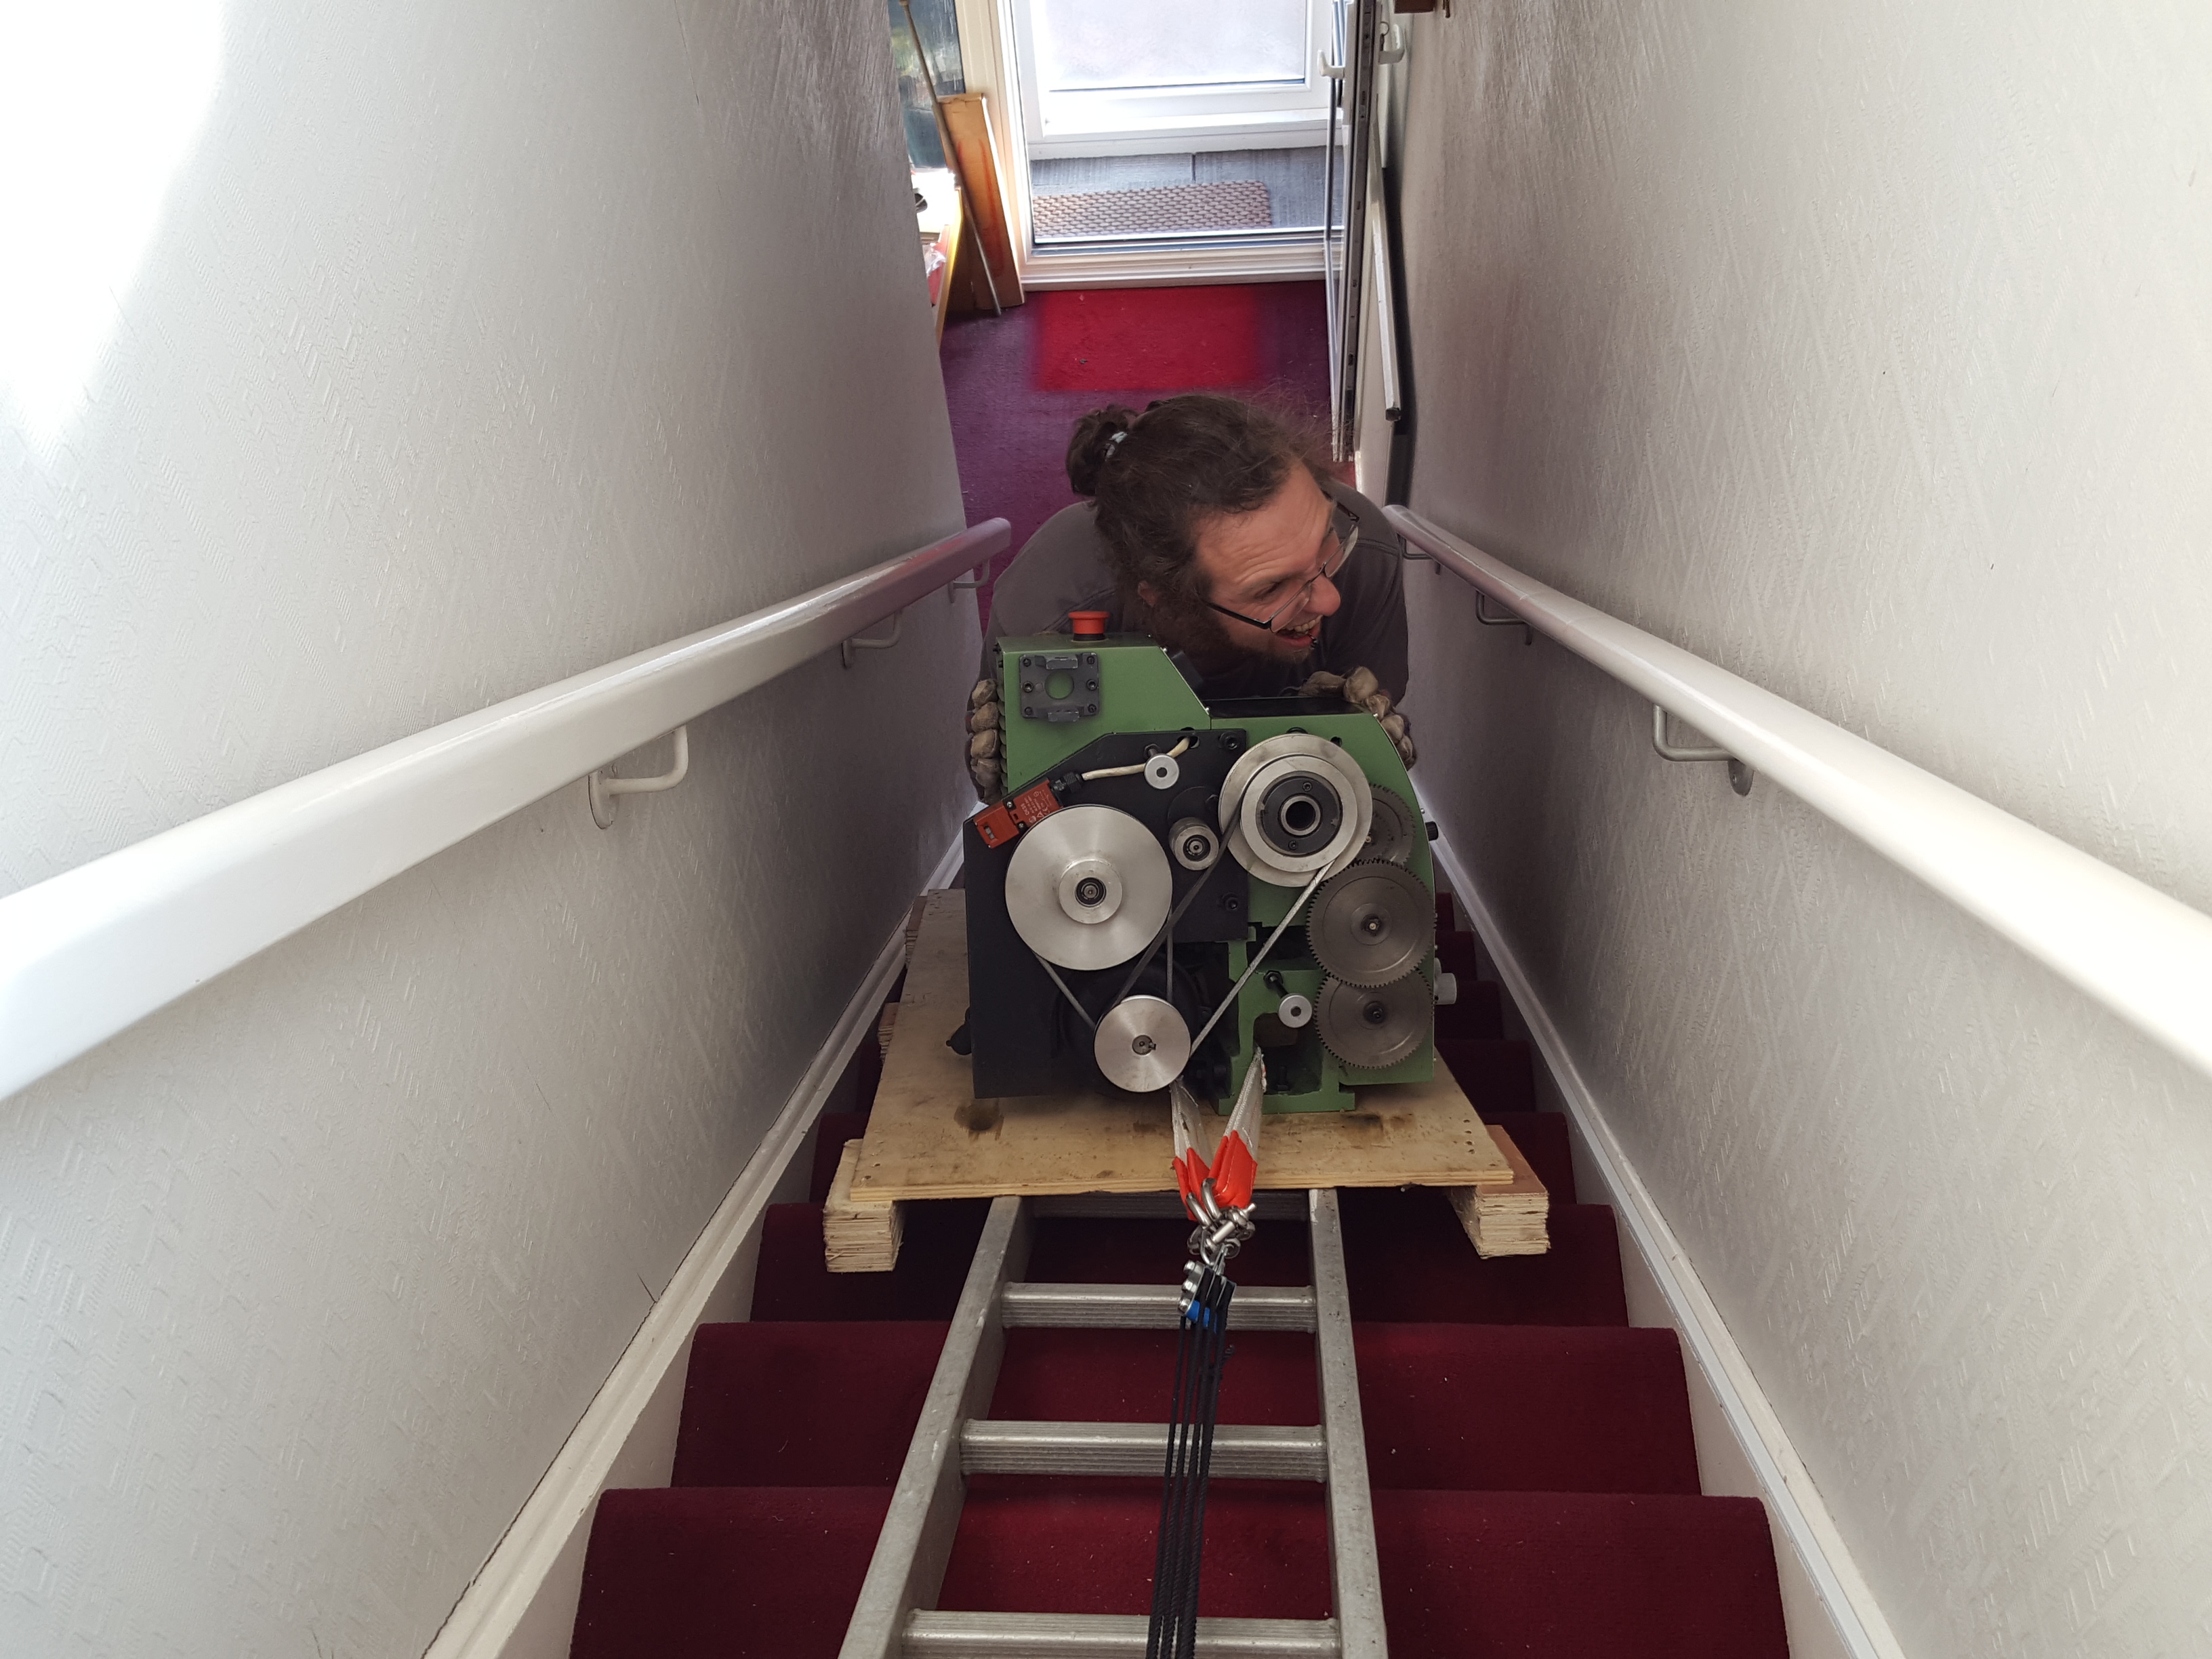
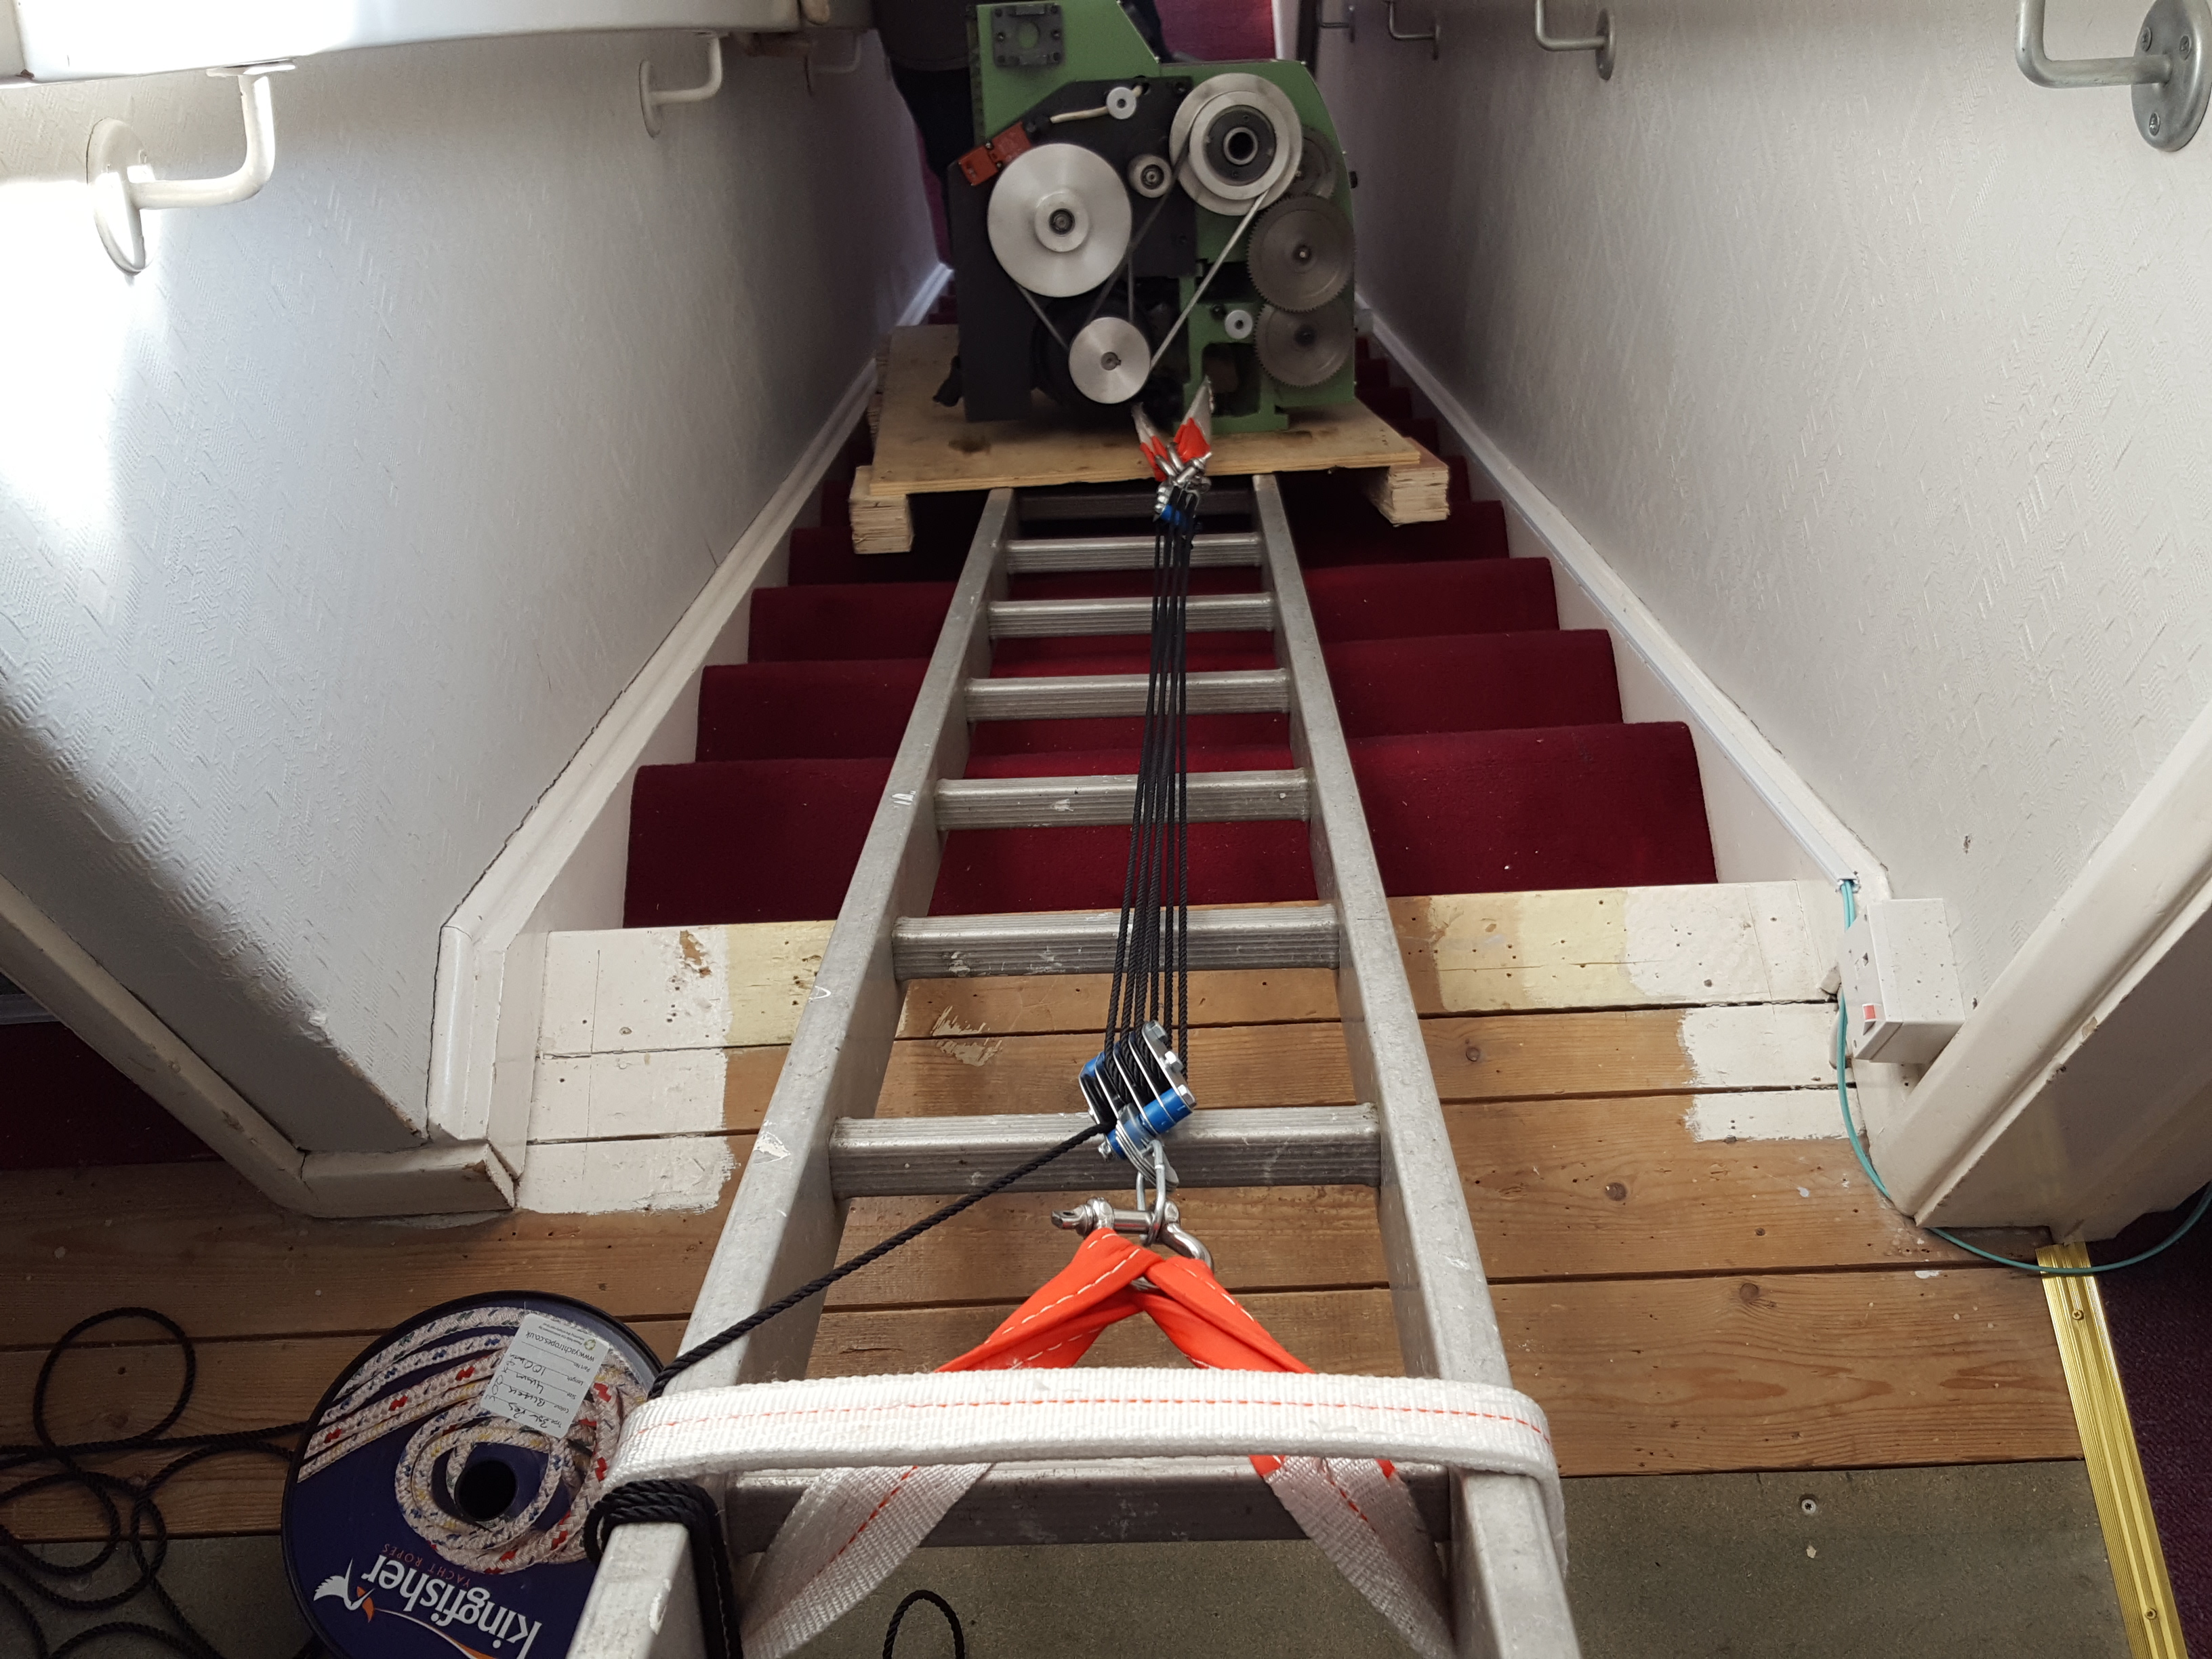
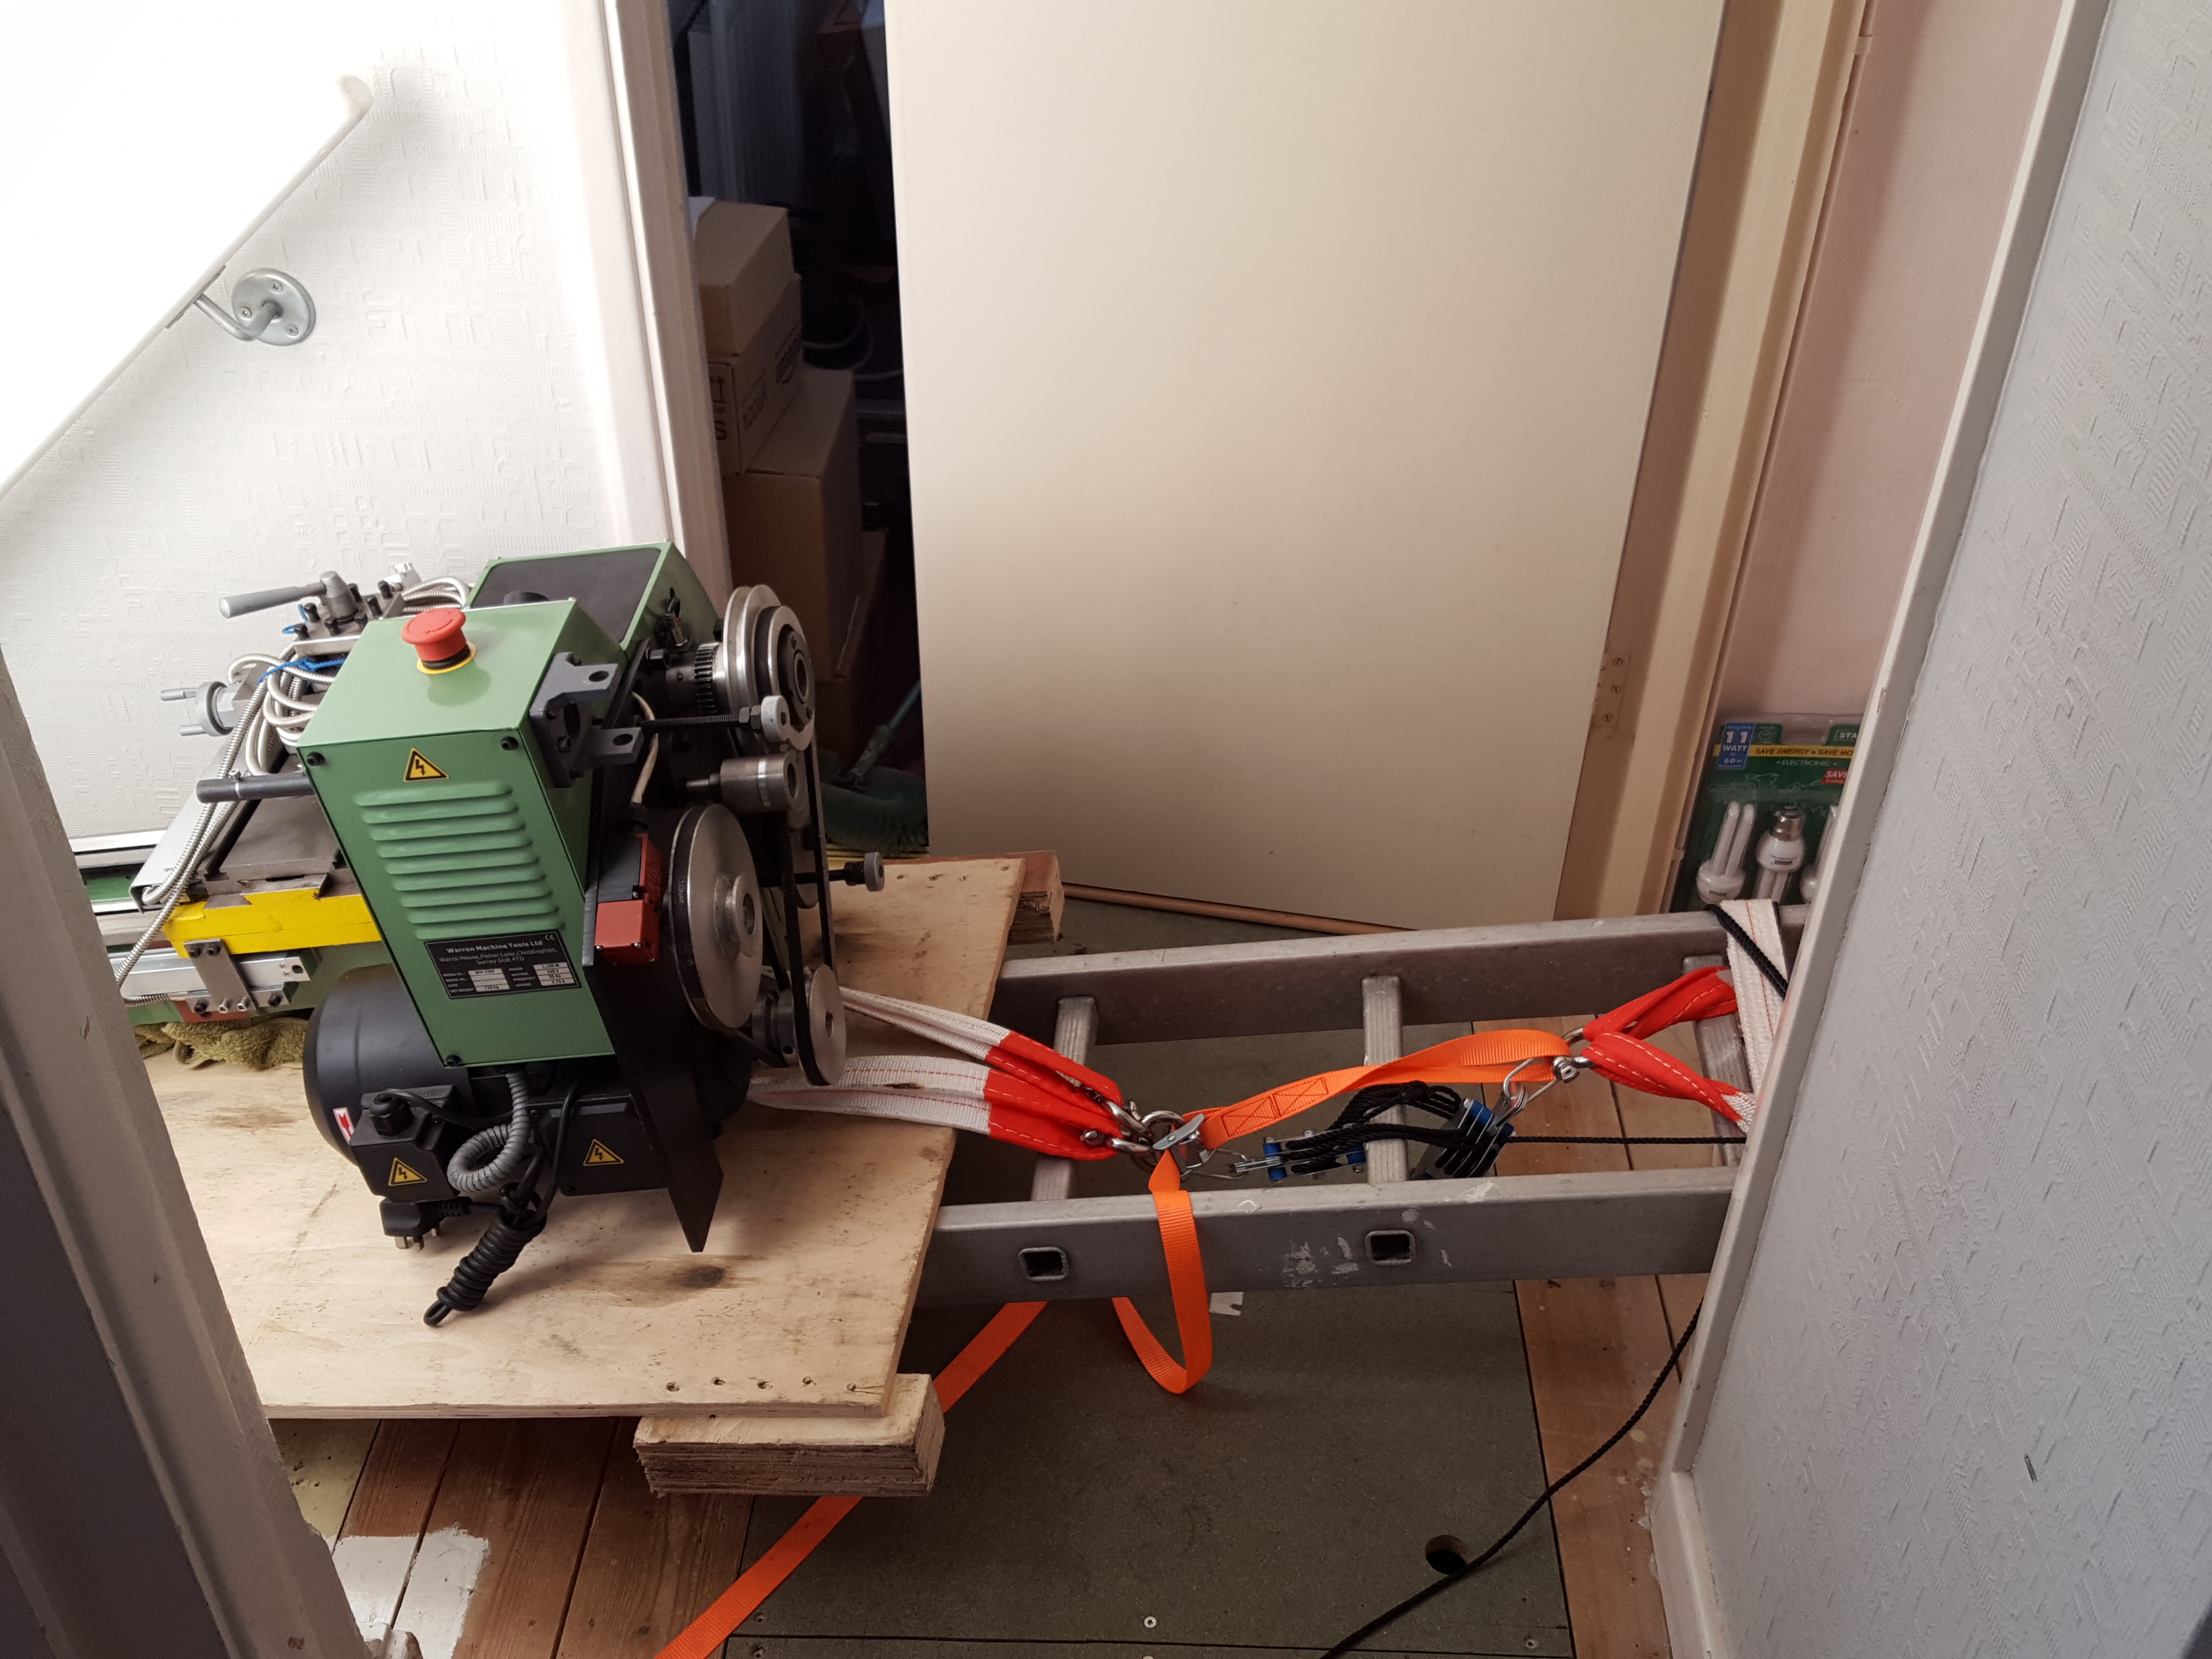
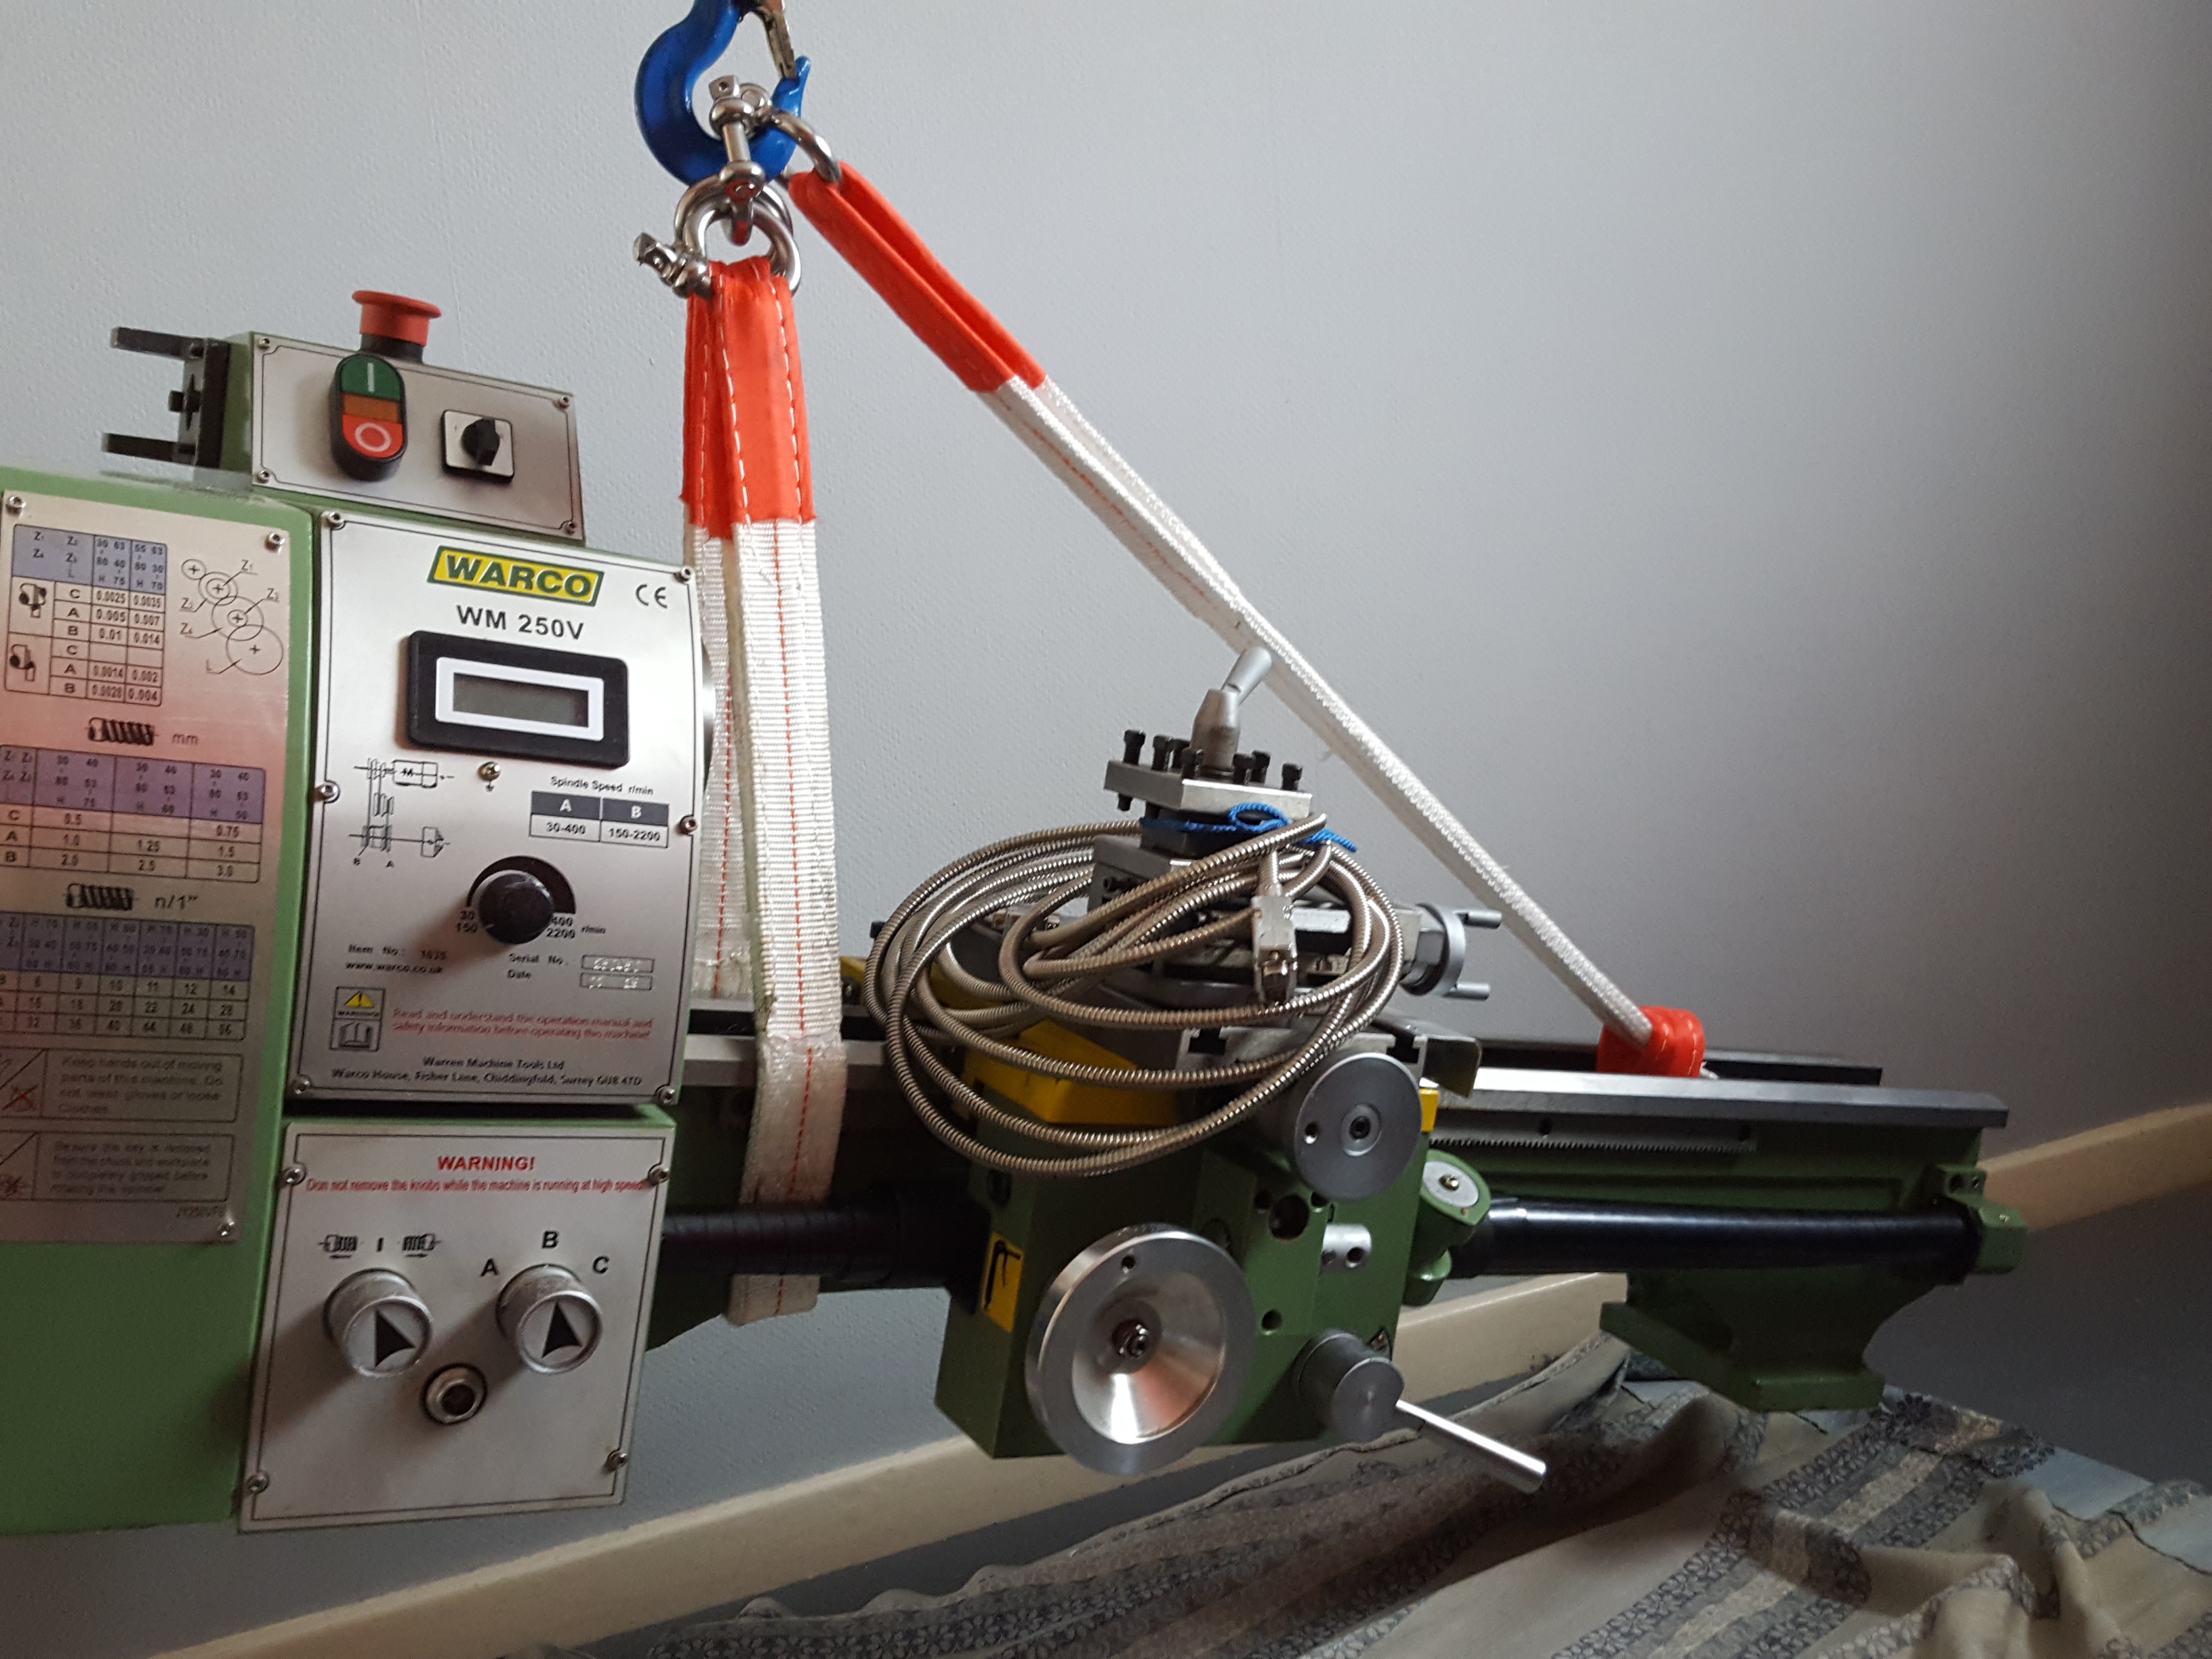
We struggled hard, and between us managed to manoeuvre the lathe from its crate and in through the front door. The tailstock and chuck had already been removed in the garage, to lighten the load as much as possible. We knew that we would never be able to get it up the stairs on the sack barrow unaided, so we were going to have to use the block & tackle. While we had a cup of tea, Andi Googled for ideas as to how we might get such a heavy item upstairs. Somebody suggested sliding it up a ladder. Brilliant idea - I just happen to own a 5-metre aluminium extension ladder, so it was quickly put to use, with the block & tackle being attached to the top of it, using the strops and shackles I'd purchased for lifting the machines onto their stands (more about that later...). With Andy pushing, and me pulling via the block & tackle, we eventually managed to get the lathe over the fulcrum point of the top stair riser, whereupon the ladder pivoted with a thud and hit the downstairs ceiling at the bottom of the stairs. No problem though - it was totally safe, and remained in that position overnight. The following day, we got the lathe off the crate base and into its (very approximate) final position on the workshop floor. I put the machines on some old curtains, so that I could slide them around the floor when Andi wasn't there to help me. By the way, I can just about lift the tailstock end of the lathe off the floor, but I wouldn't want to have to hold it like that for any length of time!
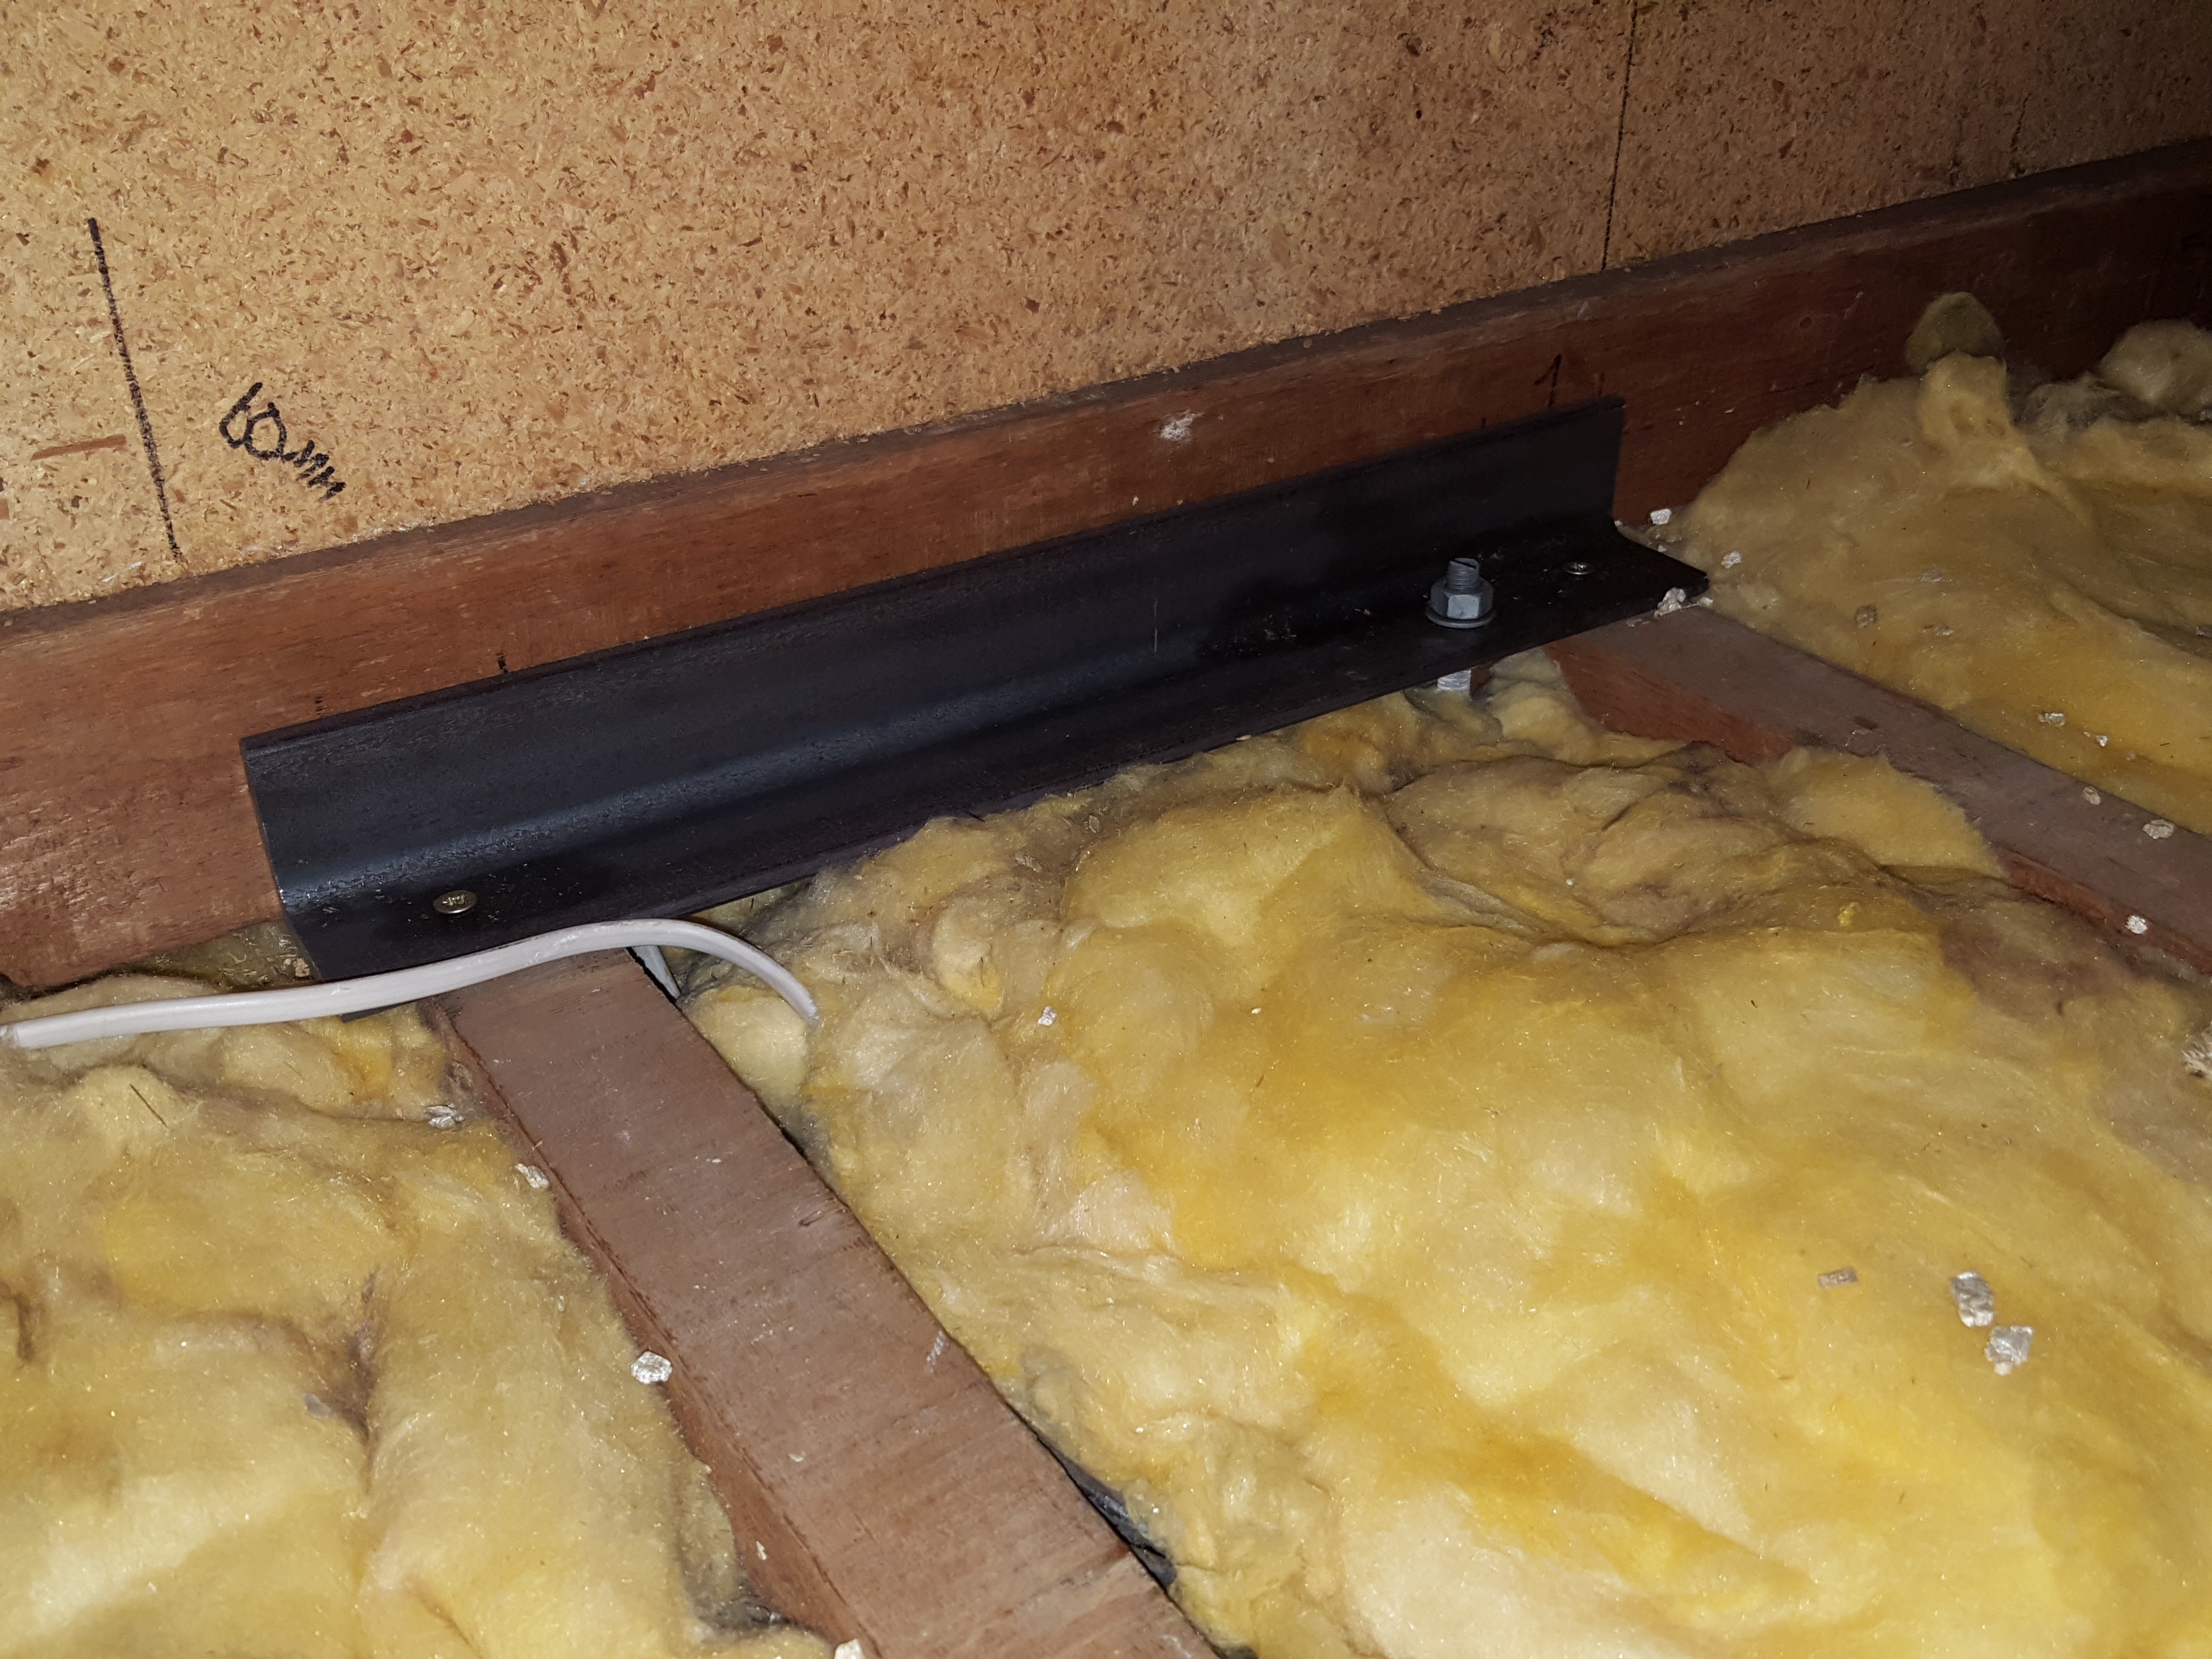
Not having to worry about what SWMBO might have to say about the idea, I had purchased some 60 mm x 60 mm x 8 mm thick angle iron, which I installed across two rafters in my attic, drilling a hole through the bedroom, sorry, workshop ceiling in the appropriate place so that I could install a 12 mm eyebolt to lift the lathe onto its stand. I did the same above the mill's position.
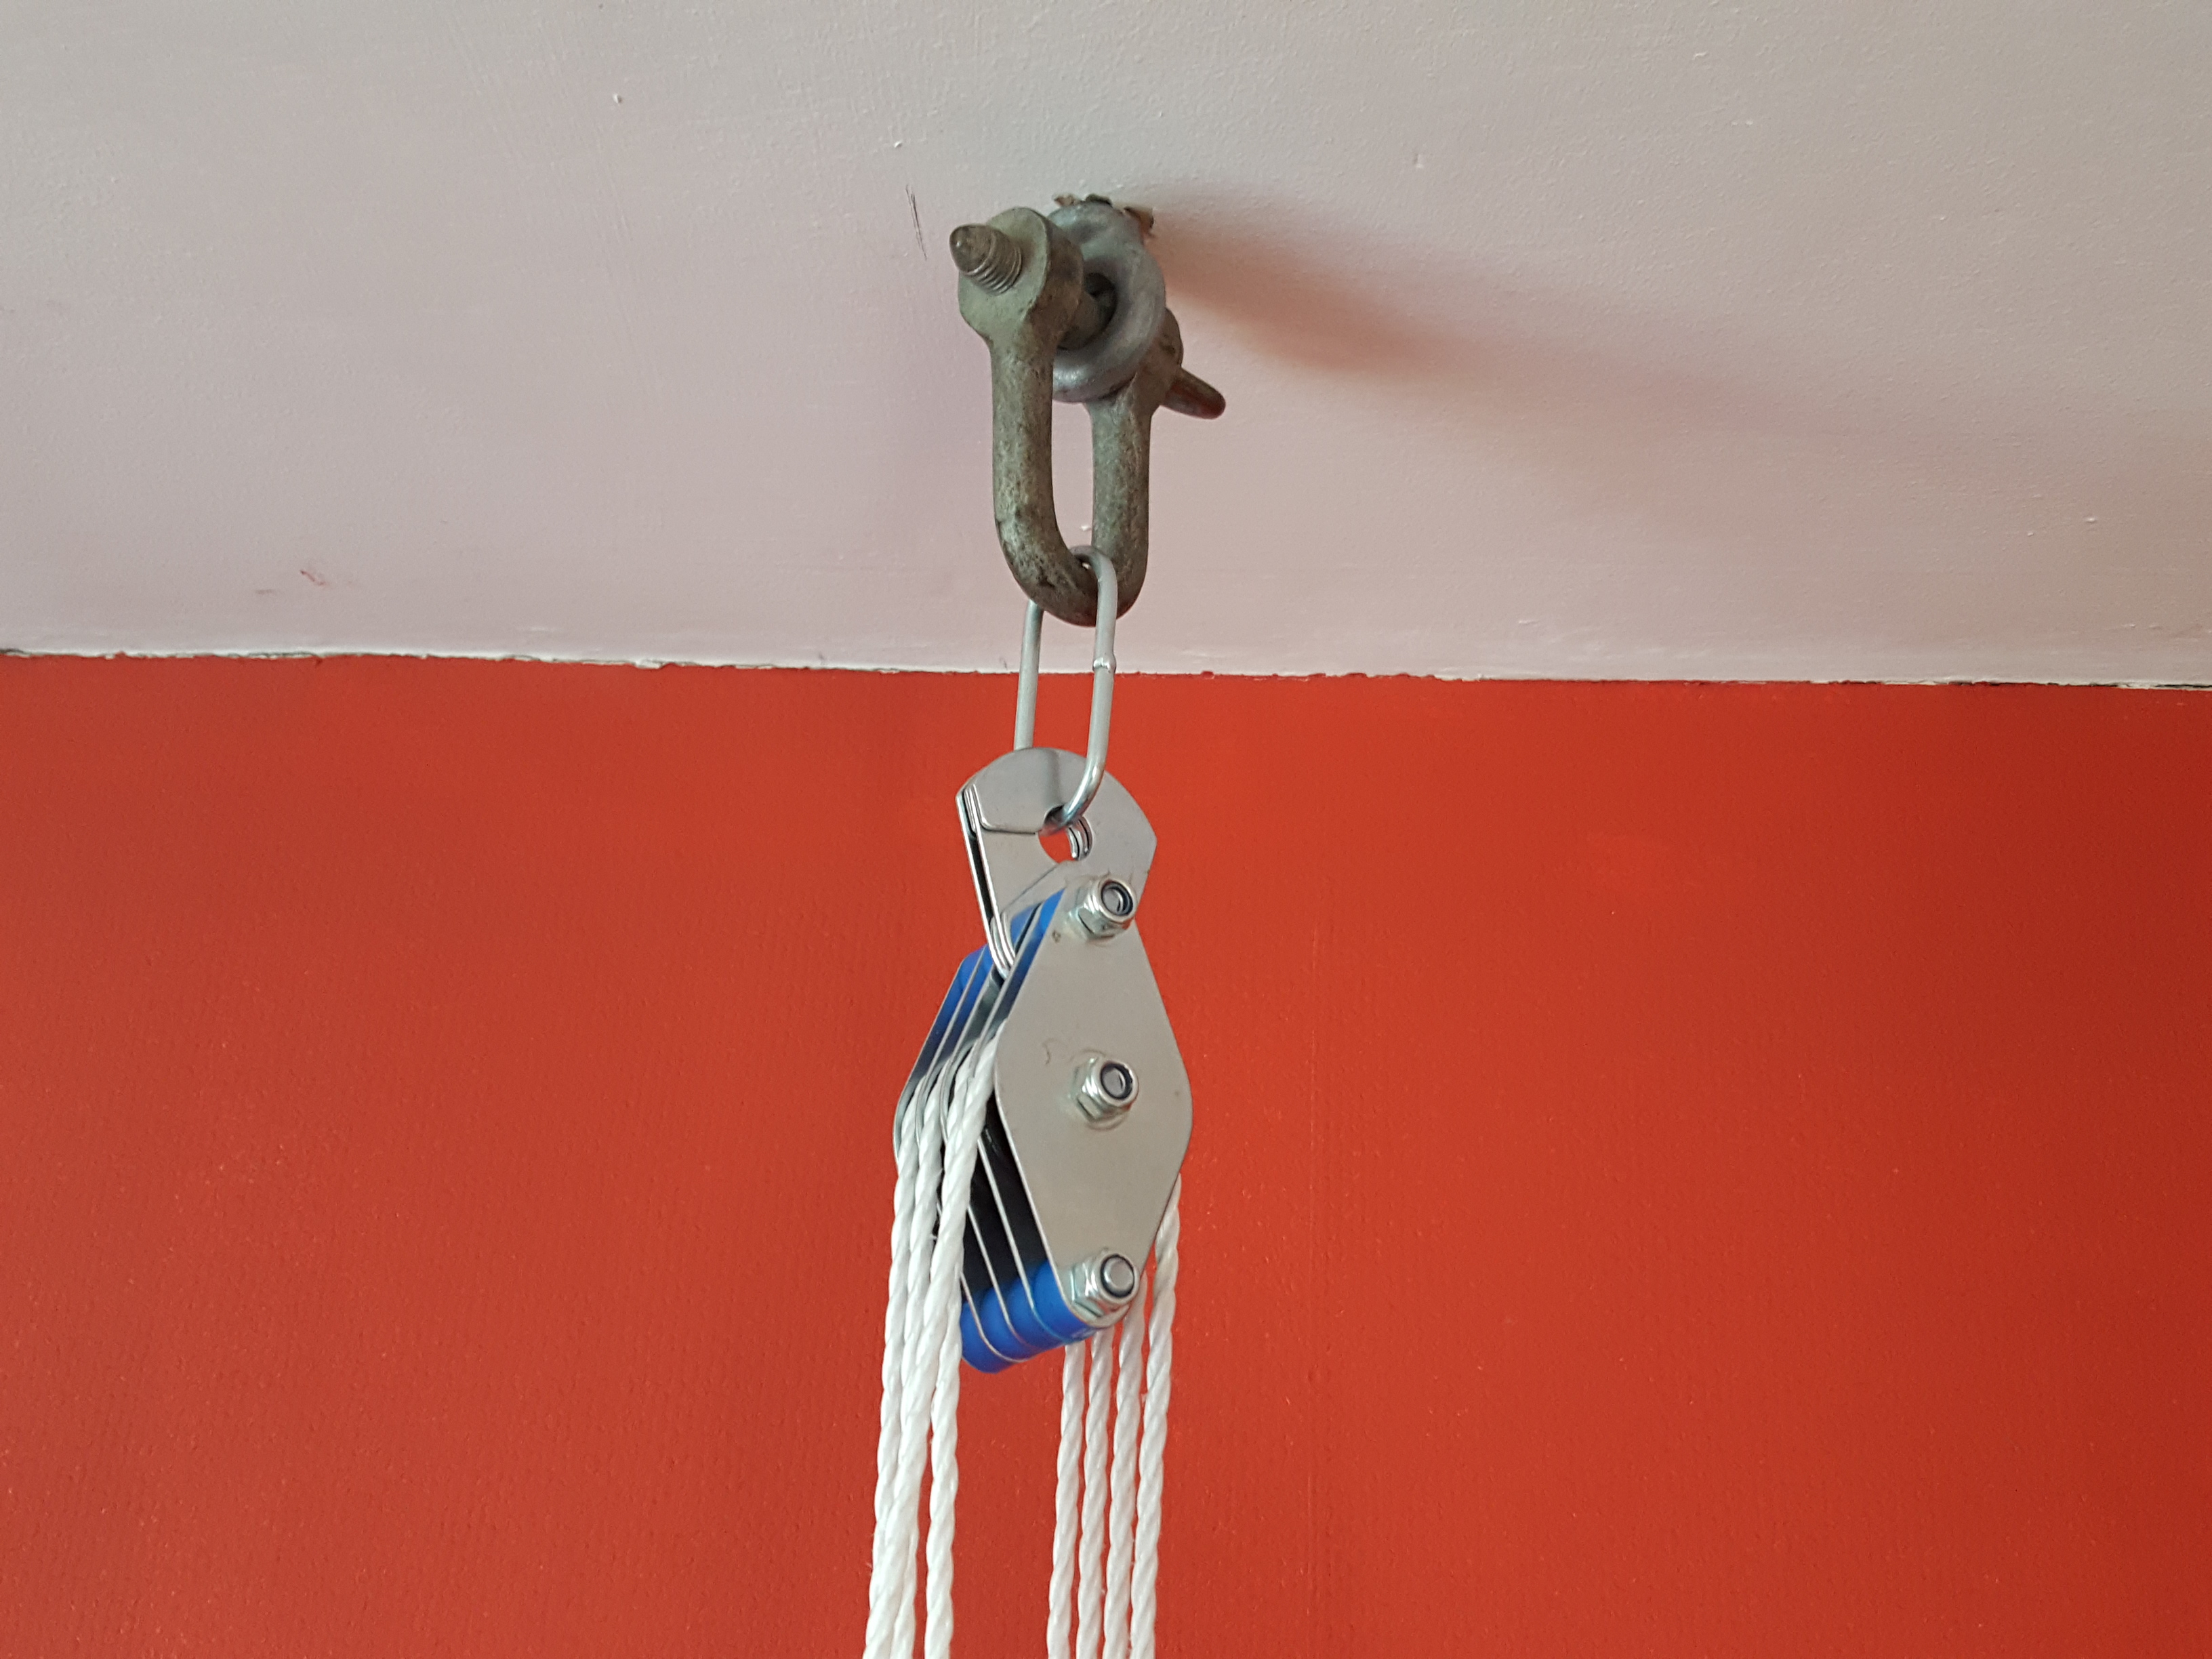
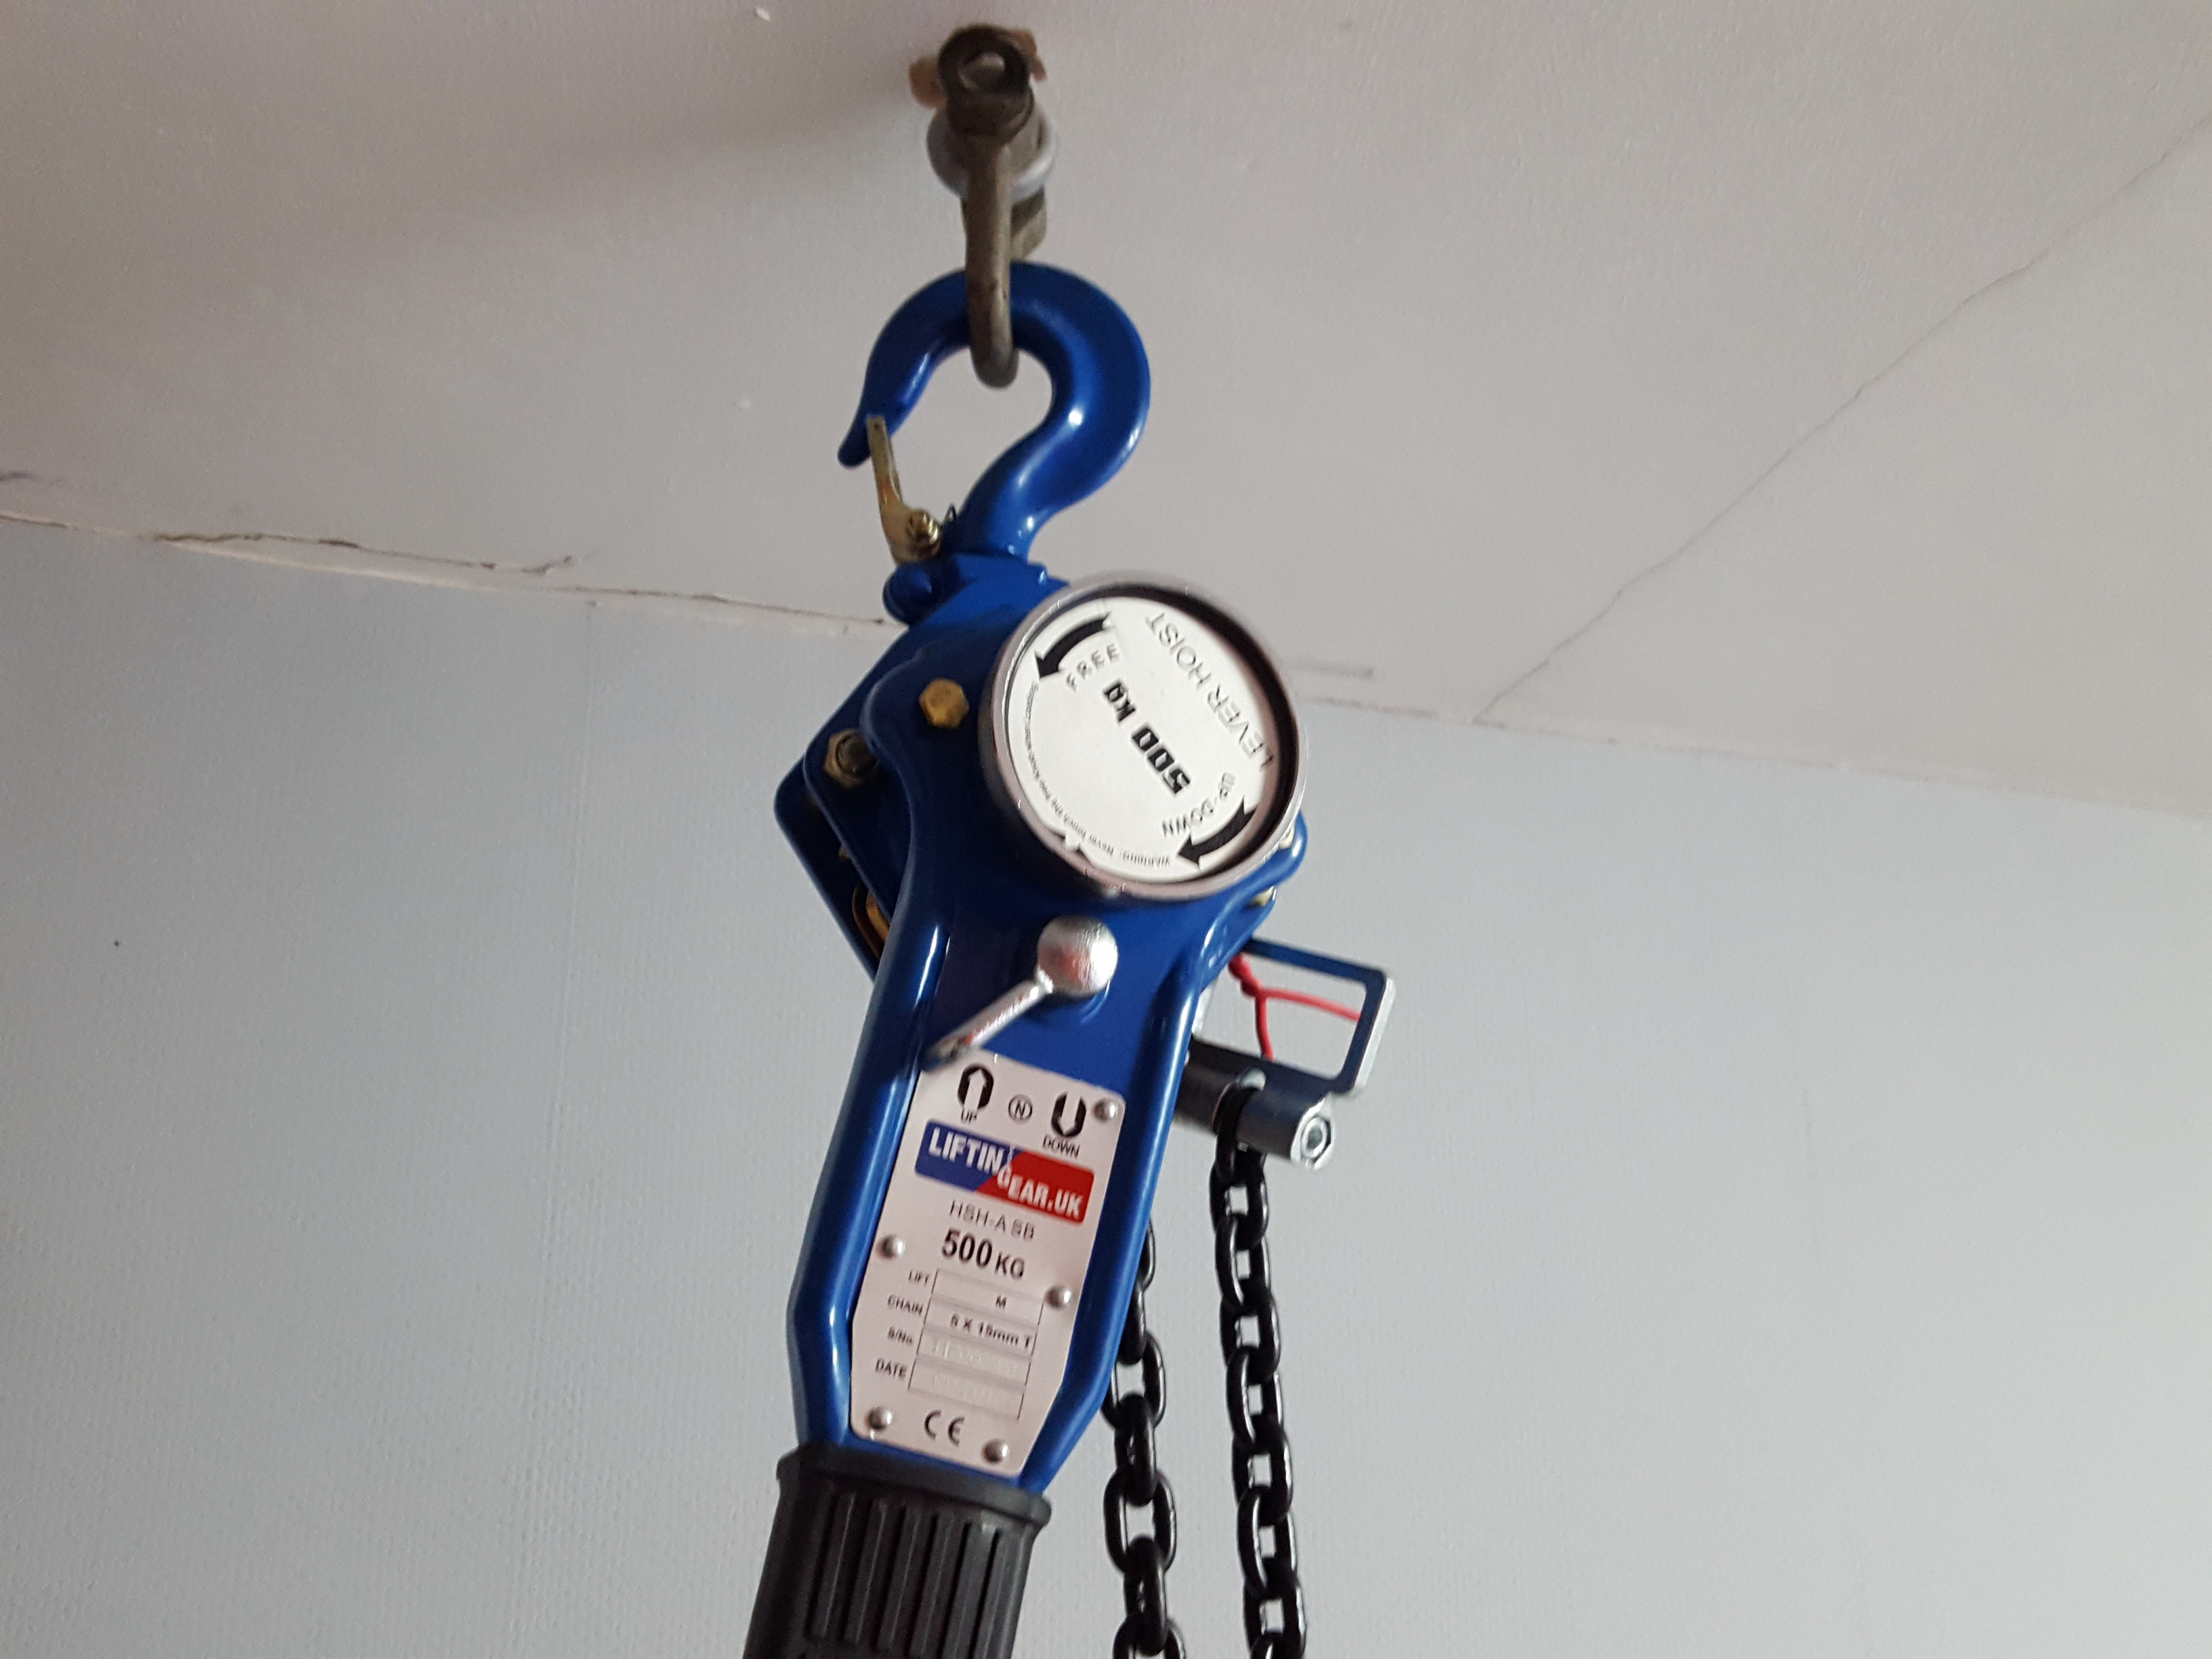
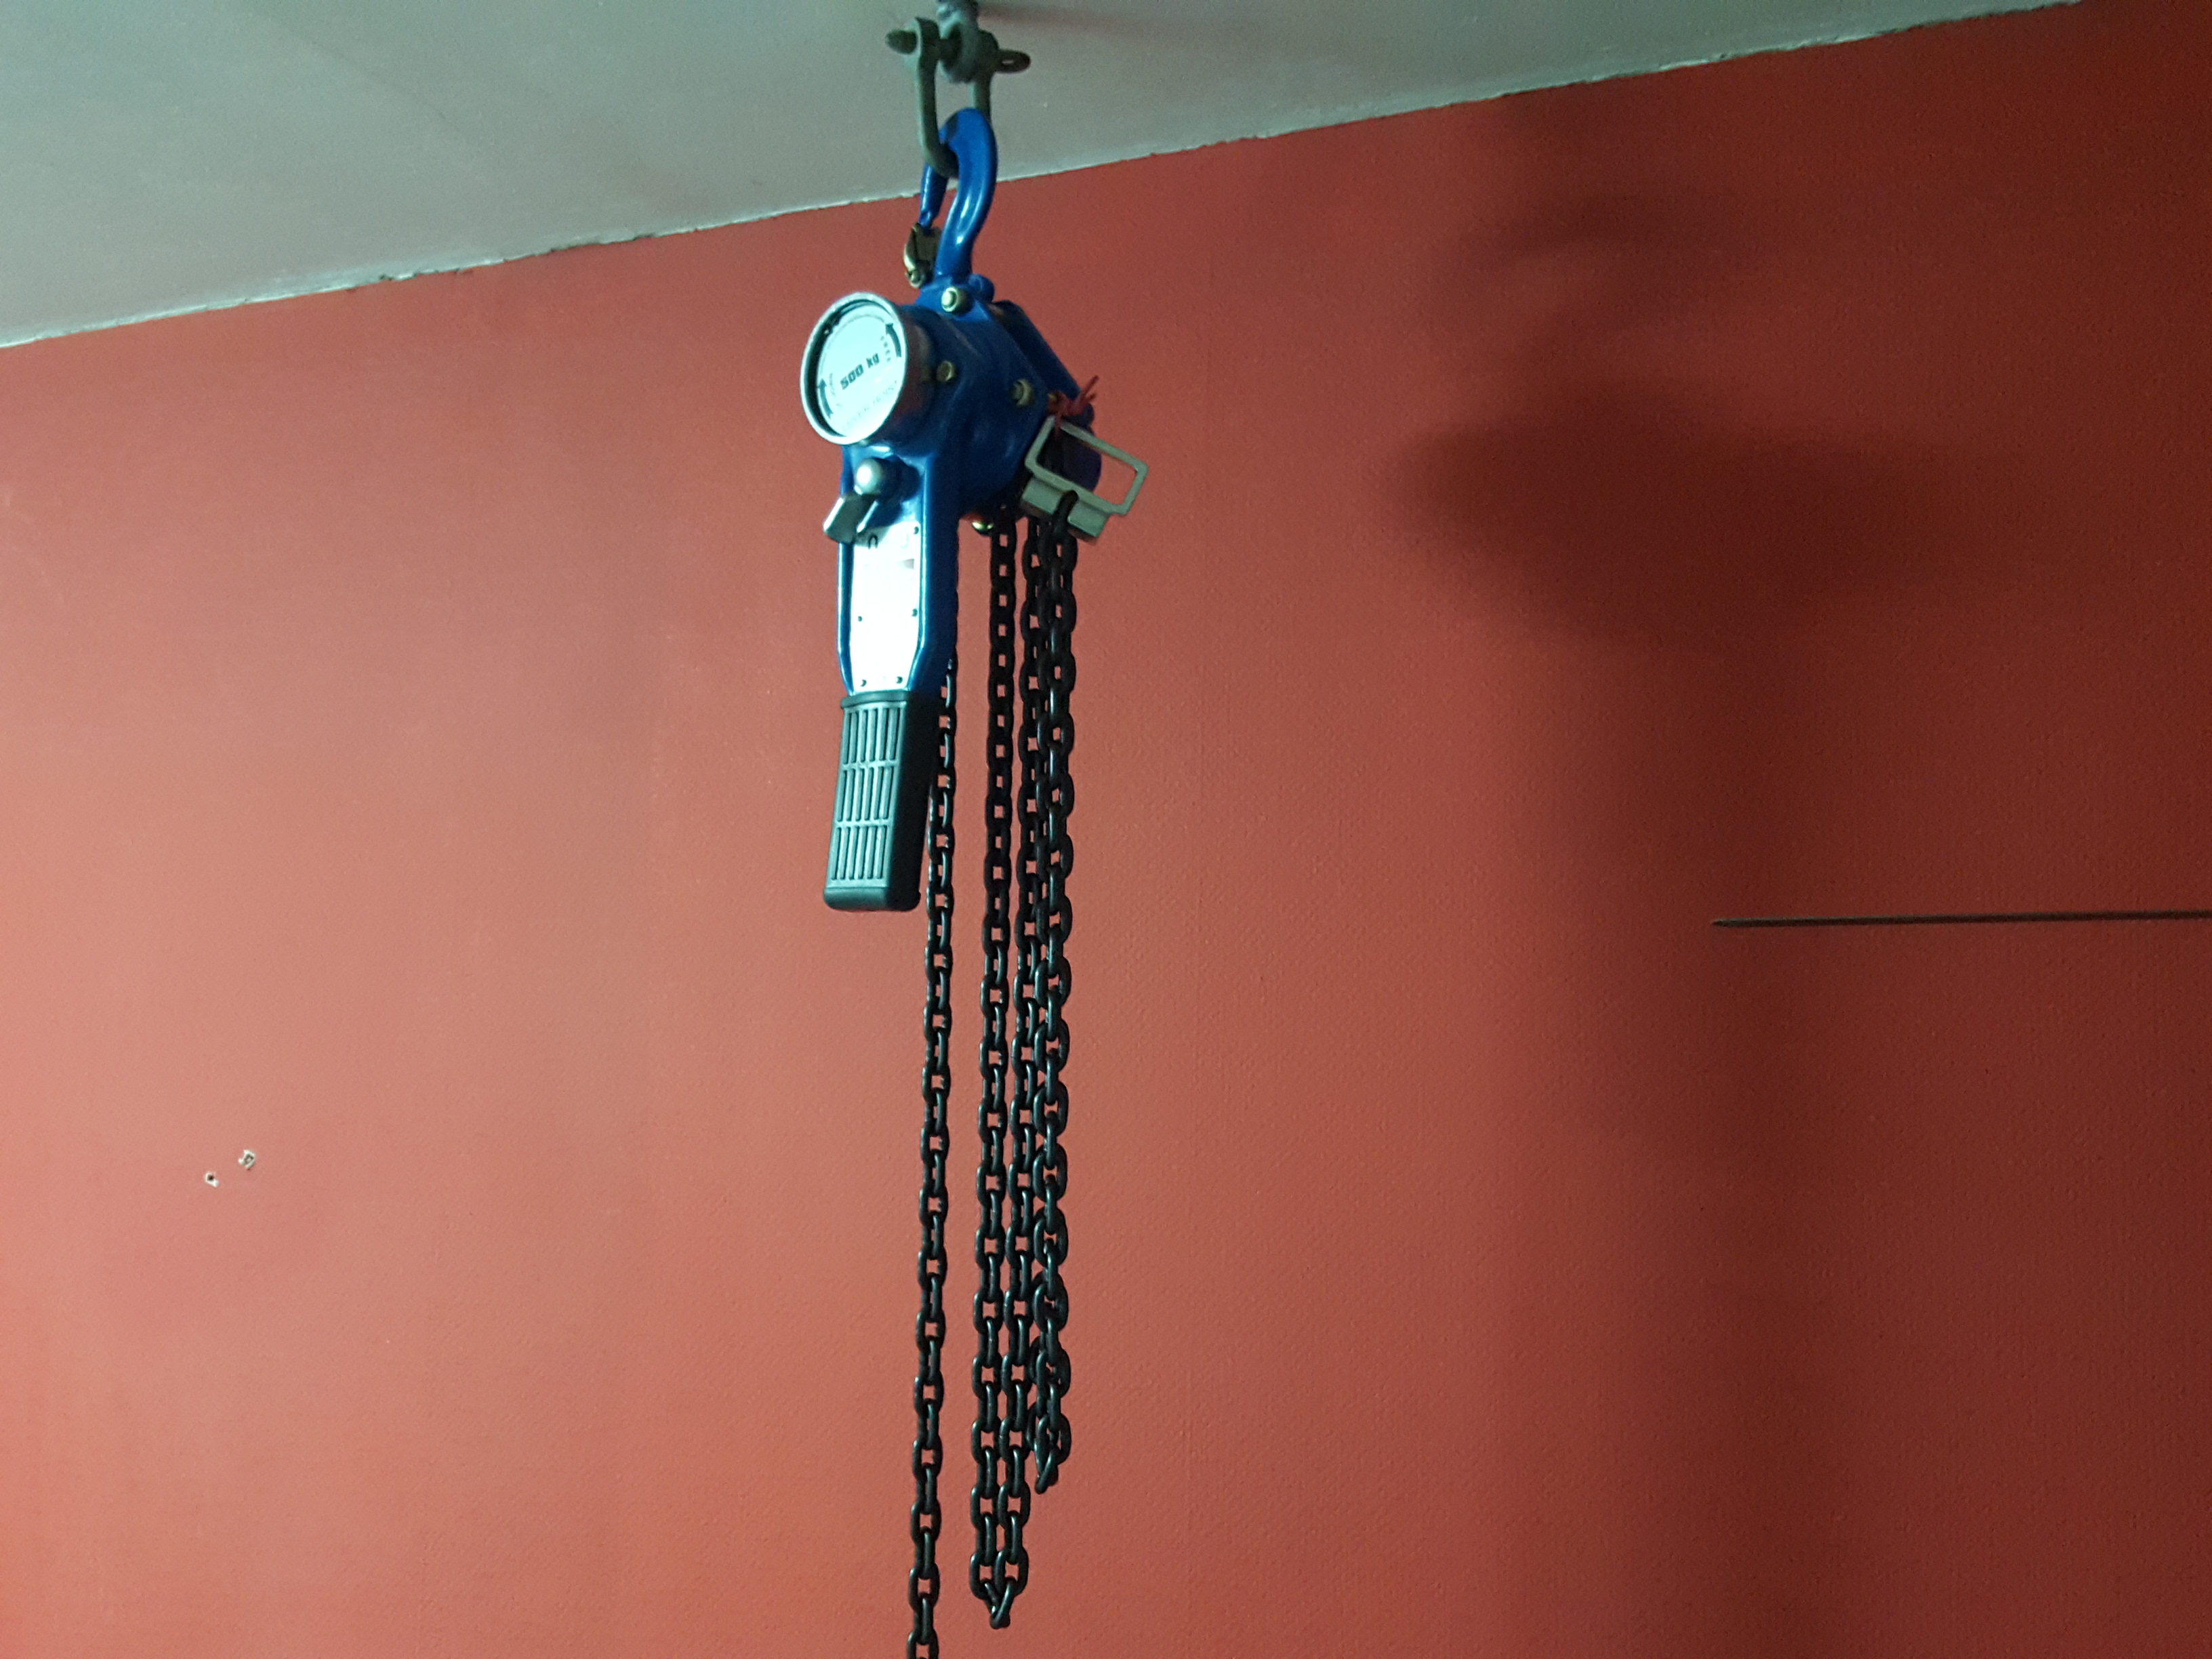
I tested lifting the mill first, and although it worked OK, I was not happy with the block & tackle arrangement, for a couple of reasons. There is no easy way to tie the pulling end off if you need a tea break or have a problem of some sort. If the load is half-way up, you might just have to drop it, with the subsequent consequences being obvious. Secondly, I have a thing about polypropylene cordage. To my mind, it has no place in the home - the only use for it is as a safety line in a maritime environment, because it floats nicely. Other than that, it's a nightmare to handle, it doesn't coil neatly etc. etc. The astute amongst you will have noticed in the earlier pictures, that I had substituted it with some black terylene rope I had in stock for my ham radio activities. Sadly, that stretches far too much (it's worse than the polypropylene rope, in fact), so I decided to bite the bullet and purchase a properly designed ratchet-operated chain hoist, rated at 500 kg.
A few days later, and I had both machines installed on their stands, and levelled using the stands' adjustable feet and my digital Moore & Wright 'spirit' level.

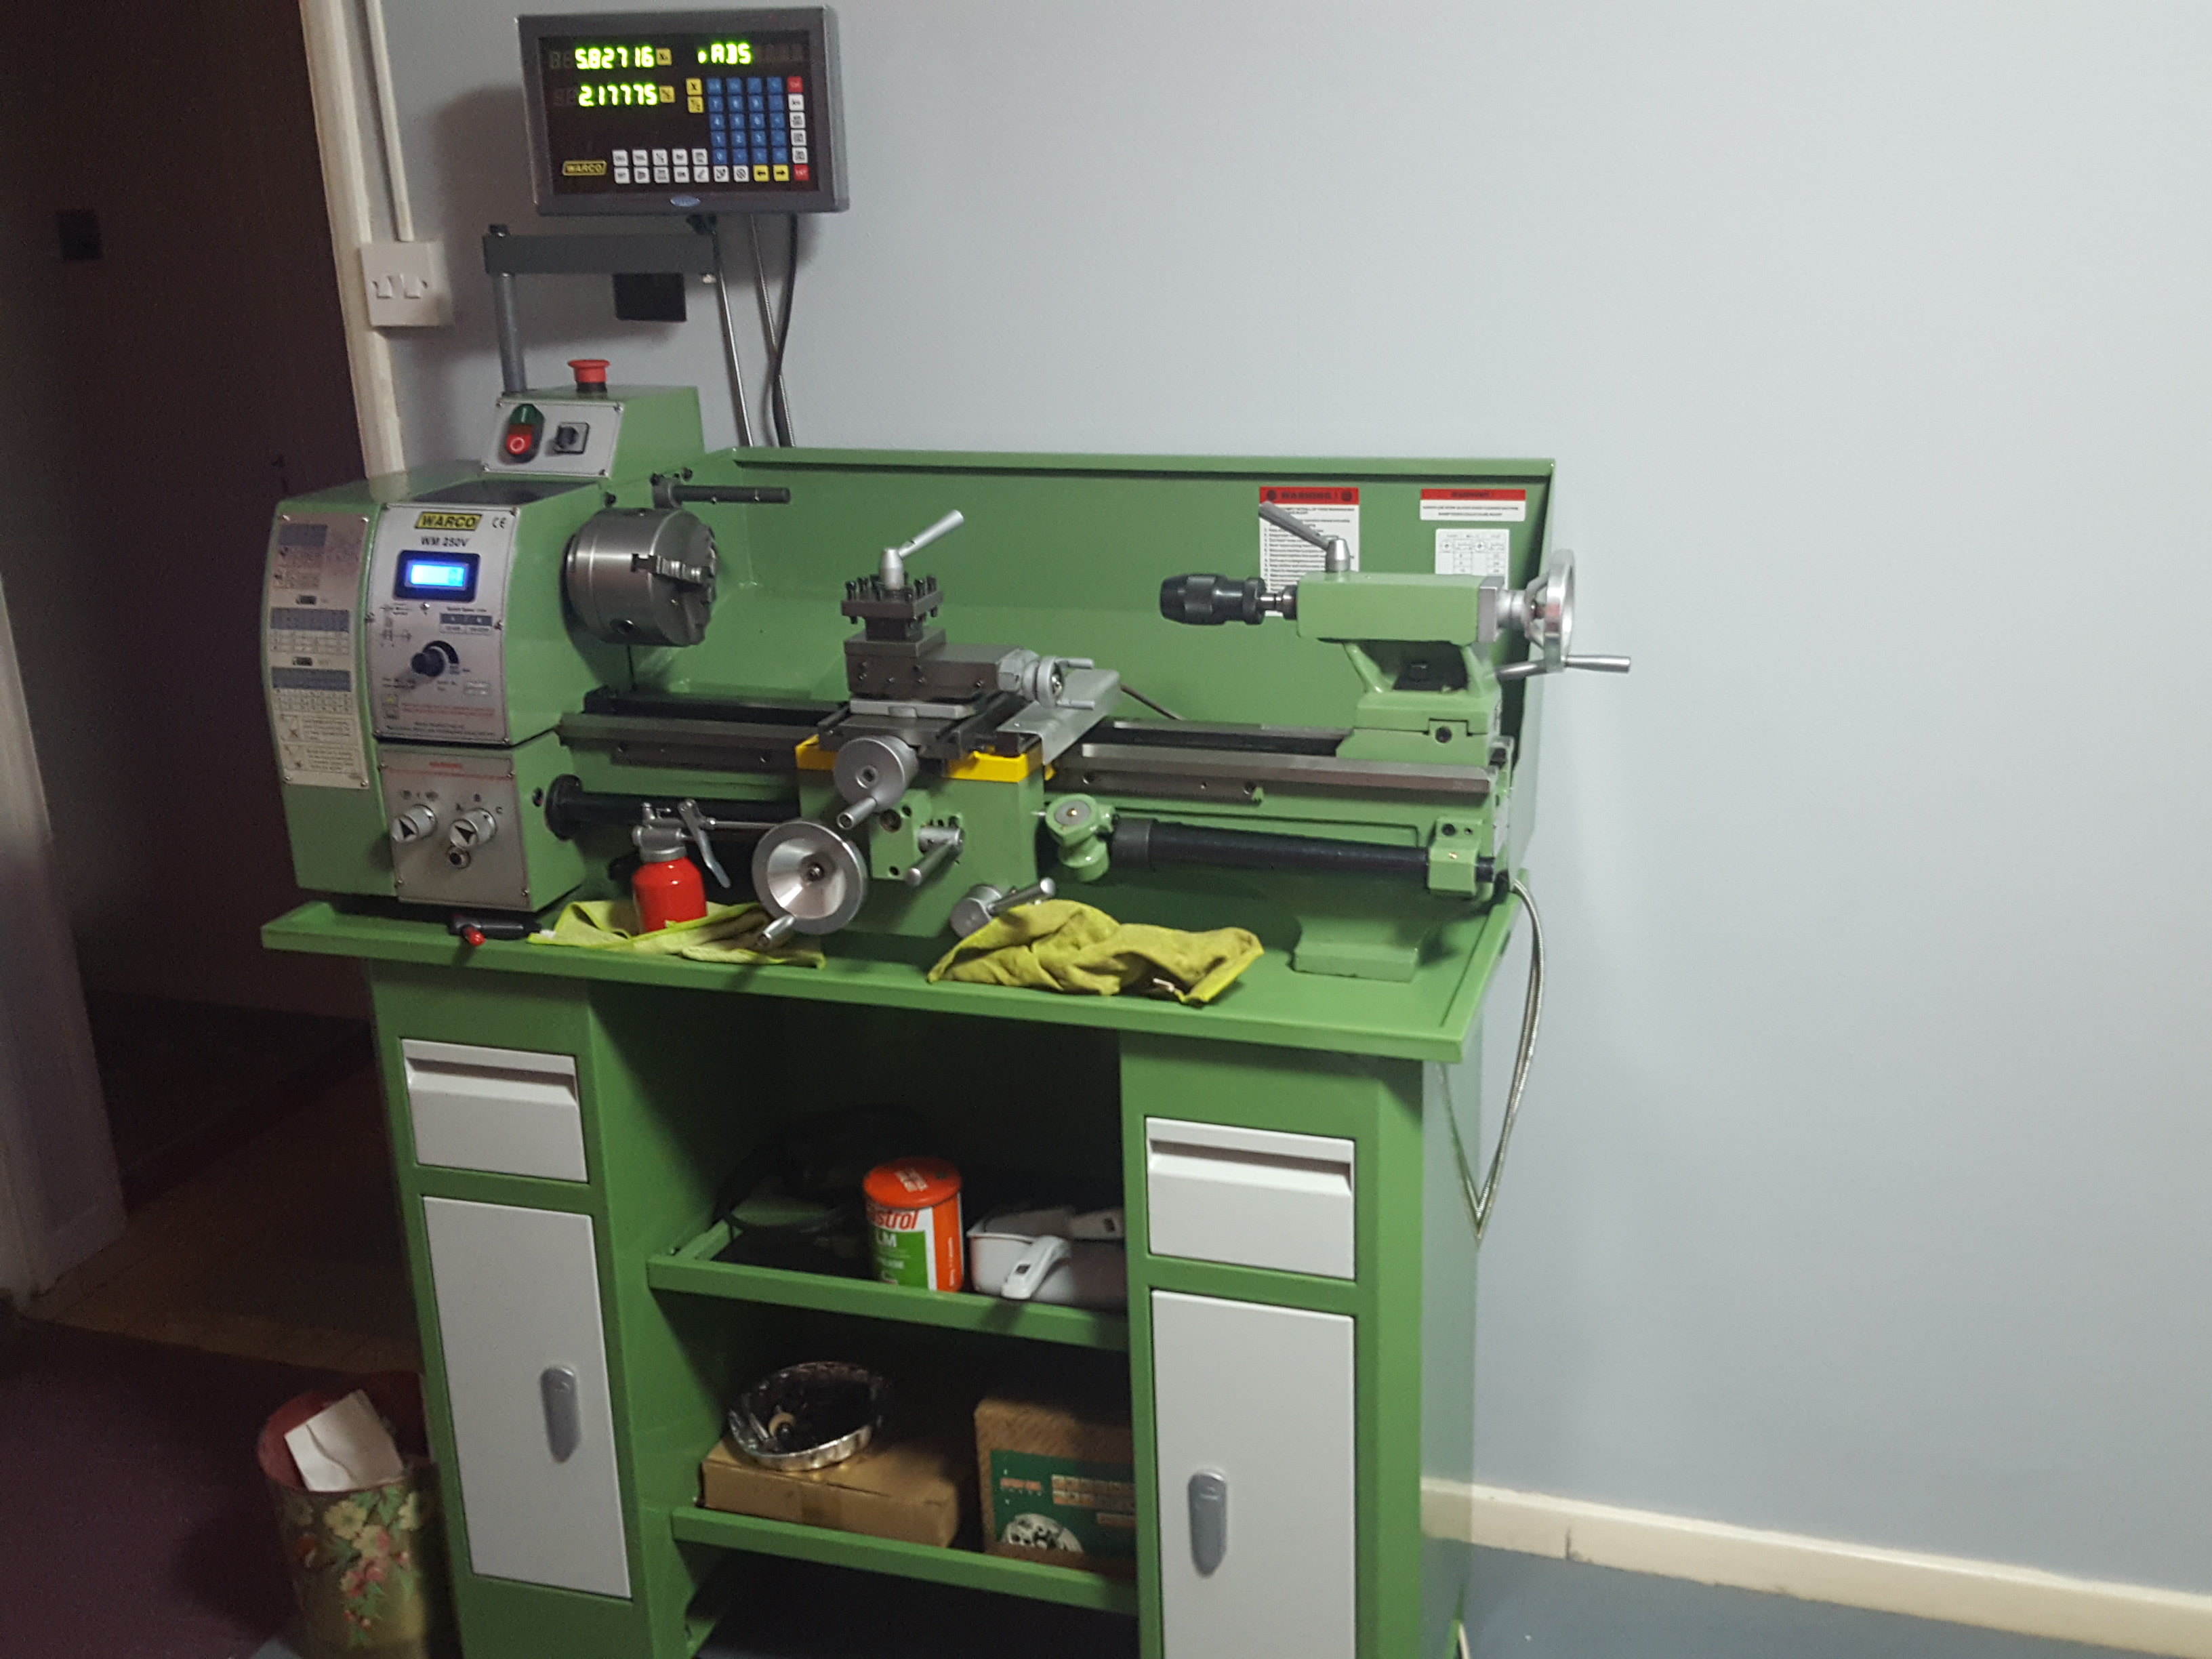
Having used a lathe years ago, I had a bit of confidence to try turning something on it first. That's when I found the first problem. The lathe was as wobbly as anything! As heavy as it might be, the flooring underneath was giving a little, which is why they say you should always mount a lathe on a concrete bed. Well that's obviously not possible in an upstairs bedroom, and I had hoped that putting the extra flooring down would have provided a suitably stable base. Wrong!
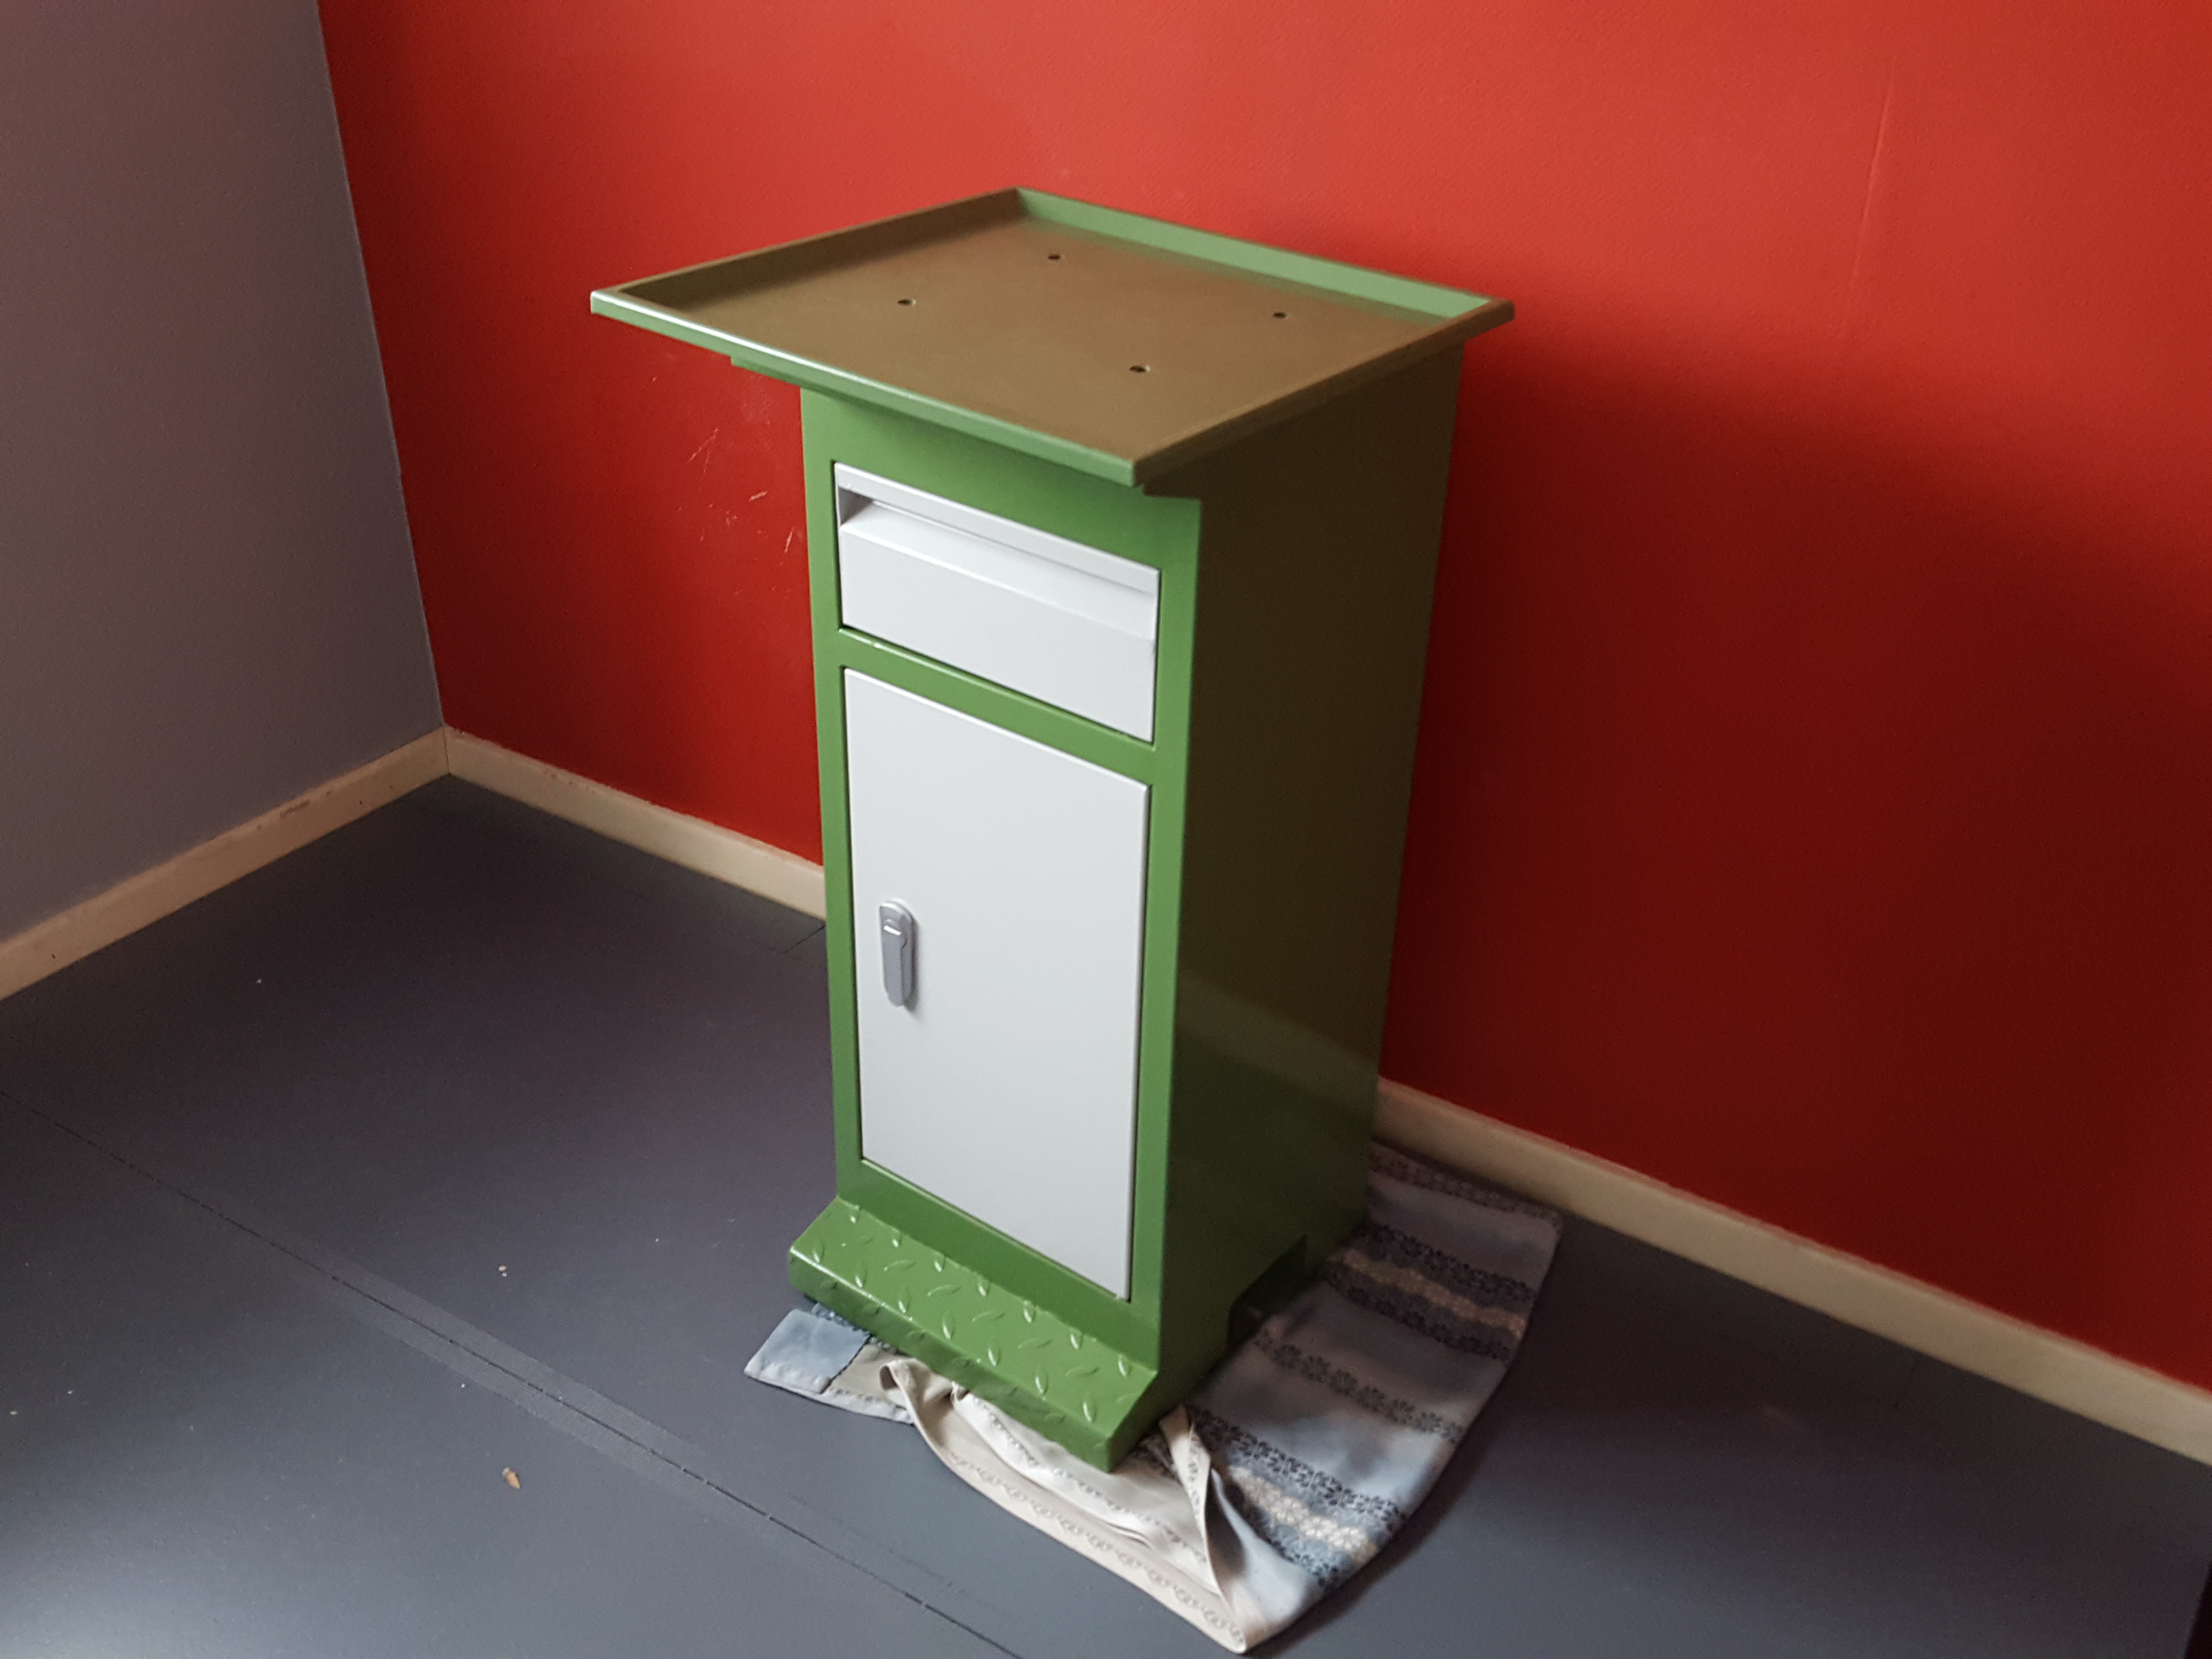
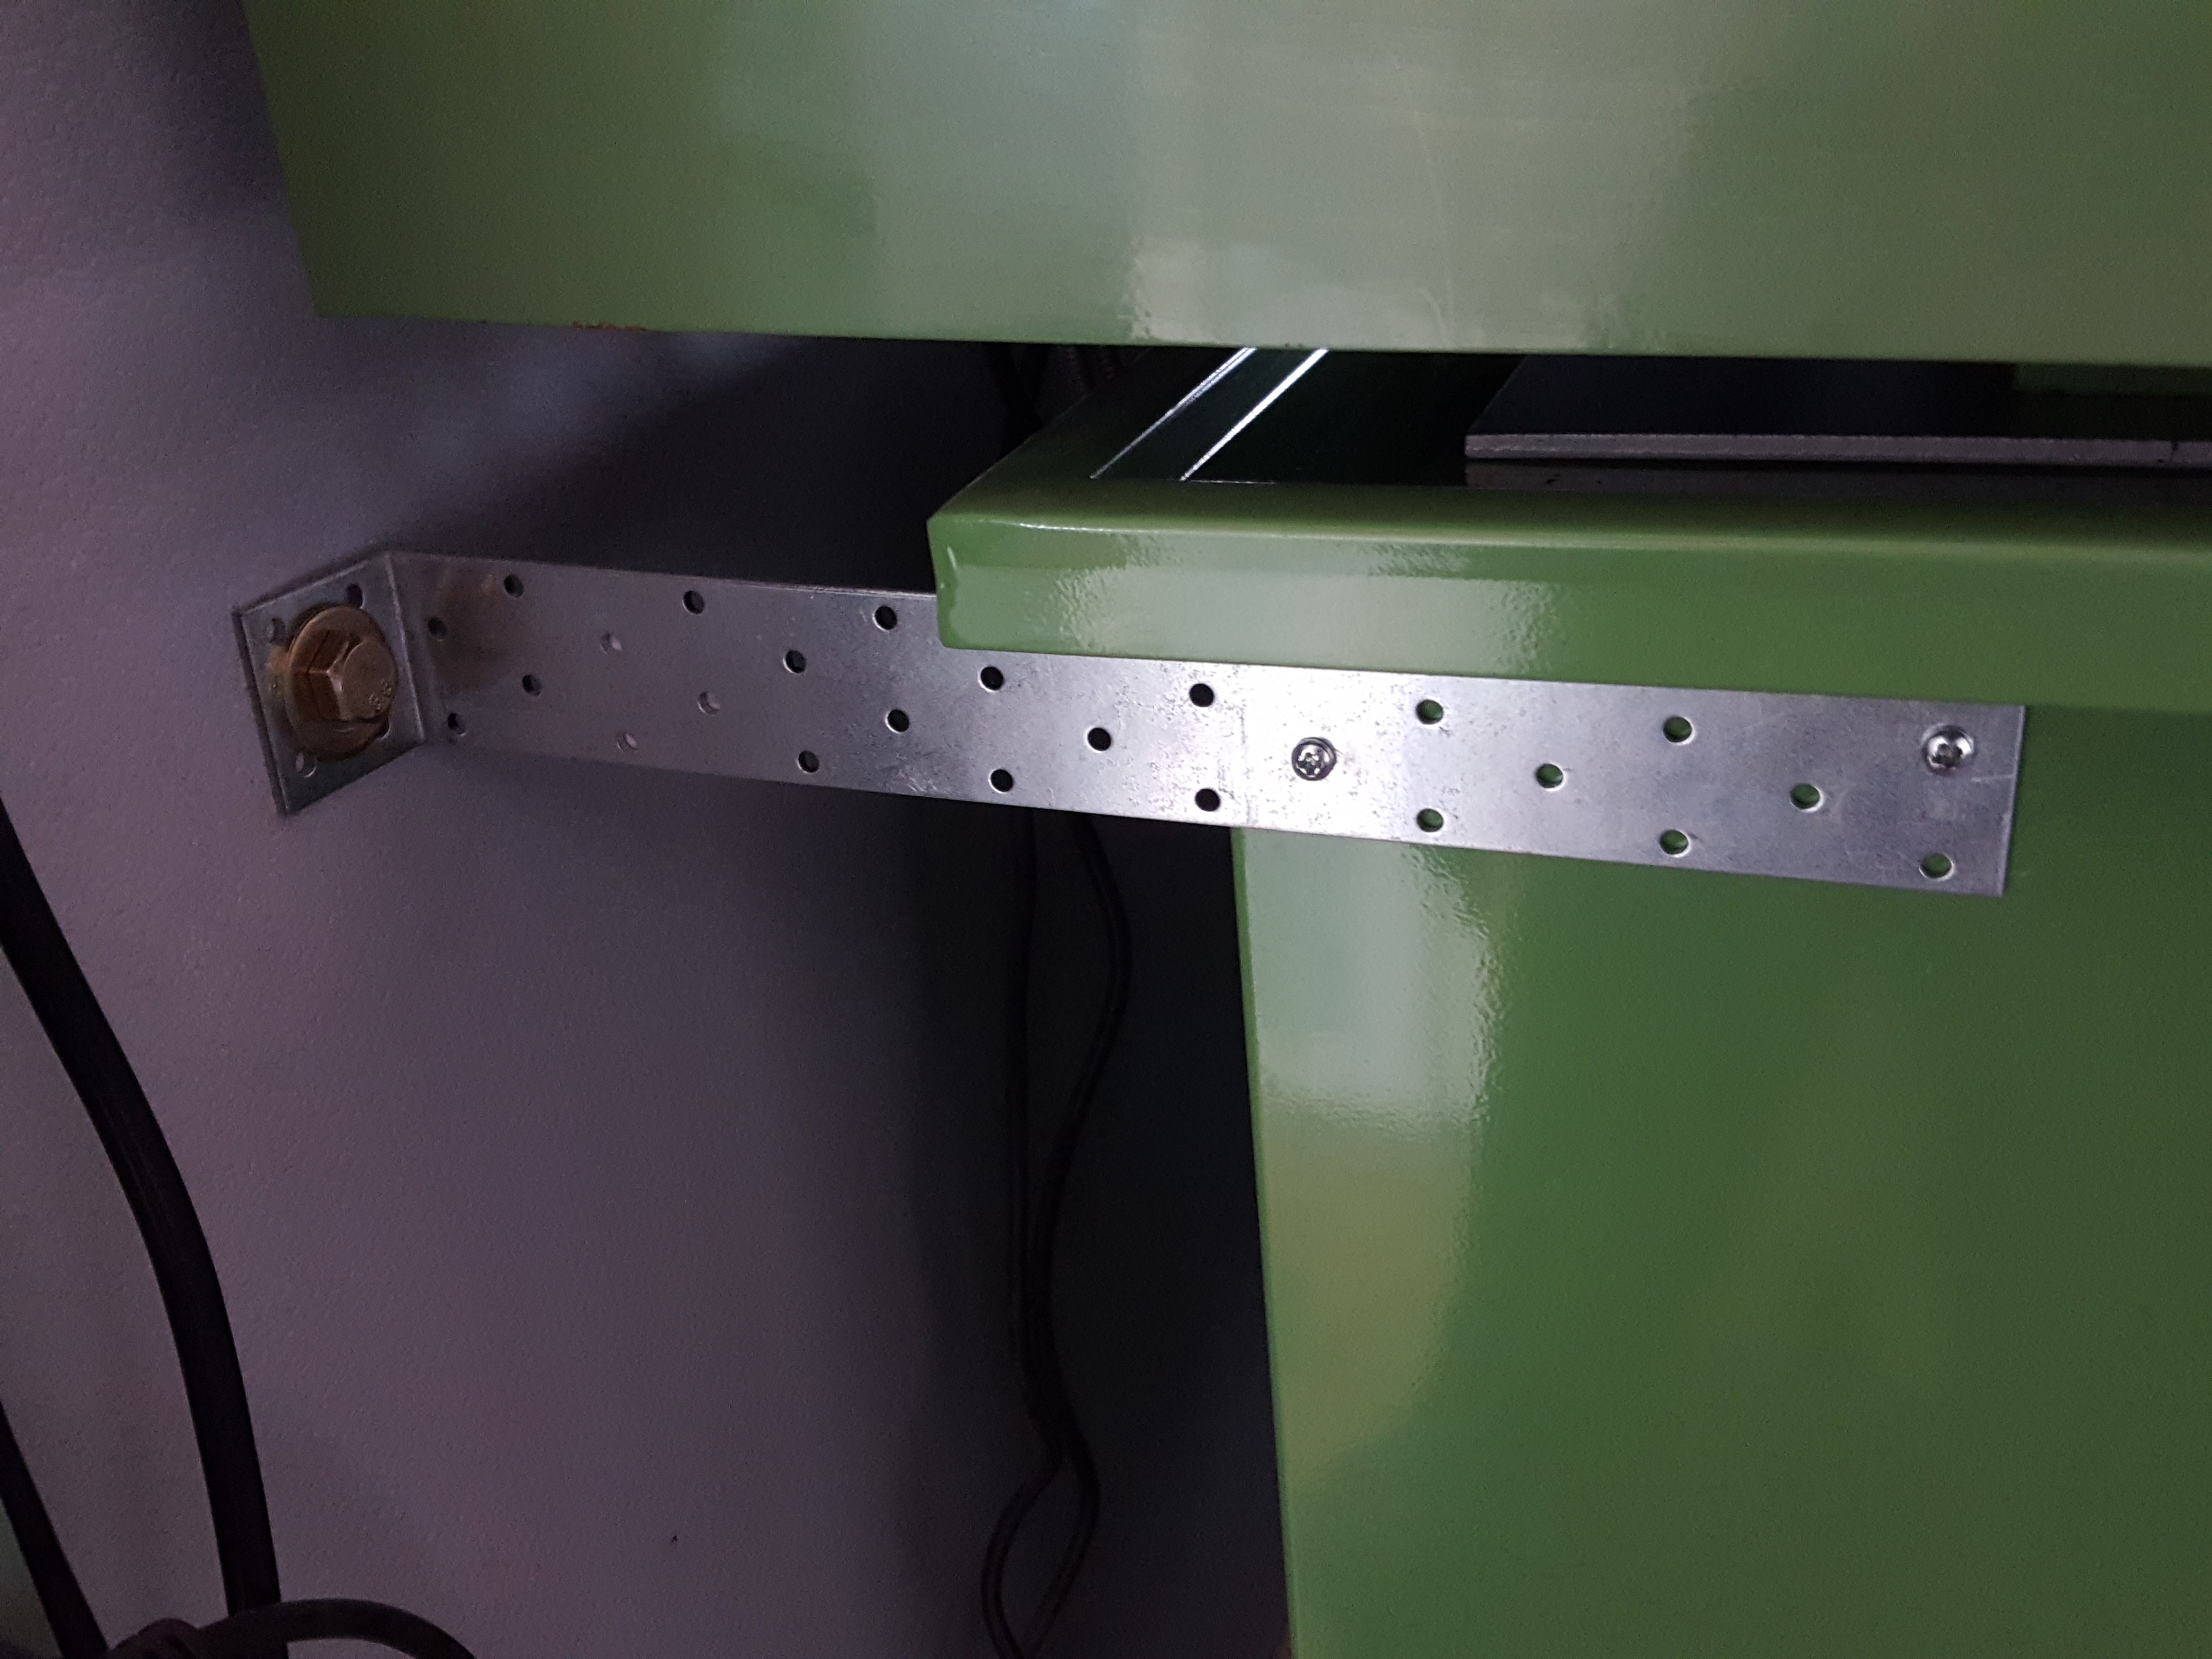
I purchased some strong angle brackets and fixed the cabinets to the walls, but although that made the cabinet stand rock steady, the lathe itself still wobbled, albeit not quite as badly as before. I decided that the problem could only be that the small 'feet' of the lathe were causing the tops of the cabinets to buckle slightly, so I bought some 200 mm x 300 mm x 5 mm mild steel plates, painted them with a galvanising paint, and installed them under the lathe's feet, as can be seen in these photos...
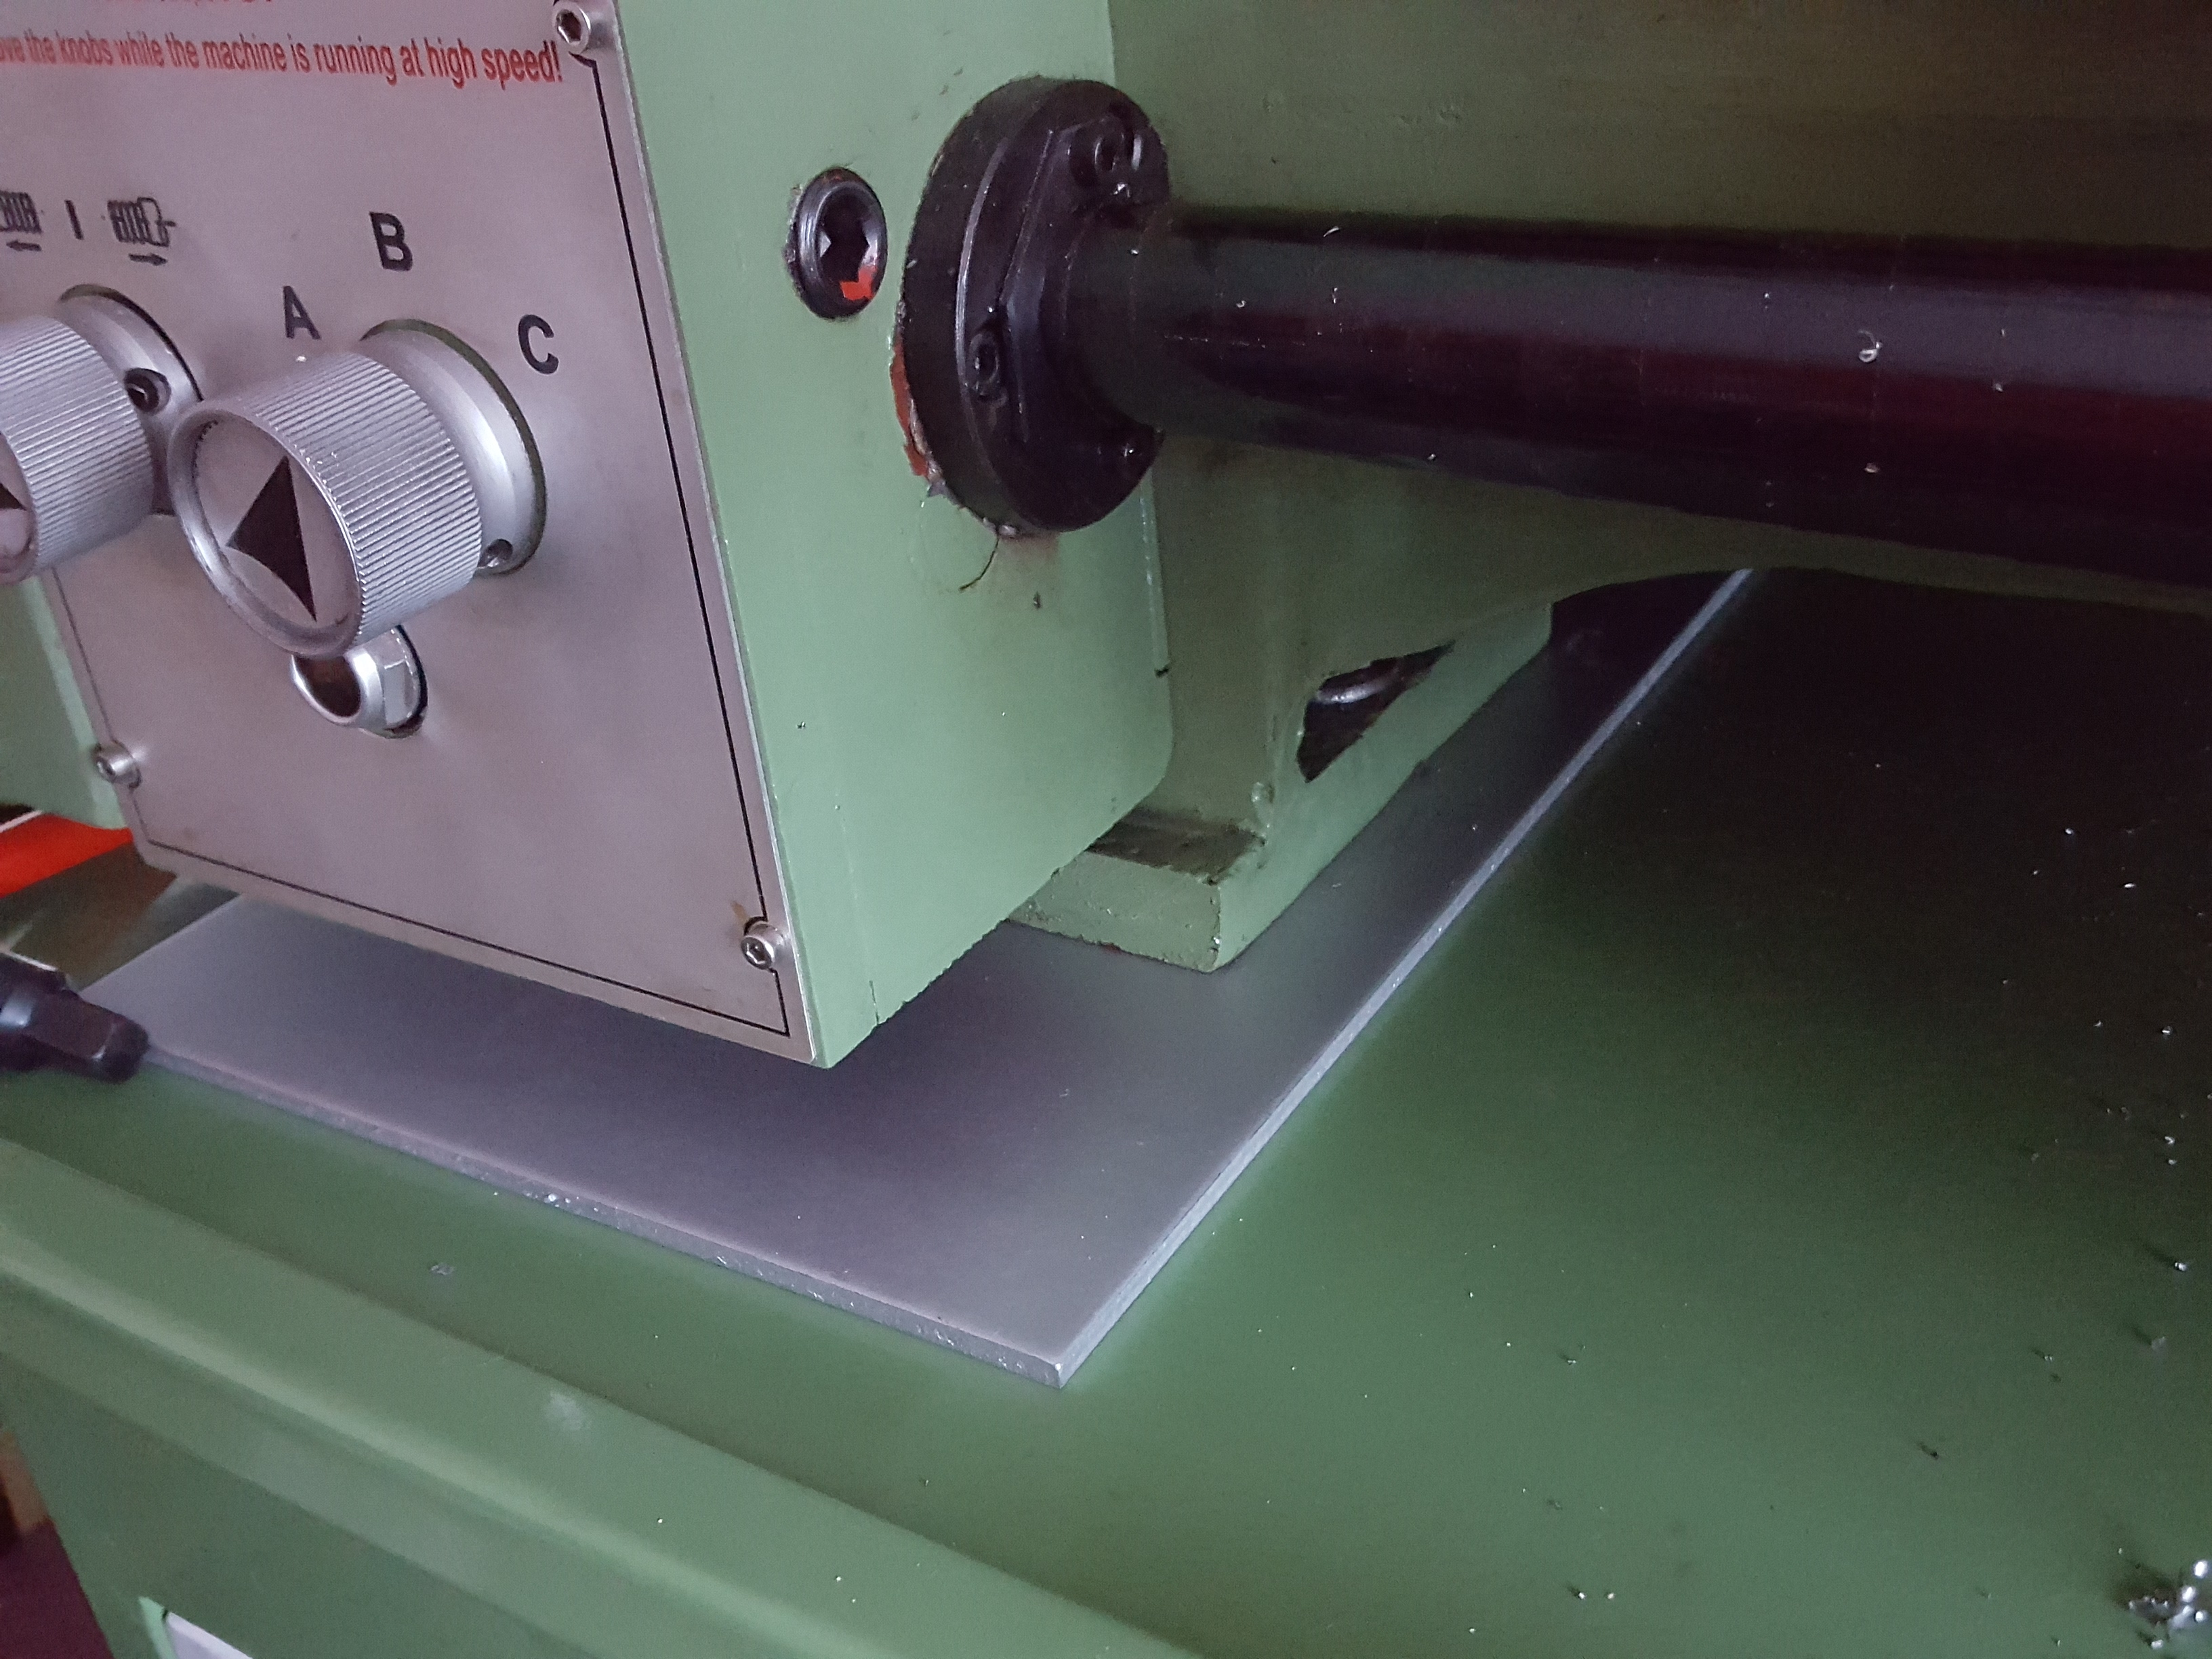

That hasn't cured the wobble completely (if I was to do it again, I'd use thicker, even bigger plates), but it has significantly improved the situation. No such problem with the mill, thankfully.
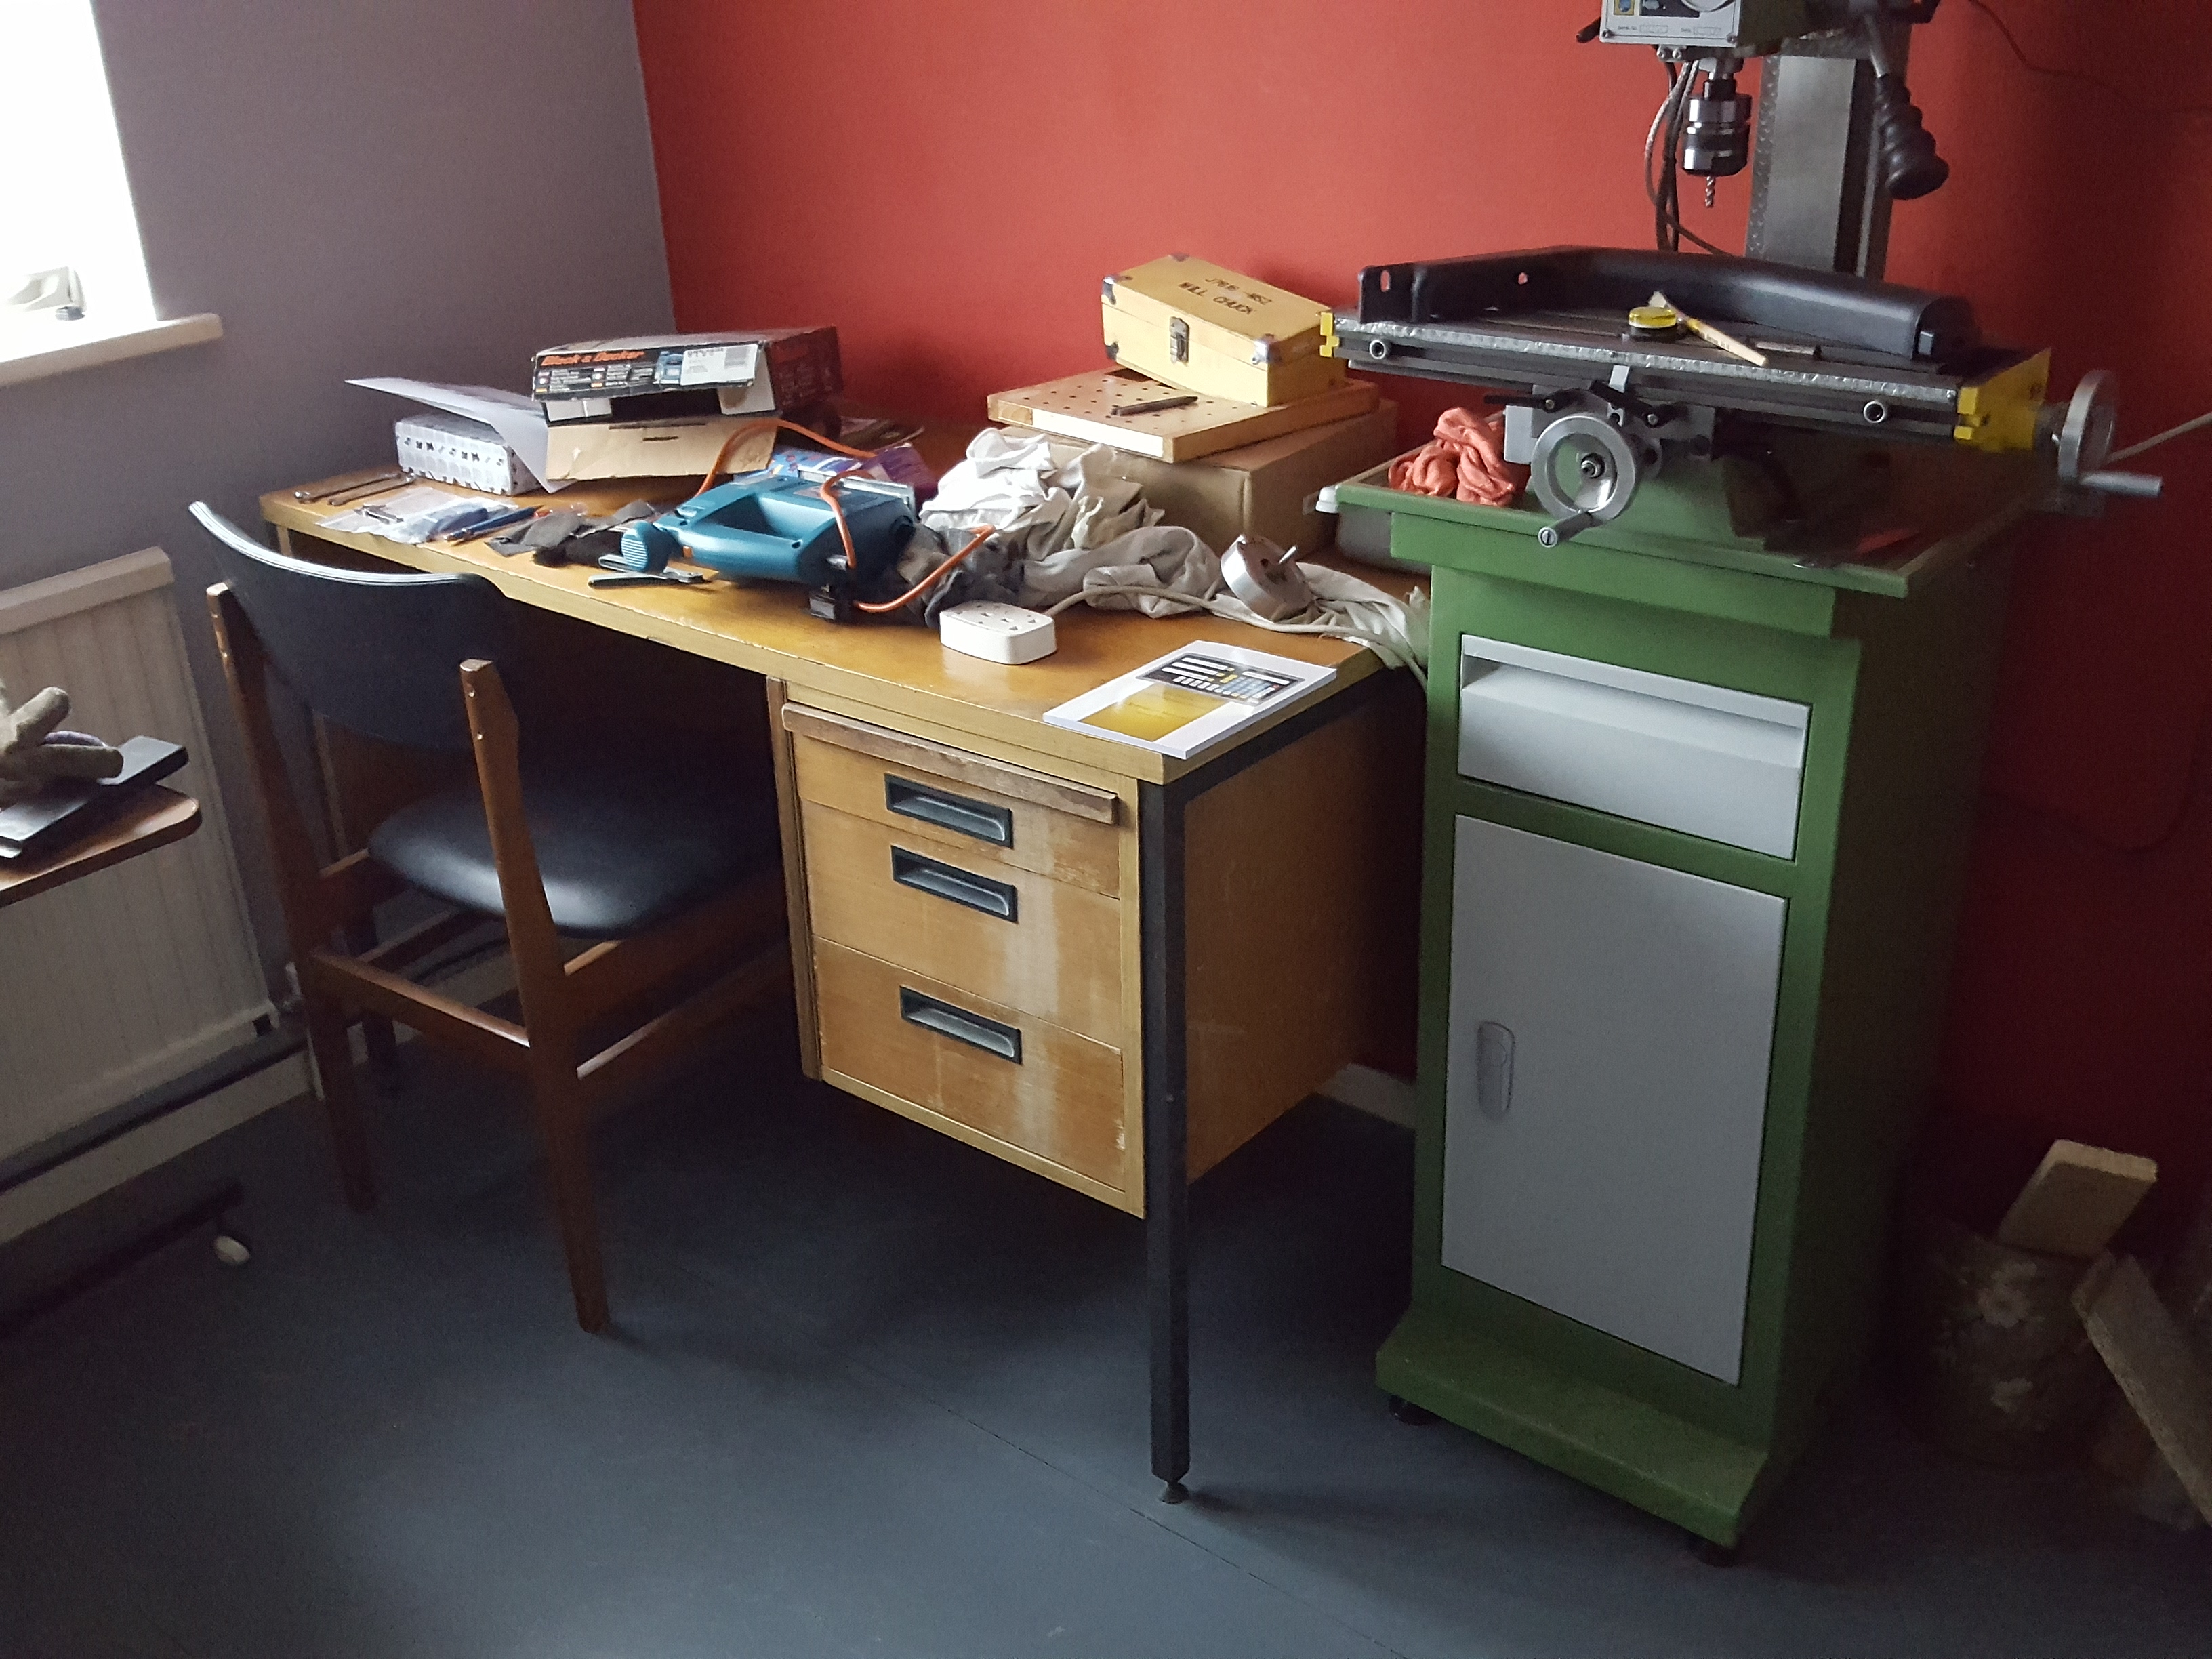
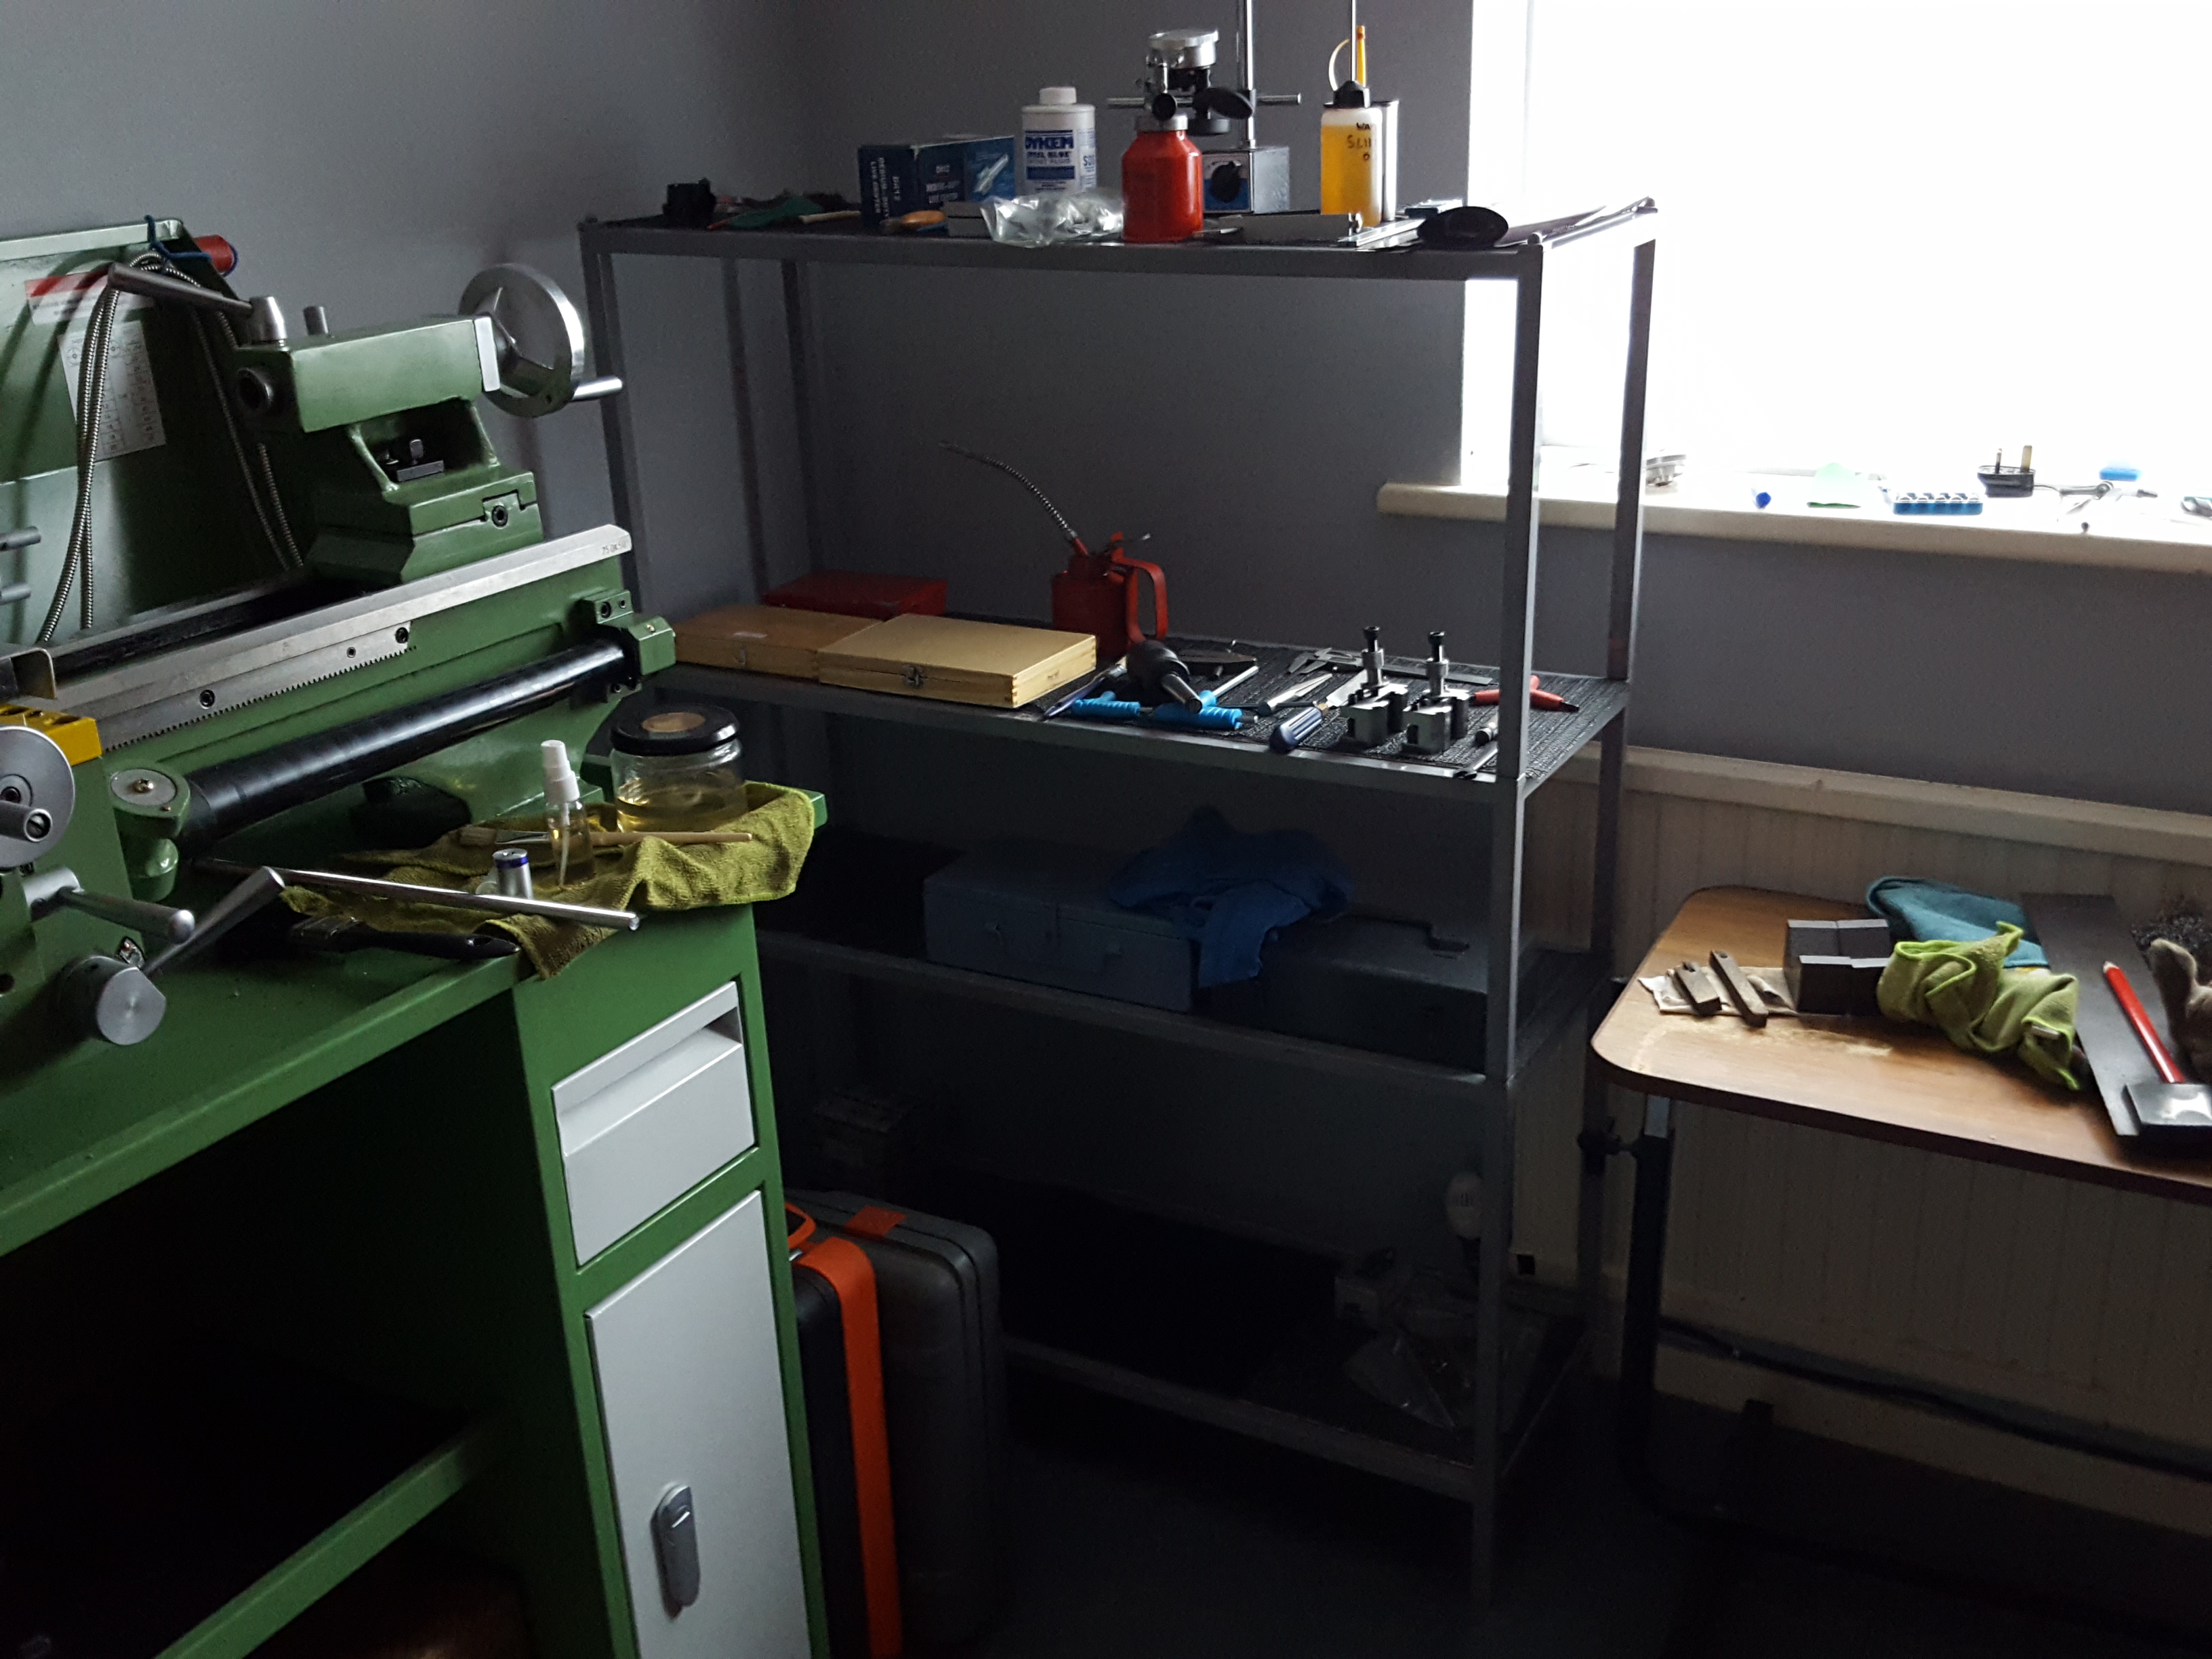
Some old furniture and shelving has been pressed into use, freeing up some space in my shed!
NOTES:
The instruction manuals provided by Warco are not very good. I found instructions on an American website for a CX706 lathe, which has much better quality photos and is almost identical to the WM 250V.
Another thing to note is that the lathe comes in a crate, which is then delivered on a pallet. The lathe is bolted down to the crate floor with two bolts. The bolts protrude below the thick ply, but luckily I had enough clearance with my particular ladder's rungs. Oh, another thing, as we were dragging the lathe up the stairs, oil was leaking quite significanly out of the apron, and had to be replaced before the lathe was used.
Talking of oil, the instruction are so out of date that they say to use Mobilgear 627 oil, which hasn't been available for many years. Warco will sell you their Headstock oil, but it's an expensive option. Much research later, and I settled on this Westway ISO68 hydraulic oil, available on eBay https://www.ebay.co.uk/itm/111695113429 - 5 litres for a similar price to Warco's 2 litres - and at least I know what I'm being supplied with.
I've noticed that Warco are very cagey about giving details of a lot of the goods they sell, e.g. they don't tell you what grade or type their oil is. Another example; I bought a set of indexable tools and the spare tips set for them, but Warco don't tell you what the individual tip type numbers are, so you'd almost certainly feel obliged to go back to them to order another set of spares. I had to do some real poking around other suppliers' websites, who are much more open about what they are supplying, before I found the information I was after.
Although I bought a lot of accessories from Warco at the time I ordered the lathe and milling machine, here I am some 10 weeks later still waiting for some of them to be supplied. They didn't tell me at the time of ordering that they didn't have any stock and they don't know when they'll be back in stock, because of supply problems from China. Other suppliers' websites show you their current stock situation, so you can make an informed decision whether to buy from them or not. Warco's website will tell you that things are not in stock, when in fact they are, and vice versa, so beware!
Chinese thread finishing leaves much to be desired. Generally, they are very rough indeed, I've found, and the finishing of what the Chinese presumably consider to be less important items, also leaves much to be desired. E.g. I purchased a QCTP, customised by Warco to fit the WM250V lathe. I bought a number of extra tool holders to go with it. When you come to adjust the height of the tool and holder, the collar that determines the height and which gets locked by the handle, is as wonky as the Big Dipper at Blackpool Pleasure Beach! So, you're carefully adjusting the height and need to raise the tool-tip by, say, 3 thou. You screw the adjuster down a little (which should raise the tool and holder a bit), and find that the tool-tip is now 10 thou low. How does that work? You back it off again, and find that you're now 10 thou high. It's a nightmare, but I suppose if you don't pay Aloris prices, you can't expect Aloris quality engineering. I'm learning fast about quality issues with cheap Chinese stuff.